2
d1
d1
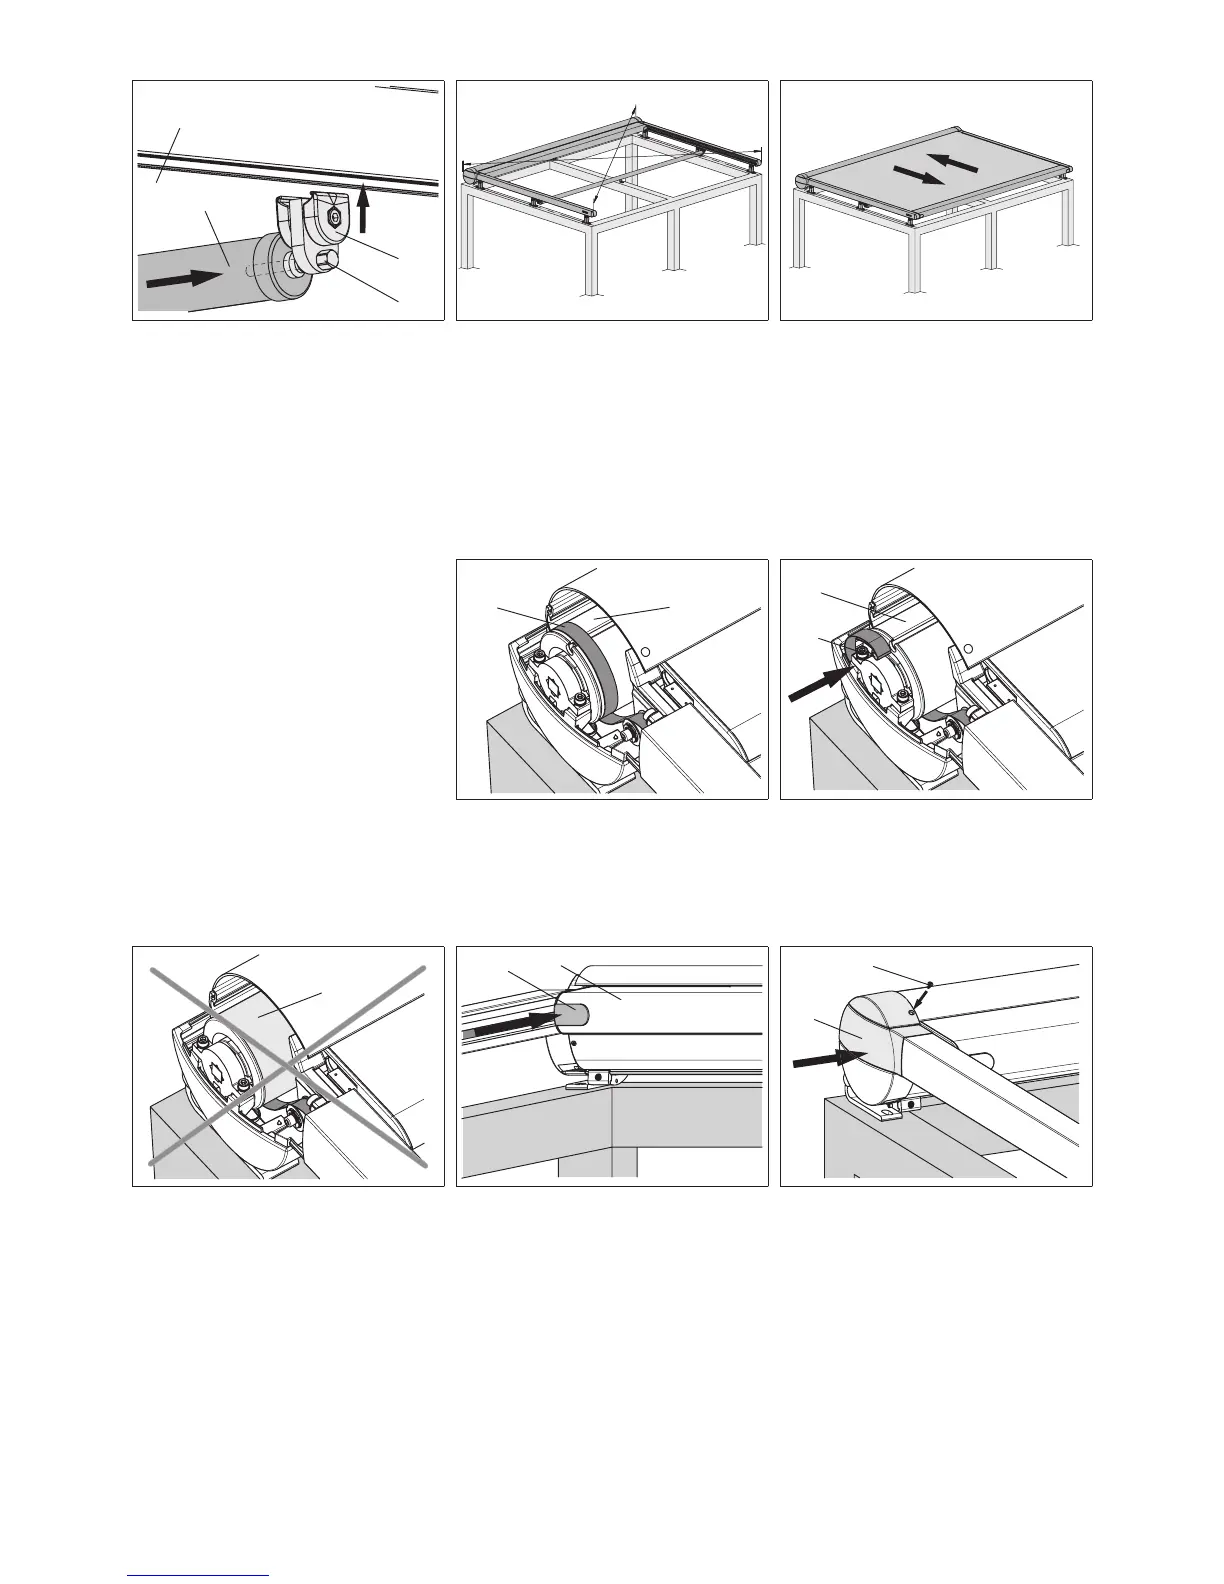
27. Slide the pin (26) of the right cover
support tube bracket (24) into the cover
support tube (28). Clip the bracket (24)
to the guide track (2) and tighten the
clamping jaws of the bracket with an SW
6 spanner.
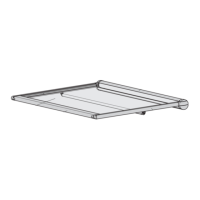
28. Measure the awning diagonally (d1)
and align, as otherwise smooth functio-
ning is not guaranteed.
Attention! It is important that the
guide tracks are parallel. The max.
xture tolerance (in particular for the
tracx function) is 3 mm as otherwise
smooth operation cannot be guaranteed.
Subsequently tighten all screws of the
xture brackets.
29. Extend and retract the awning for
functional testing.
Attention! The lower end position is
not programmed for the standard
motor without radio. Take care that the
extension prole does not damage the
conservatory when moving the awning.
Make sure you stop before. See also
point 6. motor drive.
18
19
18
12
Attention! If the awning cloth has
enough tension in central position, see
chapter 4. What is to be done, if.... If the
position of the drive belt is incorrect, see
paragraphs 30. to 32.
30. Check the position of the drive belt
(19) on the fabric roller (18) when the
awning is retracted. Ideally, the fabric
roller will be in the position shown. The
transport band envelops the fabric roller
with 1.5 wrappings.
31. If, when the rst wrap of the drive
belt has been unwound, the lug in the
drive belt (12) is in the upper area of the
fabric roller (18), then trouble-free
operation of the awning is still guaran-
teed.
18
32. Should there be no drive belt left on
the fabric roller (18), paragraphs 9. to
15. have to be repeated. For this
purpose the gas piston has to be
secured again as described in chapter 4
"What to do, if....".
33. Roll up the drive belt together with
the length of velcro, insert it into the front
prole (20) and put on the end cap (21)
(on both the right and the left).
34. On both end caps x the inspection
covers again (9) using the countersunk
head screws (8).