Do you have a question about the Martha Stewart PLAYA and is the answer not in the manual?
Attach front and back legs to the chair top using specified hardware and tools.
Connect front and back stretchers to the legs using screws and a screwdriver.
Attach side stretchers and then tighten all previously installed bolts.
Turn the fully assembled chair to its upright position.
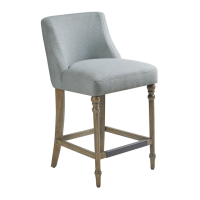
The provided document is an assembly instruction manual for the "PLAYA COUNTER STOOL" by Martha Stewart. It details the step-by-step process of assembling the stool, including a parts list, hardware list, and safety instructions.
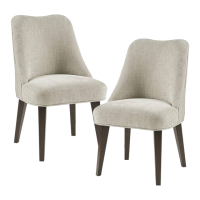
The PLAYA COUNTER STOOL is a piece of furniture designed for seating, likely at a counter-height surface. Its primary function is to provide comfortable and stable seating. The design includes a "REST & REMOVABLE SEAT & REMOVABLE CUSHION" (P1), suggesting a focus on comfort and ease of cleaning or customization. The stool is constructed from various wooden components for its legs and stretchers, indicating a sturdy build.
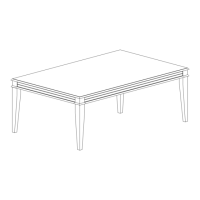
Dimensions and Components: The stool is composed of several key parts:
These components form the frame and support structure of the stool. The stretchers (P6, P7, P8, P9) are crucial for reinforcing the legs and ensuring the stool's stability.
Hardware: The assembly requires specific hardware:
The use of different bolt lengths (50mm and 60mm) for front and back legs suggests a specific design or structural requirement for each pair of legs. The combination of lock and flat washers indicates an emphasis on secure and stable connections, which is critical for seating furniture.
Materials (Implied): While not explicitly stated, the components (legs, stretchers) are typically made of wood or a wood-composite material, given the nature of a "counter stool" and the use of screws and bolts for assembly. The seat and cushion are likely upholstered with fabric or a similar material.
Assembly Process: The assembly is designed to be a multi-step process, ideally performed by two or more adults for safety and ease.
Levelers: A notable usage feature is the inclusion of "Levelers on the front legs." These adjustable feet allow users to compensate for uneven floor surfaces, ensuring the stool remains stable and does not wobble. This is a practical feature that enhances user comfort and safety.
Removable Cushion: The "REMOVABLE CUSHION" (part P1) suggests ease of cleaning, replacement, or customization, adding to the stool's practicality and longevity.
Regular Inspection and Re-tightening: The manual includes a critical "ADDITIONAL NOTE ABOUT SAFETY" regarding maintenance:
This highlights a key maintenance requirement: periodic inspection and re-tightening of all fasteners. This proactive measure is essential for maintaining the stool's structural integrity, preventing potential hazards from loose components, and extending its lifespan.
Care of Removable Cushion: While not explicitly detailed, the removable nature of the cushion implies that it can be cleaned separately according to its material's specific care instructions, contributing to the overall hygiene and appearance of the stool.
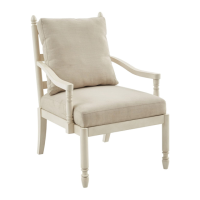
General Care: The initial instruction to "Assemble the Blake Accent Chair on a flat, soft surface such as a carpet or cloth to prevent scratching the finishing" implies that the stool has a finished surface that requires care to prevent damage. This suggests that users should also be mindful of cleaning and protecting the stool's surfaces during regular use to maintain its aesthetic appeal.
In summary, the PLAYA COUNTER STOOL is a thoughtfully designed piece of furniture with an emphasis on stable construction, user comfort, and practical maintenance. Its assembly process is straightforward, and the inclusion of levelers and a removable cushion enhances its usability. Regular maintenance, particularly the re-tightening of fasteners, is crucial for ensuring its long-term safety and stability.
| Brand | Martha Stewart |
|---|---|
| Model | PLAYA |
| Category | Indoor Furnishing |
| Language | English |