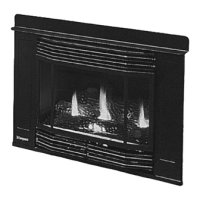
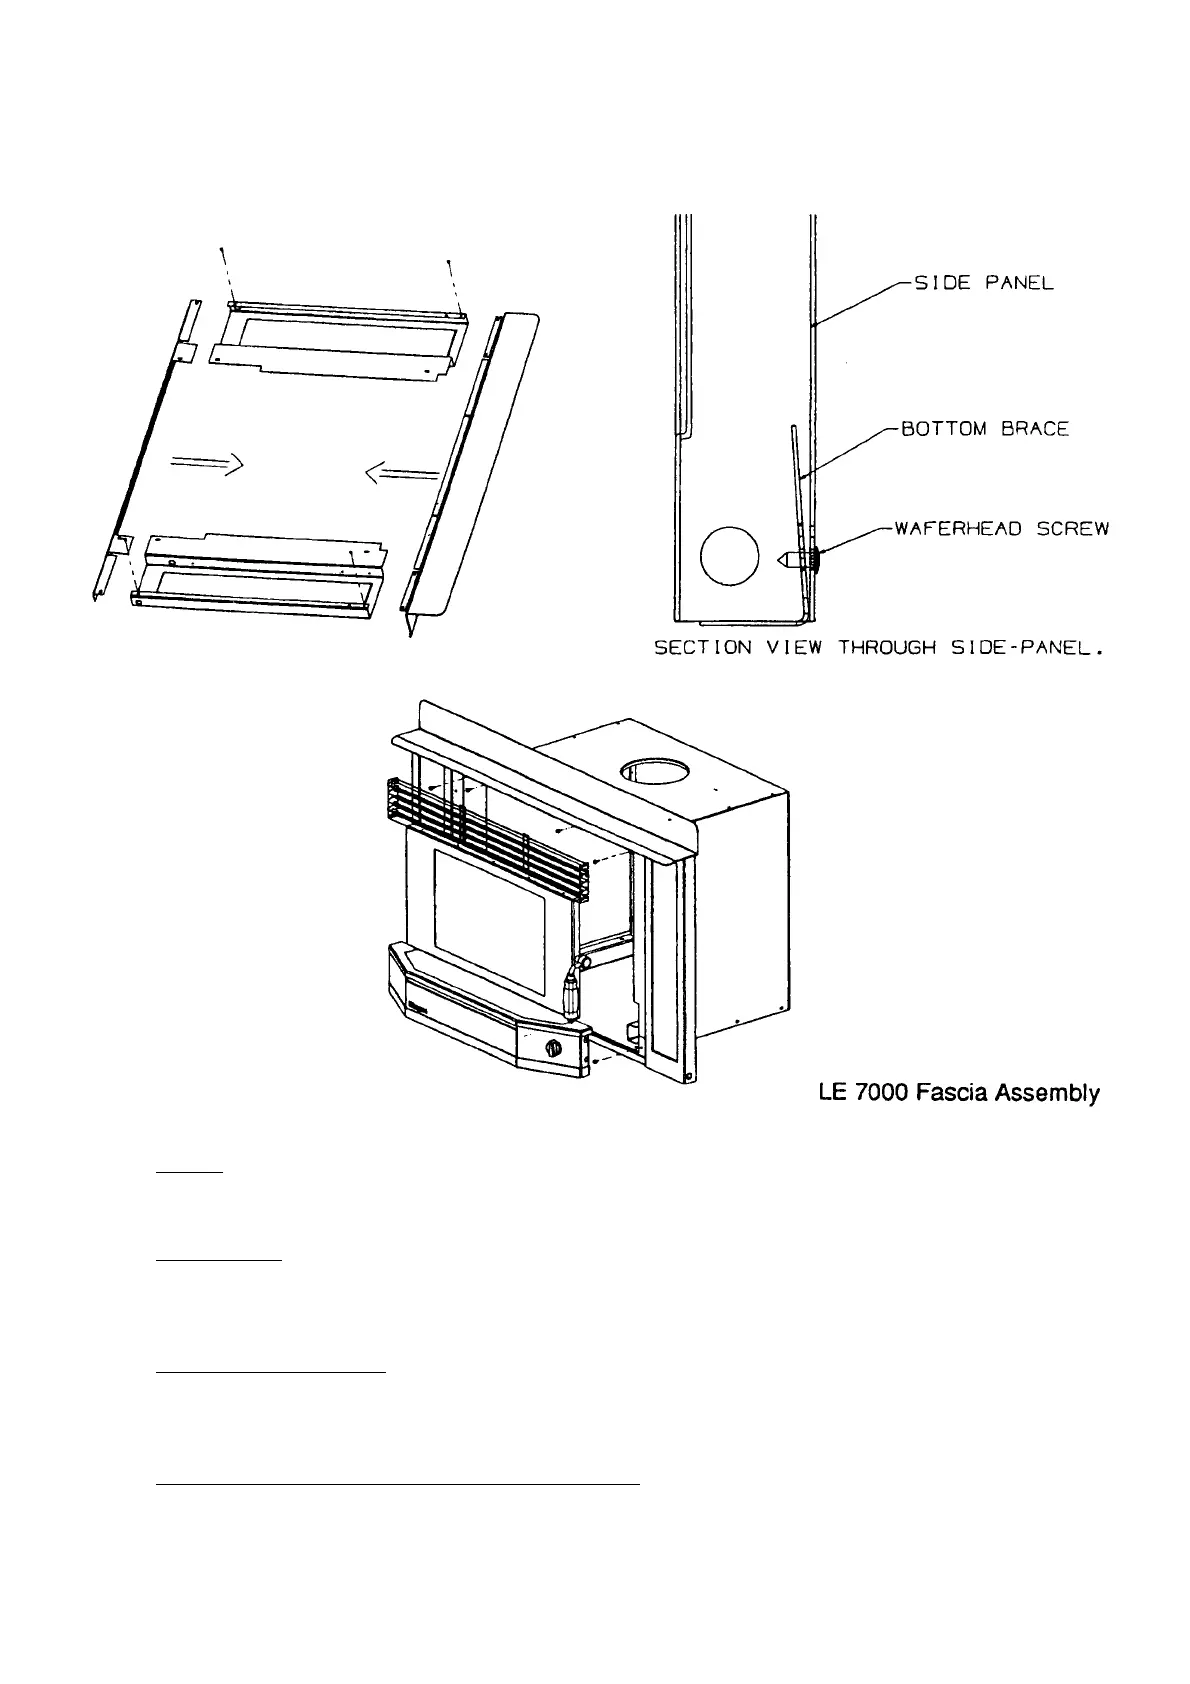
With the ash shelf removed, fit the fascia to the firebox case, keeping a gap of about 2mm between
the hearth and the lower edge of the fascia. (See illustration)
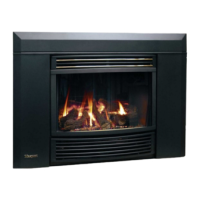
DOOR
Hook the bottom pivot over the lower end of the hinge pin and lift the door up until the top pivot
drops over the top end of the hinge pin.
ASH SHELF
Hang this on the posts at the bottom of the fascia, taking care to feed the mains flex for the fan
through the fascia side panel as the shelf is lowered into position. Hook the right side on first, then
swing the left side into position.
LOUVRE ASSEMBLY
The primary air control knob must be removed before the louvre assembly can be fitted or removed.
It is retained by a Phillips-head screw from underneath. To avoid damaging the knob, check that the
screw hole and the hole in the plate are in line before replacing the screw.
INSTALLING A WATER HEATING BOOSTER (New Zealand only)
The necessary piping arrangements must be made for this before the case is fitted into the recess. The
tube may be fitted on either side of the firebox, and the plumbing requirements are the same as those
for the free-standing models. See page 10 for details.
13
 Loading...