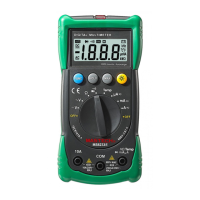
09 10
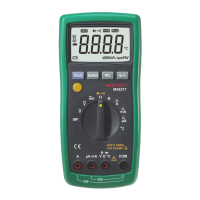
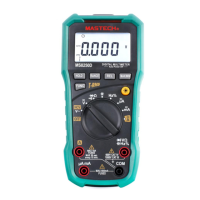
5-2 Resistance Measurement
Warning
In order to avoid the meter or measured equipment
from being damaged, cut off all power supply of
measured circuits and discharge all high voltage
capacitors before measuring capacitance.
The resistance ranges of the meter are:
400.0Ω,4.000kΩ,40.00 kΩ,400.0 kΩ,4.000MΩ,
40.00 MΩ.
The method of measuring resistance is:
1. Turn rotary switch to position.
2. Press key and select measuring range.
3. Apply the two ends of test leads to measure the
resistance value of circuit under test.
4. Read measured resistance value with LCD.
Notice:
1. The no-line measured resistance value shall be
different from rated resistance value, because other
elements on
circuit are connected with measured resistance,
which is equivalent to parallel connection of two or
multi resistances.
2. When measuring low resistance, for the
measurement accuracy, please firstly make two test
leads short circuit, here read out the displayed
resistance value, minus this
displayed value from the correct counting of
measured resistance.
3. When measuring at high resistance range, the
reading can be confirmed after several seconds.
4. Under open circuit, if the meter displays “OL”, it will
show that the measured value exceeds range.
Ω
Ω
1. Turn rotary switch to position, press key and
select measuring range.
2. Separately connect two ends of test leads to the two
ends of measured part and circuit.
5-3 Diode Measurement
Warning
In order to avoid the meter or measured equipment from
being damaged, cut off all power supply of measured
circuits and discharge all high voltage capacitors before
measuring diode.
The method of measuring diode is:
1. Turn rotary switch to position.
2. Press key and select measuring range.
3. Separately connect black and red test leads to
negative pole and positive pole of measured diode.
4. The meter shall display forward bias value of
measured diode. If the poles of the test leads are
connected inversely, the meter will display “OL”.
Ω
Notice:
For on-line measuring diode, display forward voltage
drop at forward measurement; the reverse measurement
depends on the values of other elements connected in
parallel at both ends of diode.
5-4 Continuity Measurement
Warning
In order to avoid the meter or measured equipment from
being damaged, cut off all power supply of measured
circuits and discharge all high voltage capacitors before
on/off measurement.
The method of on/off measurement is:
Ω
FUNC
FUNC
FUNC