11
K
V
U
ASSEMBLY INSTRUCTIONS
1/4-20 x 1/2 in.
Screw
x 4
Hardware Used
x 4
5/32-32 x 3/8 in.
Screw
EE
L
AA
AA
T
I
X
BB
BB
P
B1
K
Hardware Used
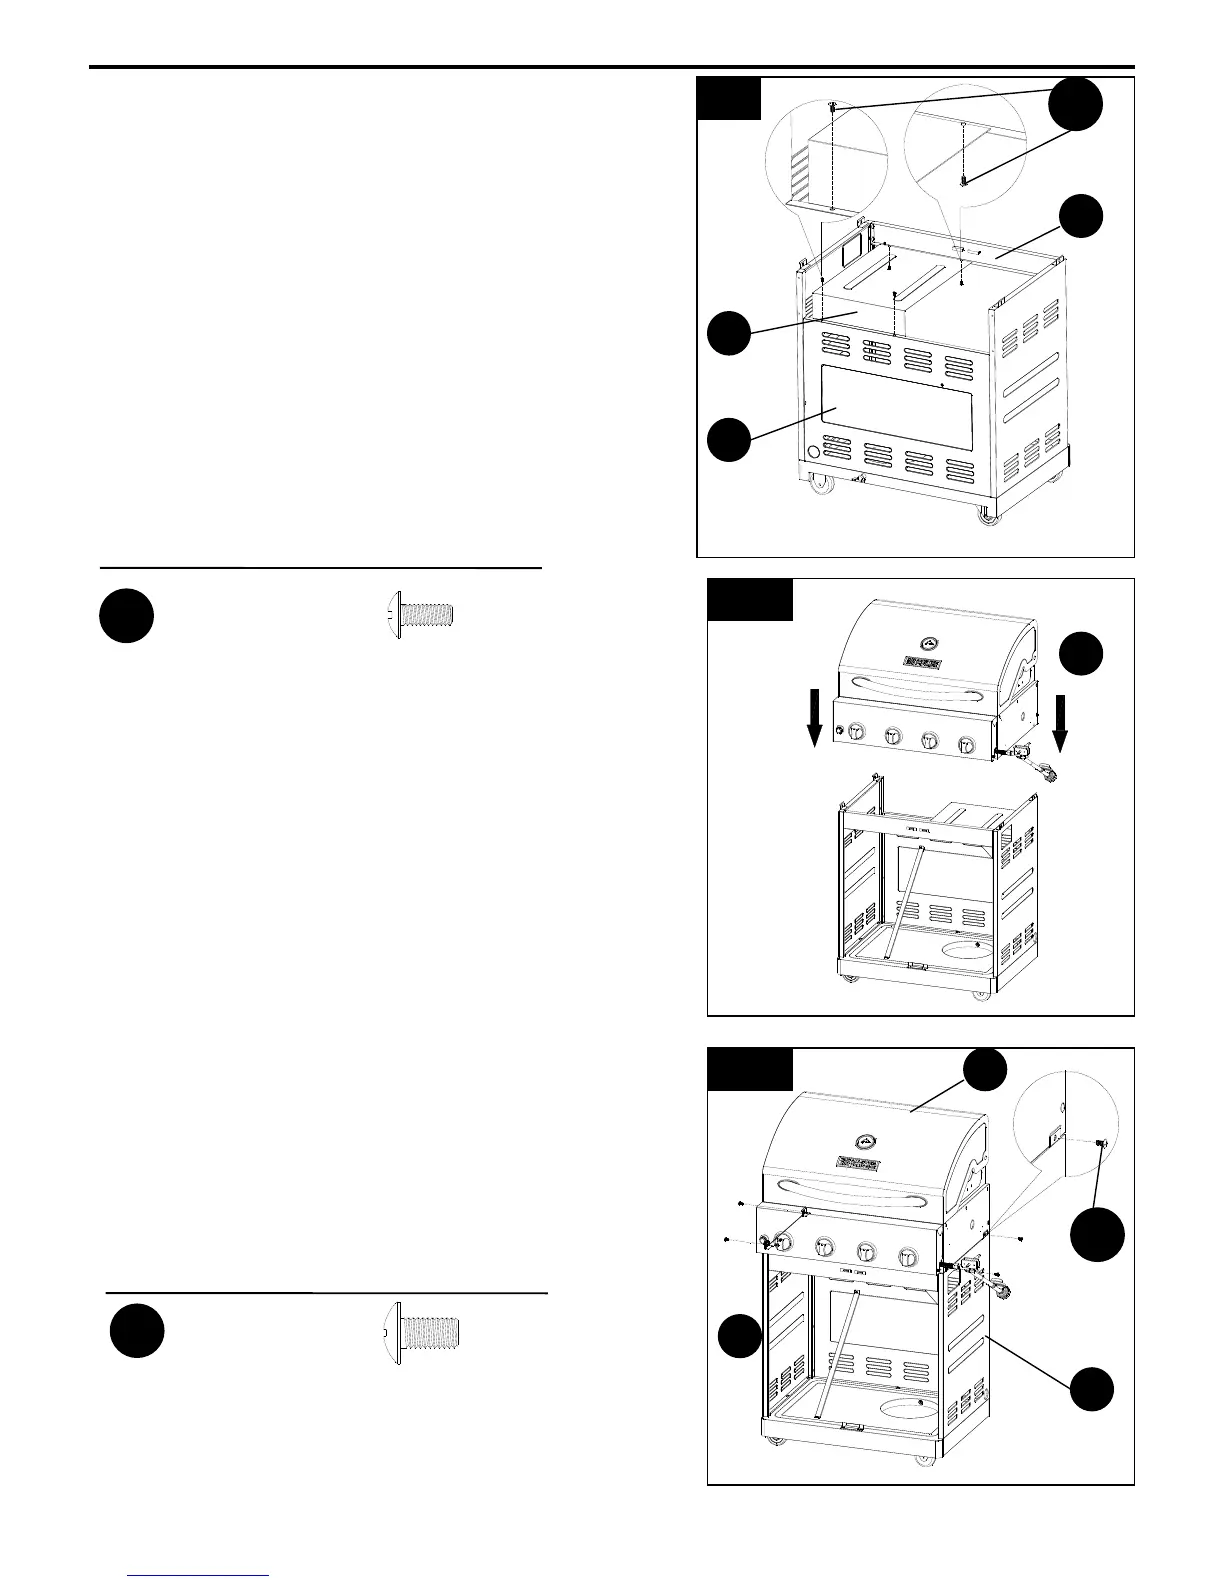
9. Install cart heat shield
Attach the cart heat shield (T) to the cart back
panel (I) using 2 5/32-32 x 3/8 in. screws (AA).
Note that the heat shield installs under the lip of the
cart back panel (I) as shown in Fig 9A.
Next attach the cart heat shield (T) to the cart support
beam (X) using 2 5/32-32 x 3/8 in. screws (AA) as shown
in Fig. 9B.
Note that the cart heat shield (T) installs on top of the
lip of the cart support beam (X).
A.
B.
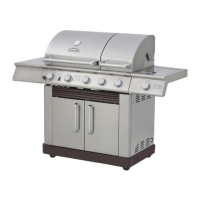
10. Install grill head to cart
Caution grill head is heavy. To avoid injury, obtain
the help of an assistant for this step.
With the assistance of a helper, remove the grill head
(K) from the packaging and place on top of the grill
cart as shown in Fig. 10A.
Attach the grill head (K) to the left and right side
cart panels (P and B1) using 4 1/4-20 x 1/2 in. screws
(BB) as shown in Fig. 10B.
9
10A
10B
K