DANGER: Do not stare into beam or view directly with optical instruments.
WARNING: The sliding fence must be extended
when making any bevel cut. Failure to extend the sliding
fence will not allow enough space for the blade to pass
through which could result in serious injury. At extreme
miter or bevel angles the saw blade may also contact the
sliding fence.
WARNING: DRY RUN - It is important to know
where the blade will intersect with work piece during cutting
operations. Always perform a simulated cutting sequence
with the power tool switch OFF to gain an understanding
of the projected path of the saw blade. At some extreme
angles, the left or right sliding fence might have to be
removed to ensure proper clearance prior to making the cut.
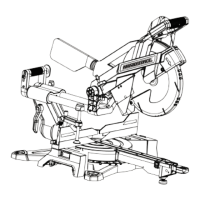
LASER GUIDE ON/OFF SWITCH (FIG. 18)
• To turn laser ON, press laser guide ON/OFF switch (C) to “ON” position.
• To turn laser OFF, press laser guide ON/OFF switch (C) to “OFF” position.
LED WORKLIGHT ON/OFF SWITCH (FIG. 18)
This miter saw is equipped with a LED worklight to illuminate work surface under low light conditions.
• To turn LED worklight ON, press LED worklight ON/OFF switch (D) to “ON” position.
• To turn LED worklight OFF, press LED worklight ON/OFF switch (D) to “OFF” position.
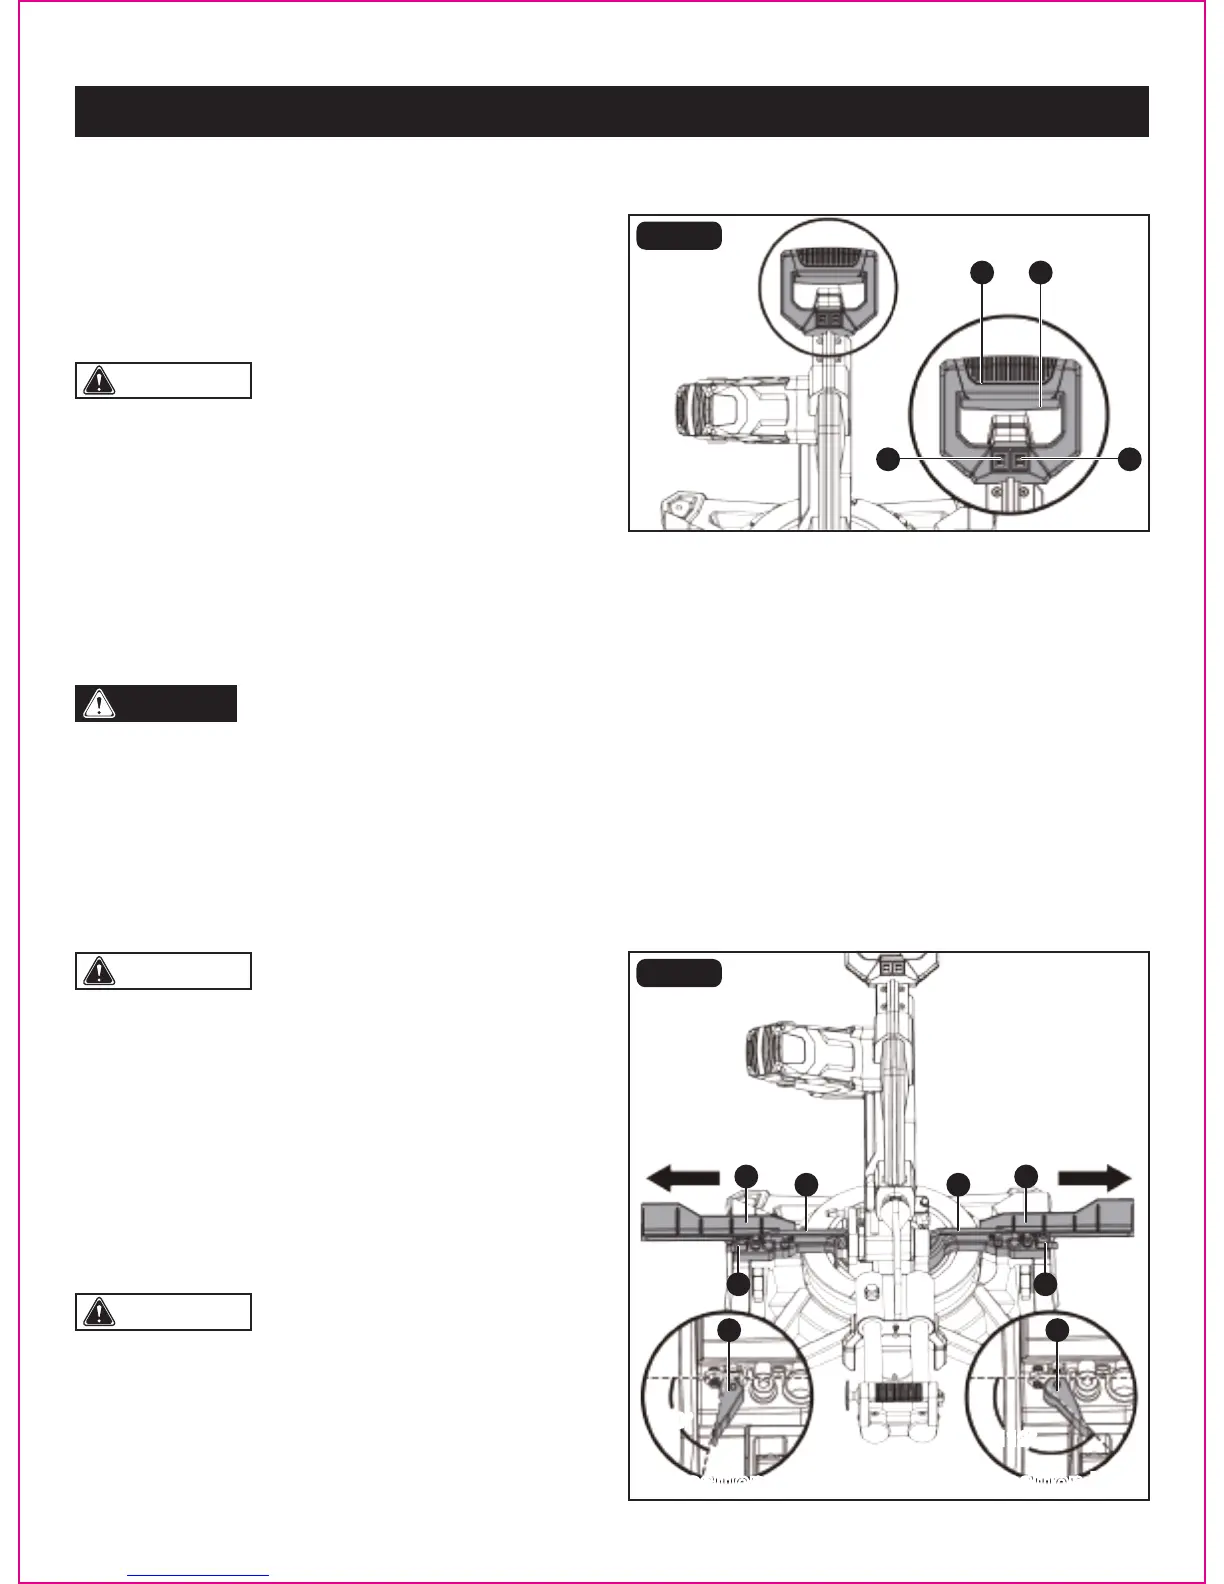
Extending
• Turning the fence locking knob (A) about 60° counter-
clockwise to loosen it.
• Extend the sliding fence (B) by sliding it out. Turn the fence
locking knob (A) clockwise to lock the sliding fence.
EXTENDING AND REMOVING SLIDING FENCE (FIG. 19)
FIG. 19
60°
60°
112°
WARNING:
• To avoid injury, after completing a cut and releasing the
trigger switch, allow the blade to stop before raising the
cutting head.
• To avoid injury, check and tighten the arbor bolt periodically.
ON/OFF SWITCH (FIG. 18)
This miter saw is equipped with an ON/OFF trigger switch
(A).
• To turn the miter saw ON, depress the ON/OFF switch (A)
located in the “D” handle (B).
• To turn it OFF, release the ON/OFF switch (A).
FIG. 18
AB
CC
B
A
AA
A
B
C
Page 27
OPERATION
D
112°
Position aPosition a Position bPosition b