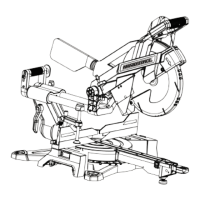
CAUTION: To reduce the risk of injury, return the
slide bar to the full rear position after each crosscut
operation.
• For chop cutting operations on small work pieces, slide
the cutting head assembly completely toward the rear of
the unit and tighten the slide lock knob (A).
• To cut wide boards, the slide lock knob (A) must be
loosened to allow the cutting head to slide freely.
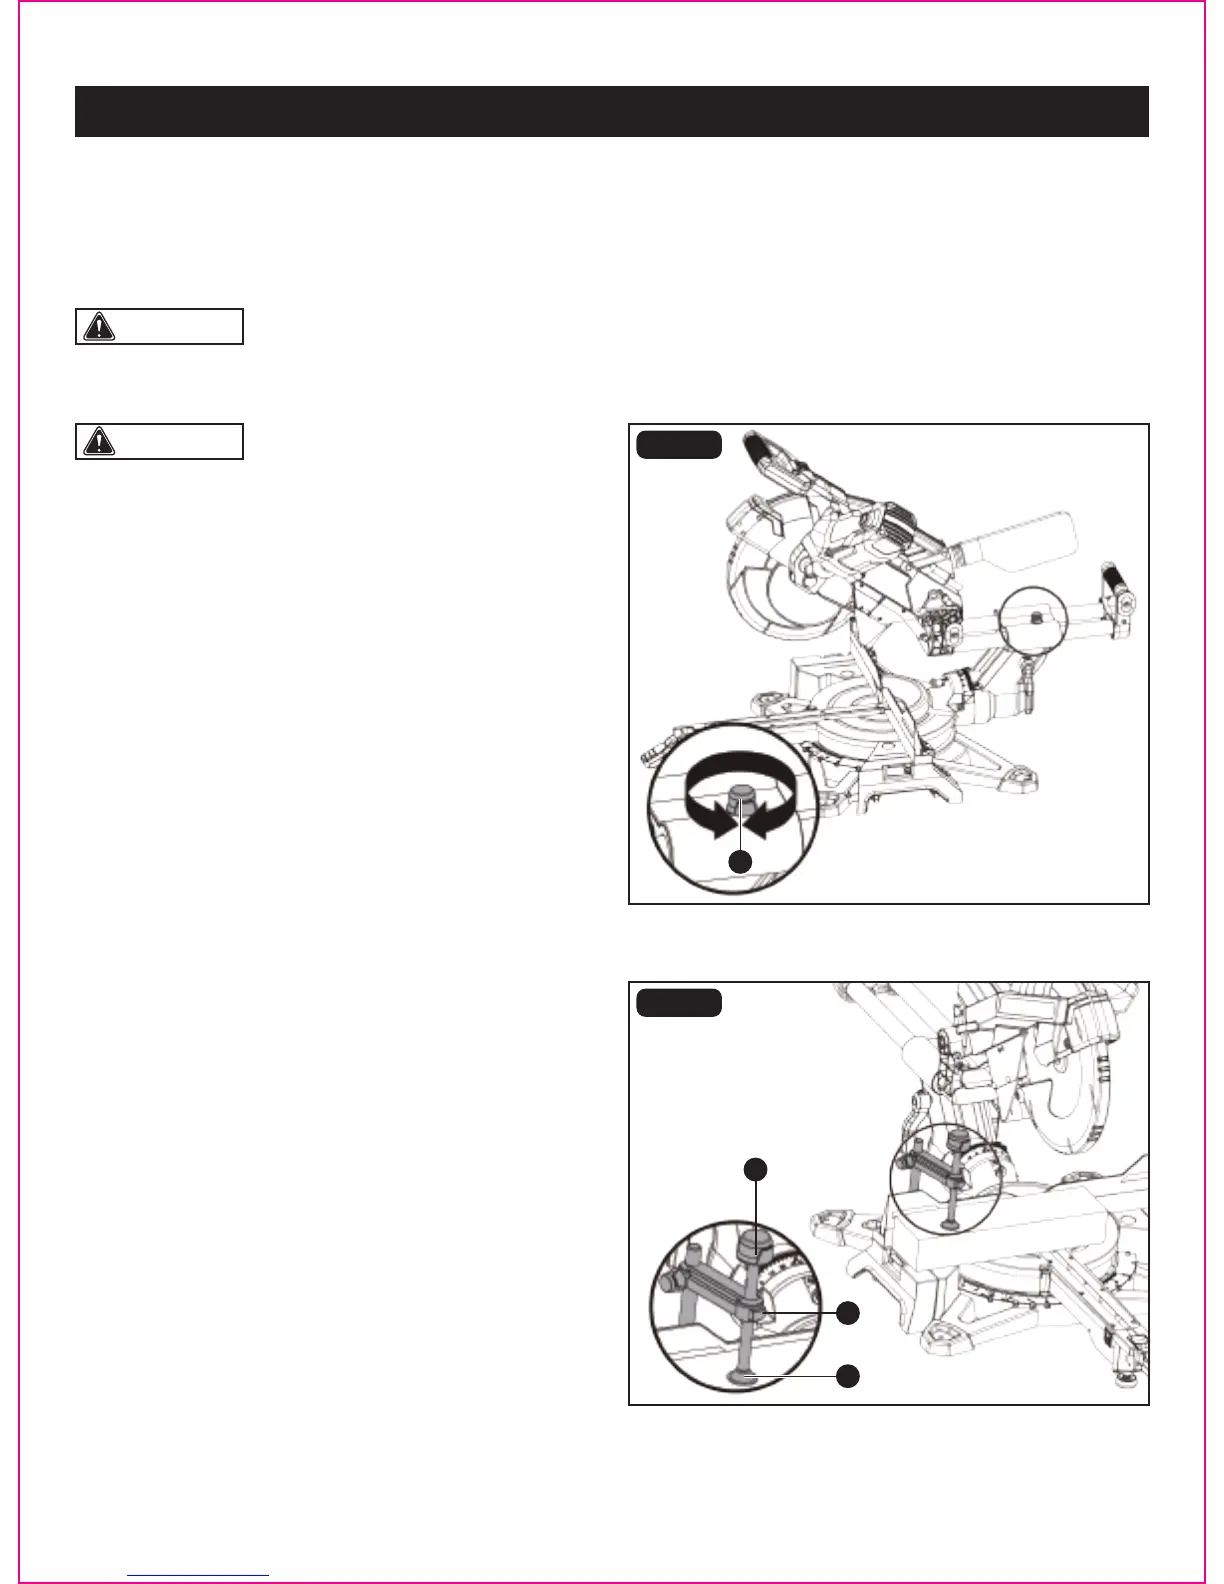
• Push and hold the quick release button (A) on the front of
the work piece clamp (B).
• Move the work piece clamp (B) upward or downward to
the desired position.
• Release the quick release button (A) to secure the clamp
the work piece.
• Turn the knob (C) for slight adjustment.
SLIDING THE CUTTING HEAD (FIG. 20)
USING THE WORK PIECE CLAMP (FIG. 21)
FIG. 20
FIG. 21
Page 28
OPERATION
CAUTION: When transporting the saw, always secure the sliding fence and lock it.
Removing
• Turning the fence locking knob (A) about 112° counterclockwise to loosen it.
• Remove the sliding fence (B) from the slot of the miter fence (C).
Installing sliding fence refer to the section “INSTALL RIGHT SLIDING FENCE”.
C
A
A
B