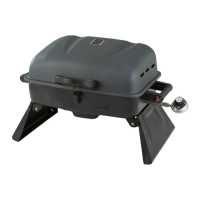
1. Remove burners by removing the fasteners, which secure the burners to the
grill bottom.
2. Lift burners up and away from gas valve orifice.
3. Disconnect wire from spark electrode.
4. Clean venturi of each burner with small bottle brush or compressed air.
. Remove all food residue and dirt from burner surface.
6
7
8
electrode.
10. Connect LP gas tank per “Installing LP Gas Tank” section.
11. Perform leak test per “Checking for Leaks” section.
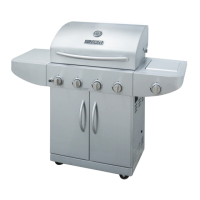
Cleaning Side Burner
1. Turn LP gas tank valve to “CLOSED”.
2. Turn all control knobs clockwise to the “ OFF” position.
Note: A “poof” sound is normal as the last of the gas is burned.
3. Disconnect LP gas tank per “Disconnecting LP Gas Tank” section.
4. Remove side burner grid.
. Remove burner by removing the screws that secure the burner to the side
shelf.
6. Lift burner up and away from gas valve orifice.
7. Clean venturi of burner with small bottle brush or compressed air.
8. Remove all food residue and dirt from burner surface.
9
10
replace with new burner from manufacturer.
11
electrode.
12
13. Connect LP gas tank per “Installing LP Gas Tank” section.
14. Perform leak test per “Checking for Leaks” section.
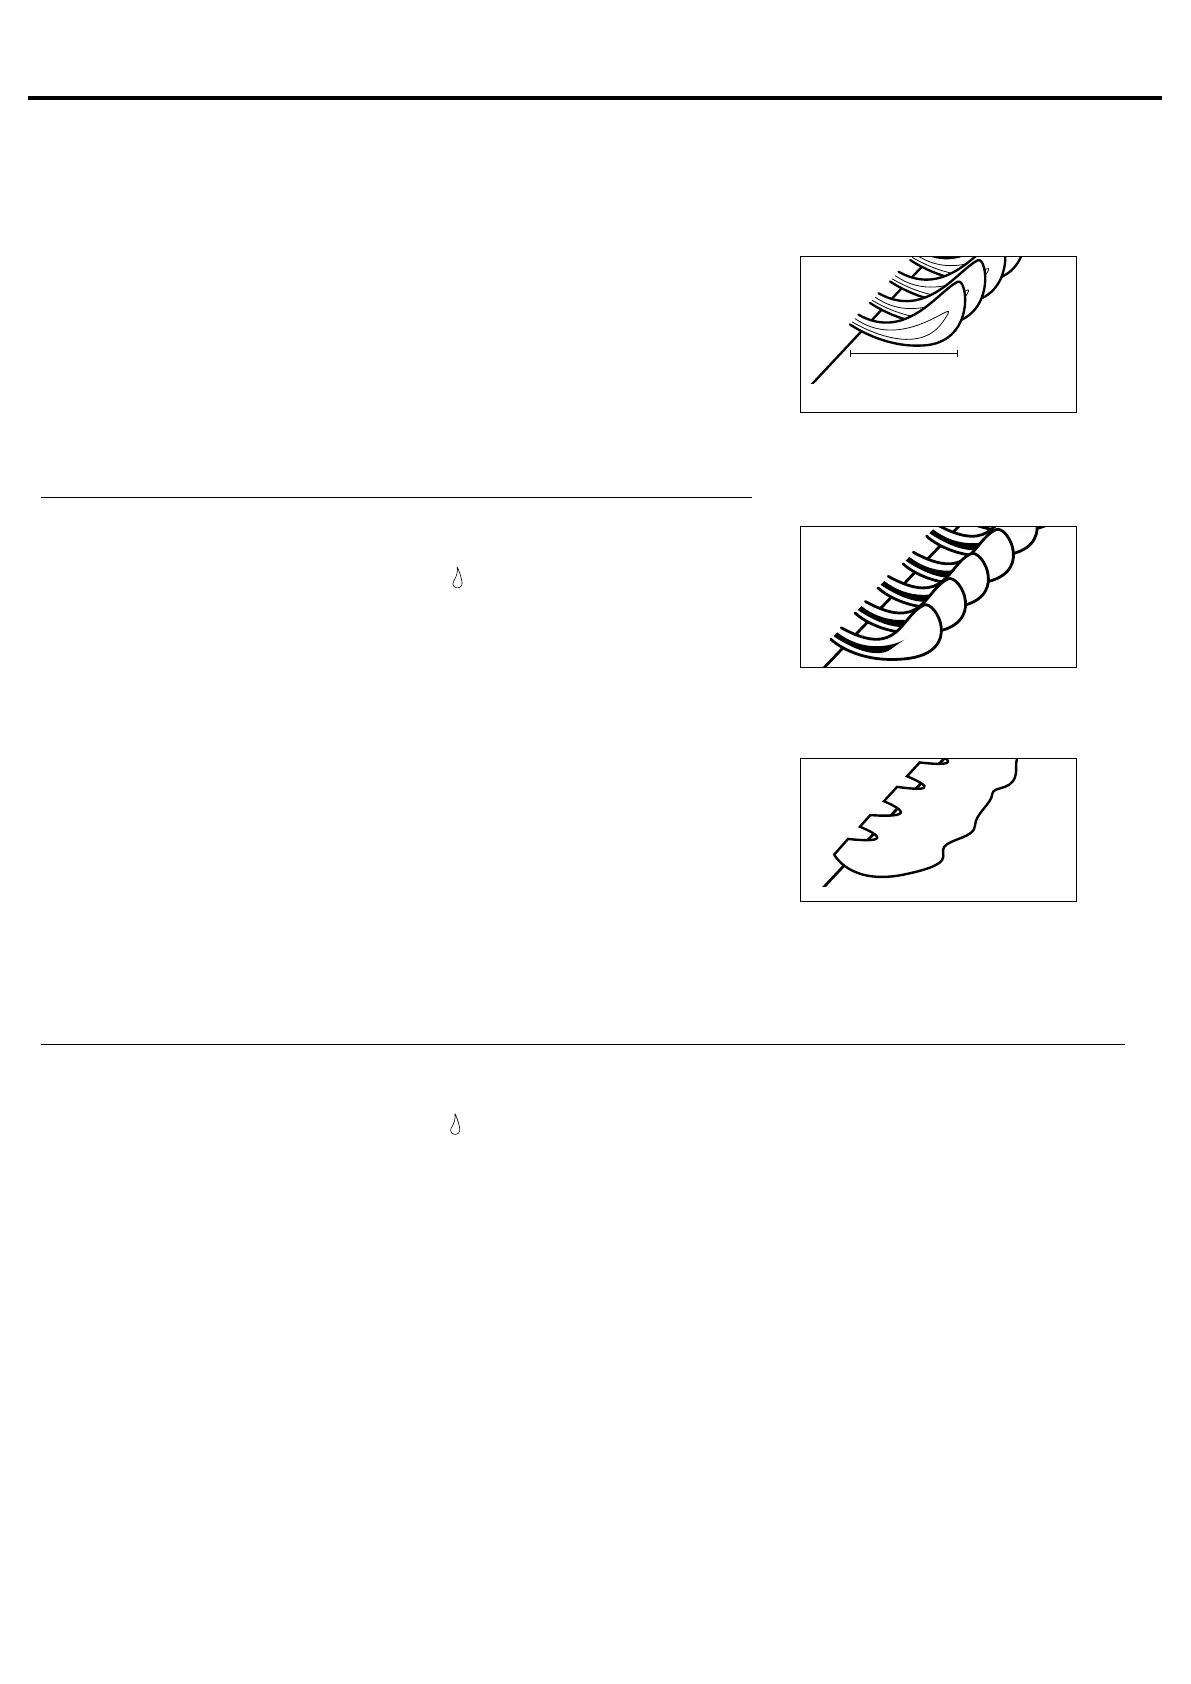
Figure 8
Burner Flame Conditions
Use this chart to see if your burners need
to be cleaned.
1-2 in. /
Normal: Soft blue flames with
yellow tips between 1 in. - 2 in.
height.
Needs cleaning: Noisy with
hard blue flames.
Has to be replaced: Wavy with
yellow flames.
Before Storing
1. Turn LP gas tank valve to “CLOSED”.
2. Turn all control knobs clockwise to the “ OFF” position.
Note: A “poof” sound is normal as the last of the gas is burned.
3. Disconnect LP gas tank per “Disconnecting LP Gas Tank” section.
4. Clean all surfaces.
6. If storing the grill indoors, disconnect the LP tank per “Disconnecting LP Gas Tank” section.
7. Place the protective cap cover on the LP tank and store the tank outdoors in a well-ventilated area out of direct
sunlight.
8. If storing the grill indoors, cover the grill and store in a cool dry place.
9. If storing the grill outdoors, cover the grill with a grill cover for protection from the weather.
CARE AND MAINTENANCE(CONTINUED)
23