10
H
E
4
2
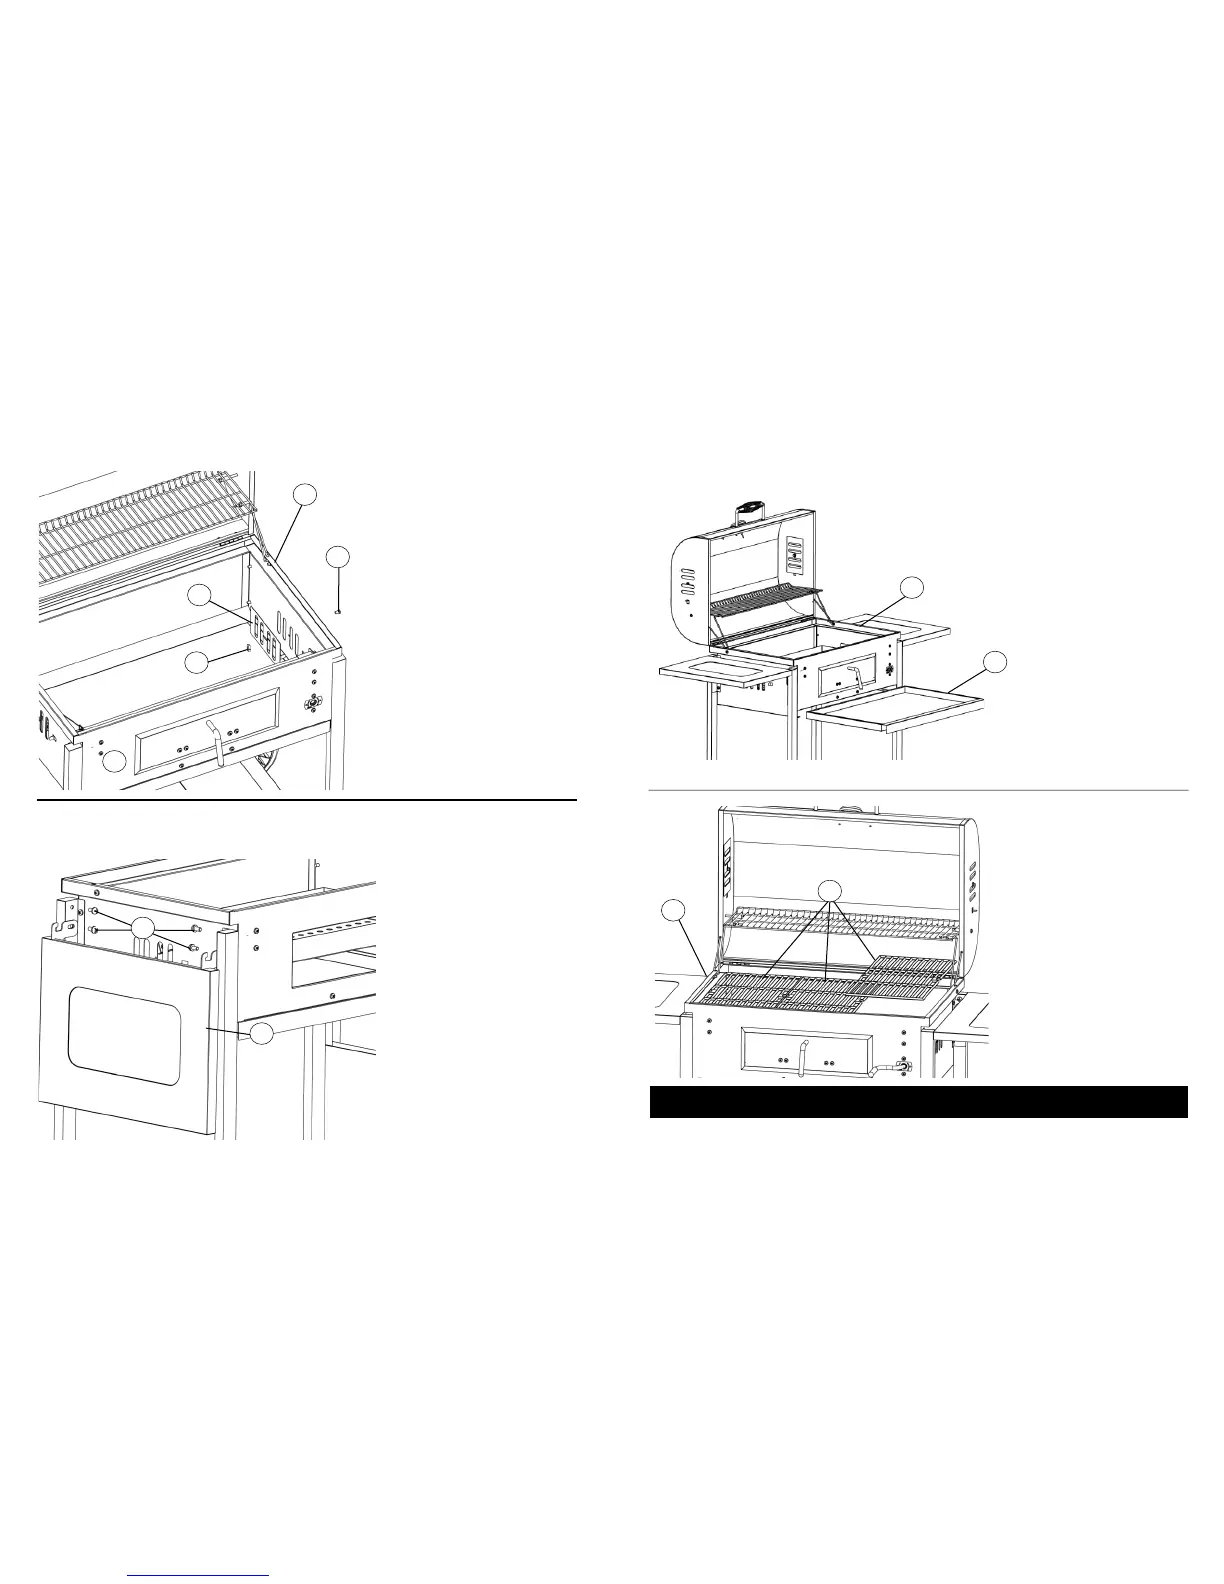
STEP 9.
Note: Do not over tighten. Air damp-
ers should move freely.
Attach air damper (4) to body (2)
using phillips head screw (E) and
lock nut (H) as shown.
Repeat step on opposite side for
remaining air damper.
STEP 11.
Insert ash pan (19) into bottom of
body (2) as shown.
19
2
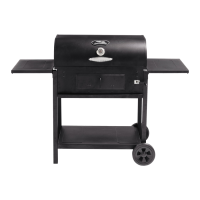
STEP 10.
Attach side shelf (14) to grill legs
using carriage bolts (F) as shown.
Repeat step on opposite side for
remaining side shelf.
SOME PARTS NOT SHOWN FOR
CLARITY.
F
14
9
STEP 12.
Place cooking grates (3) on body (2).
2
3
GRILL IS READY FOR USE
SOME PARTS NOT SHOWN FOR
CLARITY.