EasyManua.ls Logo

Masterbuilt 20070312 - User Manual

Masterbuilt 20070312
4 pages
To Next Page IconTo Next Page
Loading...
Masterbuilt Manufacturing, Inc.
1 Masterbuilt Ct.
Columbus, GA 31907
Servicio de atención al cliente: 1-800-489-1581
www.masterbuilt.com
SEA PARTE DE NUESTRA COMUNIDAD EN LÍNEA "DADGUM GOOD":
www.masterbuilt.com | www.dadgumthatsgood.com | www.facebook.com/masterbuilt
Twitter @Masterbuilt @JohnMcLemore @Dadgum atsGood
Masterbuilt Manufacturing, Inc. · 1 Masterbuilt Ct. Columbus, GA 31907 · Customer Service: 1-800-489-1581 · www.masterbuilt.com
090513-23GH
MADE IN CHINA
1
2
3
PART NO QTY DESCRIPTION
1 1 Tabletop
2 4 Leg
3 1 Bottom Shelf
Tools needed for assembly (not included): Phillips Head Screw Driver, Adjustable Wrench
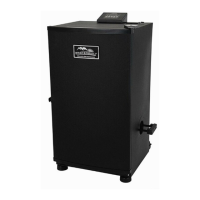
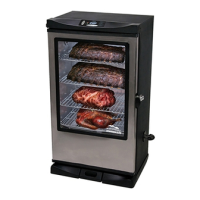
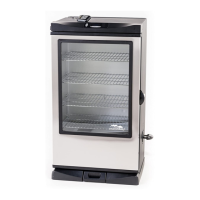
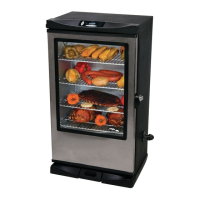
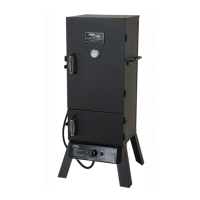
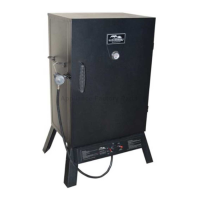
ELECTRIC SMOKER STAND
For use with the following models:
20070213, 20070312, 20071214, 20071314, 20071414, 20071514,
20071614, 20071714, 20072112, 20072212, 20072312, 20072412,
20072512, 20072712, 20072812, 20072912, 20100714, 20101213
M6
Flange Nut
Qty. 16
B
DO NOT RETURN TO RETAILER
For Assembly Assistance, Missing or Damaged Parts
Call: MASTERBUILT Customer Service at 1-800-489-1581.
M6 x 50
Screw
Qty. 4
M10 x 55
Screw
Qty. 2
C
D
A
M6 x 12
Screw
Qty. 16
E
M10 Nut
Qty. 2
CALIFORNIA PROPOSITION 65
This product contains chemicals, including lead and lead compounds, known to the State of
California to cause cancer, birth defects or other reproductive harm.
Wash your hands after handling this product.
WARNING
Instructions For Use With Generation 2 Smokers

Other manuals for Masterbuilt 20070312

Questions and Answers

Masterbuilt 20070312 Specifications

General IconGeneral
Model20070312
Product TypeElectric Smoker
Fuel TypeElectric
Cooking Capacity30 lbs
Number of Racks4
Power SourceElectric
Voltage120V
Wattage800W
Temperature Range100°F to 275°F
Temperature ControlDigital
Digital Control PanelYes
Insulated ConstructionYes
Water PanYes
Total Cooking Area730 sq inches
Wood Chip LoaderSide access

Summary

Electric Smoker Stand

Instructions For Use With Generation 2 Smokers

Provides instructions for using the electric smoker stand with specific generation 2 smoker models.

Parts List and Tools Required

Lists all parts and necessary tools for the assembly of the smoker stand.

Safety and Regulatory Information

Contains warnings and California Proposition 65 information regarding product use and chemical content.

Smoker Stand Assembly

Step 1: Assemble Bottom Shelf to Legs

Detailed instructions for attaching the bottom shelf to the smoker stand legs.

Step 2: Attach Legs to Tabletop

Instructions for connecting the smoker stand legs to the tabletop.

Smoker Stand Installation

Step 3: Secure Stand to Smoker Base

Instructions for securing the smoker stand to the smoker body using M10 nuts and screws.

Step 4: Tighten Screws

Guidance on tightening the assembly screws (C and D) for the smoker stand.

Step 5: Level and Stabilize Smoker

Instructions on using M10 nuts as spacers to level the smoker and improve stability.

Step 6: Final Assembly and Checks

Steps to return the assembled unit upright and re-tighten all hardware.

Related product manuals