7
ASSEMBLY
• BEFORE ASSEMBLY READ ALL INSTRUCTIONS CAREFULLY.
• ASSEMBLE UNIT ON A CLEAN, FLAT SURFACE.
• TOOLS NEEDED: ADJUSTABLE WRENCH, PHILLIPS HEAD SCREWDRIVER
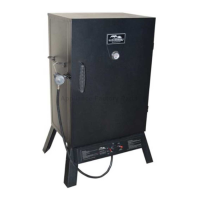
Carefully position grill as shown.
Do not tighten screws all the
way. Leg frames may need to be
adjusted during assembly.
STEP 1
Attach rear legs (4), right front leg
(25) and left front leg (26) to
bottom of smoker body (1) using
phillips screws (A).
Do not fully tighten screws yet.
STEP 2
Attach control panel (5) to right
front leg (25) as shown using
phillips screws (A).
Repeat on opposite side attaching
contol panel (5) to left front leg (26).
A
4
25
26
1
25
26
5
A
12
ASSEMBLY
STEP 11
Insert small hook end of grease
clip (18) all of the way up through
large hole in bottom of smoker
body (1), turn grease clip clock-
wise/counter-clockwise so that it is
supported on small tab.
Position grease cup (24) on grease
clip so it rests snugly.
Grease cup is needed to collect
grease run-off.
Note: Clip may require adjustment
to fi t diameter of container.
1
1
18
24
STEP 12
Hang matchstick (22) on side of
smoker body (1) as shown.
22
 Loading...
