ASSEMBLY INSTRUCTIONS
SAFETY
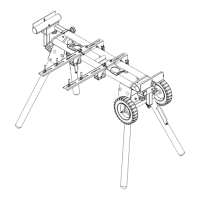
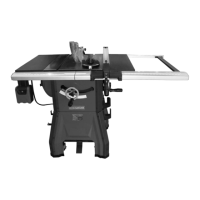
FEATURES
ASSEMBLY INSTRUCTIONS
SAFETY INSTRUCTIONS FOR MITER SAW STATIONS
• Rapid Clamp Tool Mounts
• Adjustable Material Supports
• Wheels for easy transportation
Your Rolling Miter Saw Station is loaded with standard features all designed and engineered to
maximize the functionality and flexibility of your Work Station.
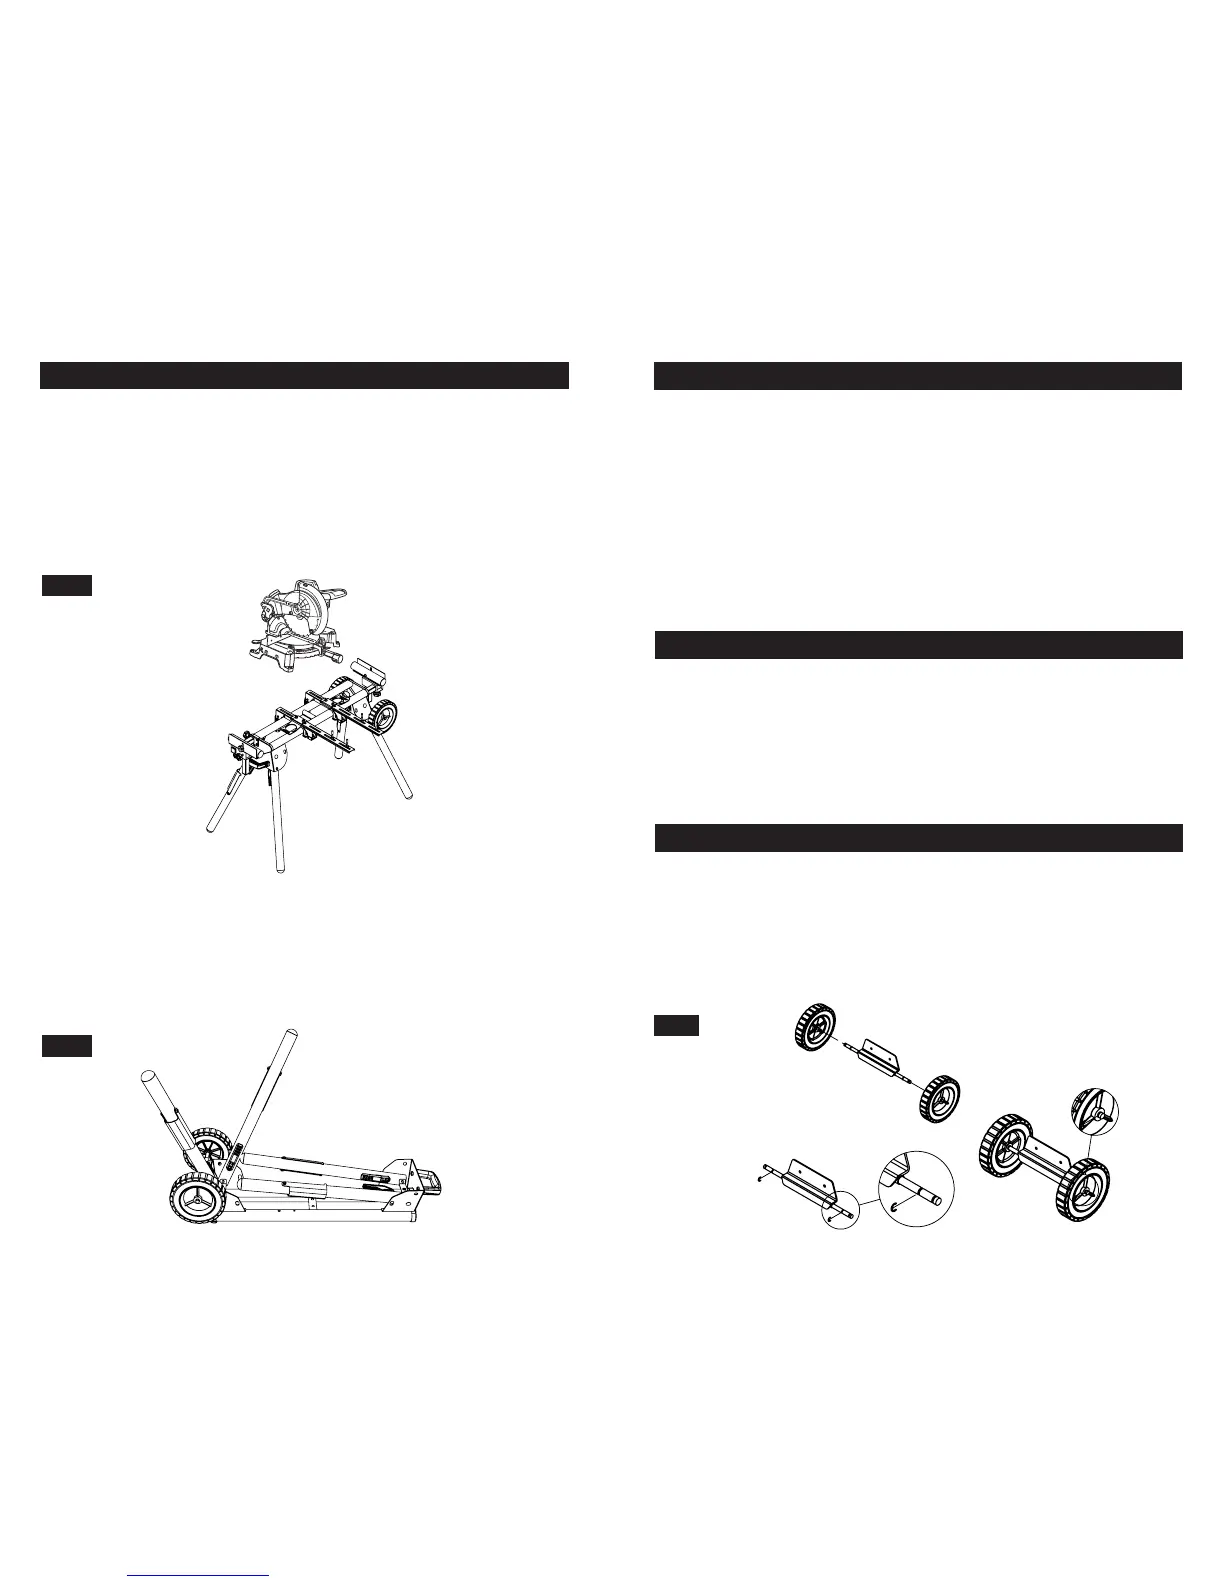
ATTACHING THE WHEELS
STANDARD FEATURES
1. Use caution when folding or unfolding legs to limit any finger pinch points.
2. Place stand on flat and level surface to keep from rocking or tipping.
3. Make sure that work support extensions (if included) are within safe operating limits, and
are properly locked in place before using tool. Do not exceed the rated capacity on
main frame table.
4. Test the setup for stability before proceeding with work.
5. Be sure the miter saw is tightened securely at all mountings before folding the
work station for transport.
6. Use only the rapid clamp tool mounts included with this kit featuring the J-Lock
™
Clip.
Without this unique clip, it is possible that your tool could become dislodged from the mount
if bumped.
Read all assembly instructions completely before attempting assembly.
Figure 2
1. Using pliers, squeeze a C-clip over the inner grove closest to the Miter Saw Station.
2. Place the wheel onto the axle and secure it using another C-clip toward the end of the axle.
3. The C-clips should snap into place and hold the wheel onto the axle.
Step 1
Step 2
Step 3
FIG 2
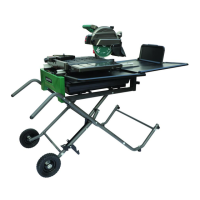
TO REMOVE SAW FROM STAND
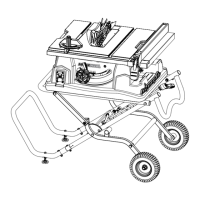
TRANSPORTING AND STORING
Figure 11.
1. Raise the locking levers to unlock the saw and tool mounts.
2. Unsnap the J-Lock
™
Clips from around the mounting beams to allow your tool to separate
from your MASTERFORCE
®
Miter Saw Station.
3. Lift away from the rear rail of the stand to disengage.
4. With the assembly tilted slightly toward you, lift the assembly to disengage from the front
rail of the work station.
FIG 11
FIG 12
Figure 12.
1. Before storing or transporting, make sure all attachments are secure and bench top tool
is removed.
2. Collapse legs and make sure they are locked into the up position.
3. Use the handle that is located on the end of the product for transporting.
4. Pull up on the handle and tilt workstation until weight is distributed evenly onto wheels.
Page 11 Page 4