REMOVING MOTOR BRUSHES
Motor brushes are a normal wear item and will
require replacing periodically depending upon
the type of material being ground. The following
information outlines the general procedure for
removal of the worn brushes and installation of
the new brushes.
WARNING: Make sure the angle grinder
is unplugged from the power source.
Removing worn brushes
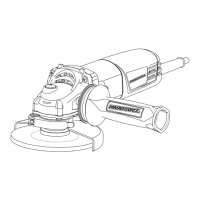
1. Remove the grinding disc (Fig. 5).
2. Remove the disc guard (Fig. 2).
3. Lay the tool on its left side on a towel or on
corrugated (Fig. 8).
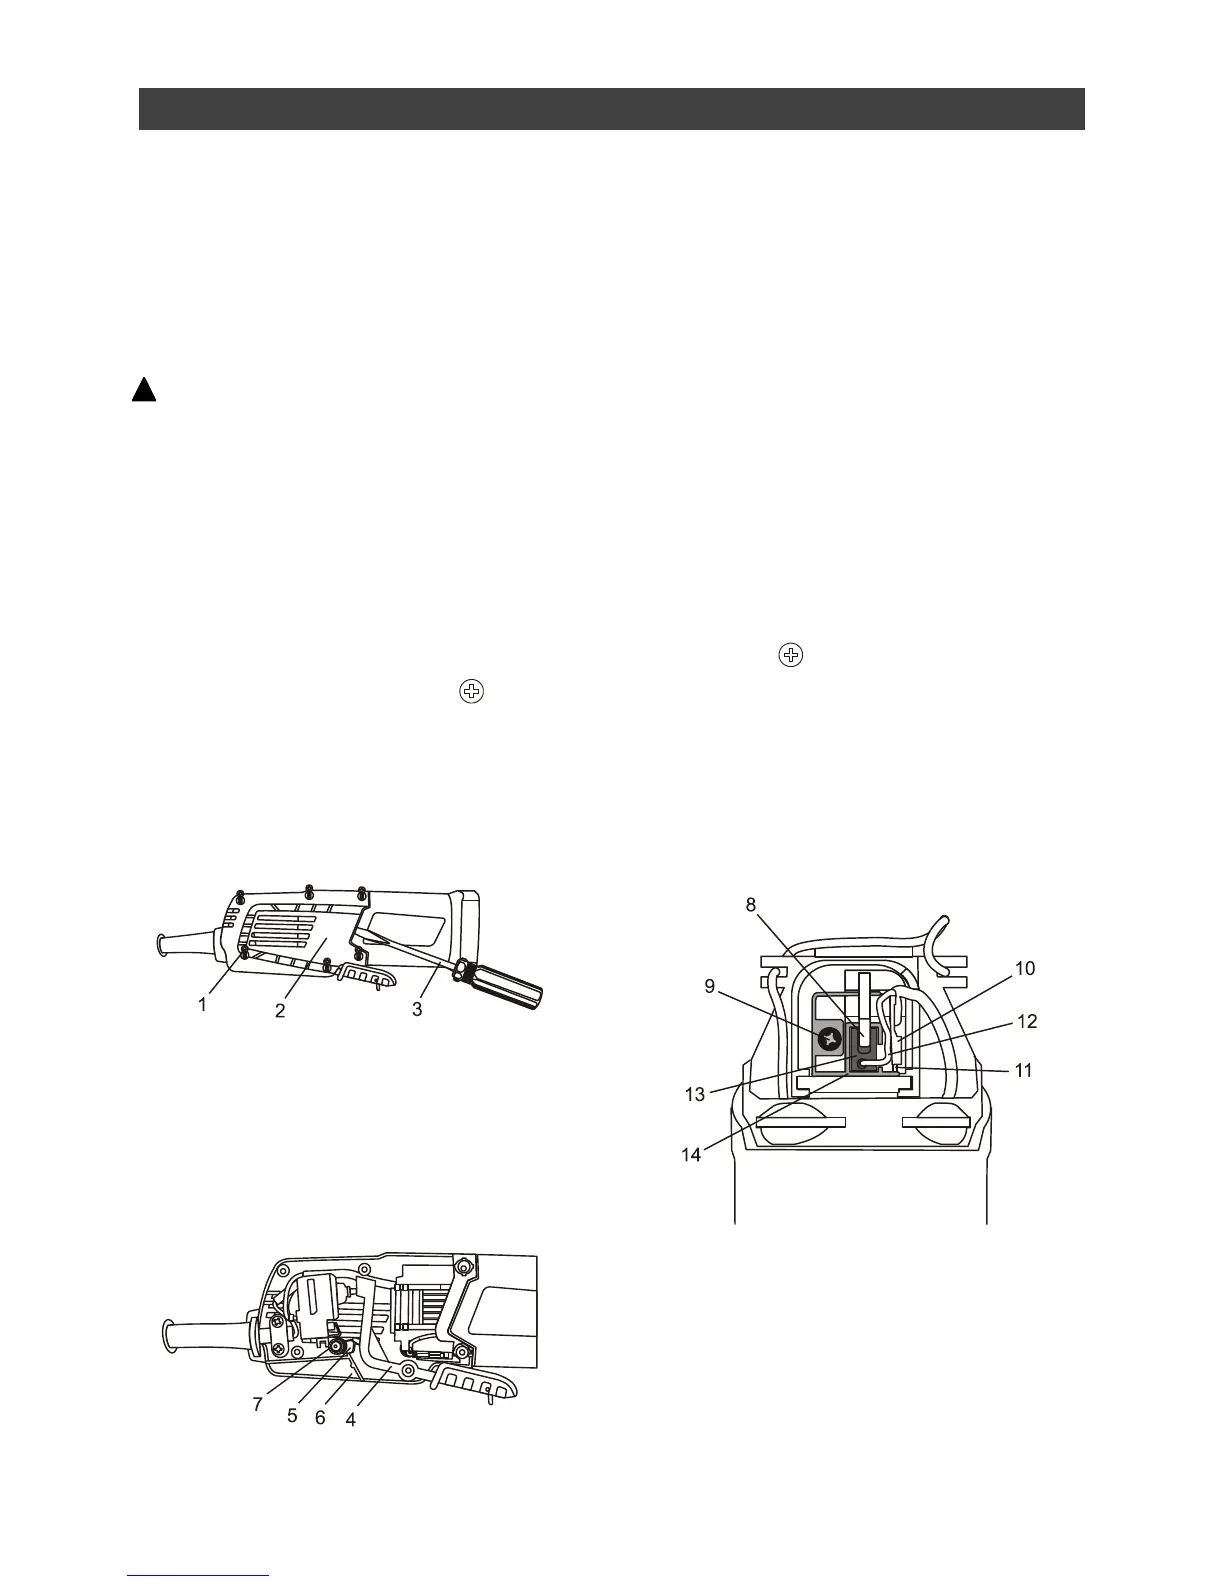
4. Remove 6 screws (1) from the right hand
side of the handle using a #2
screwdriver.
5. Carefully pry off the right half of the handle
(2) using a small slot screwdriver (3).
NOTE: Be careful not to damage the handle or
housing to ensure easy re-assembly.
6. Remove the switch paddle arm (4) by lifting
it upward (Fig. 9).
7. Remove the lock-on button (5) by lifting it
out of the left half of the handle (6).
NOTE: Be careful not to lose the spring (7)
that is on the lock-off button.
8. Pry the left half of the handle about ¾”
away from the motor housing using a small
slot screwdriver.
NOTE: Do not pry the left half of the handle
completely off the motor housing. You will
dislodge the switch assembly and make re-
assembly more difficult.
9. Turn the tool on its back with the spindle
pointing upward (Fig. 10).
NOTE: Pay attention to the position of the
braided copper brush wire (12). When the new
carbon brush is reinstalled, the braided brush
wire MUST be placed in exactly the same
position.
10. Use a small slot screwdriver to lift the end
of the coil spring (8) upward and place it on
top of the screw (9).
11. Use small needle nose pliers to pull the top
spade connector (10) from the spade
terminal (11).
12. Carefully grasp the braided copper brush
wire (12) and lift the carbon brush (13) from
the brush holder (14).