95
94
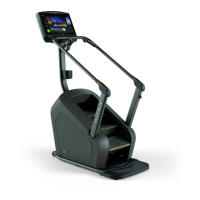
10.3 CLIMB MILL ASSEMBLY STEPS - CONTINUED
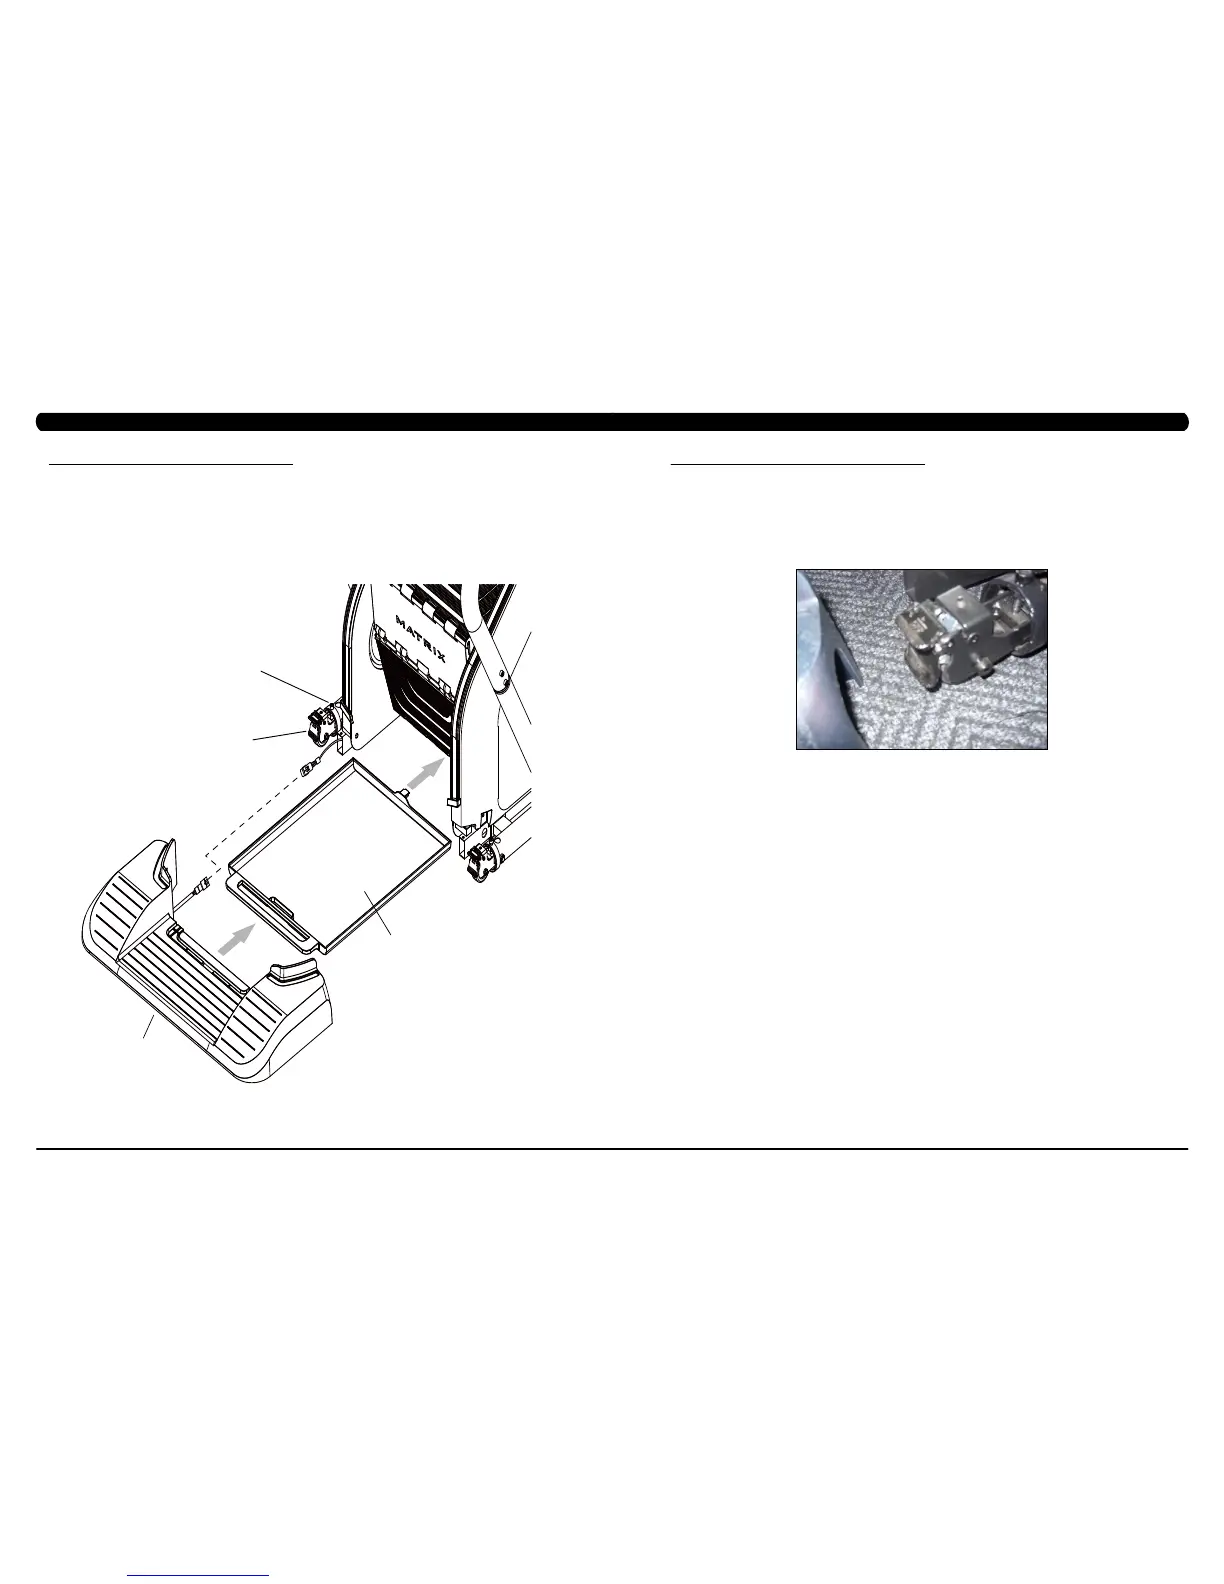
STEP 4 - BASE STEP
CHAPTER 10: CLIMB MILL SPECIFICATIONS AND ASSEMBLY GUIDE
1) Connect the wires from the Base Frame to the Base Step.
2) Lift the Base Step over the caster wheels. Push down firmly on both sides until it seats firmly.
3) Slide the Sweat Collection Tray under the Climb Mill, latching the handle to the base.
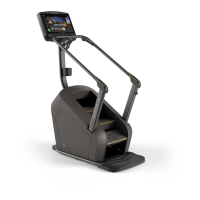
10.4 STABILIZING THE CLIMB MILL
STABILIZINGTHEMATRIXC7XE-04CLIMBMILL
The Matrix Climb Mill should be level for optimum use. Locate a level, stable surface to position the equipment. The equipment has leveling
transport wheels located under the "Control Zone" cover (Figure A). To access, grab the left and right sides of the cover and lift off. caution:
There is an electrical plug located under the cover that will need to be unplugged before the cover can be completely removed. With the
"Control Zone" cover removed, adjust the transport wheels until the equipment is stable and lock the wheels into place. Once stable, plug the
electrical connection back together and place the "Control Zone" cover back into place.
FIGURE A
CHAPTER 10: CLIMB MILL SPECIFICATIONS AND ASSEMBLY GUIDE