16
CHAPTER 6: MX-T3X / T3Xi TreaDmill specifications, parts, anD assembly guiDes
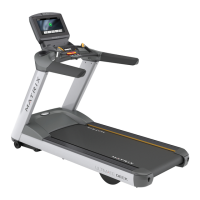
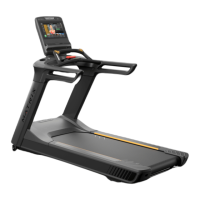
6.3 MX-T3X / MX-T3XI MODEL ASSEMBLY STEPS
Connect the console cables from the console set to the motor control
board cables. Secure the console set with 2 screws (Z52) on each side.
• ATTENTION
After installation is completed, the treadmill will need to be calibrated by using the AUTO-CHECK function. If this is not done, the treadmill's
speed and incline values may be incorrect and damage the treadmill. Do not stand on the belt when performing the AUTO-CHECK function.
• ASSEMBLY INSTRUCTIONS
Please make sure that the power plug is not plugged into the wall outlet while completing the following procedure.
To ensure correct assembly of the treadmill, carefully read and follow these steps:
Remove the motor cover. Pull out the console cable and route it through
the Right console mast. Place the right console mast and then the left
console mast in the console post support brackets. Secure the Right and
Left mast with the 4 bolts provided (Z50, Z51). Make sure these bolts
are tight.
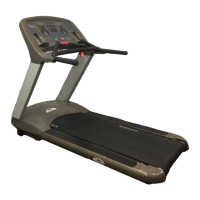
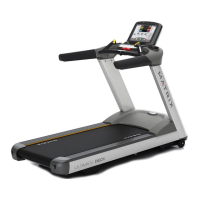
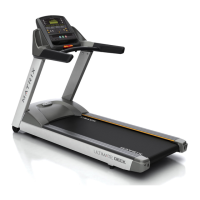
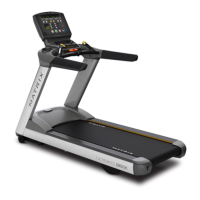
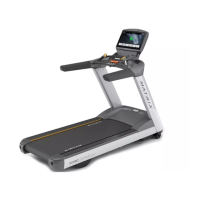
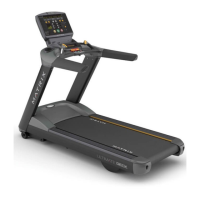
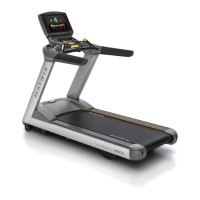
MX-T3X / T3XI • TREADMILL
 Loading...