1
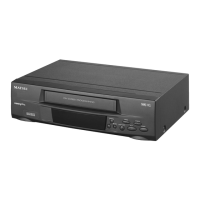
Set a timer position
Press the VIDEO PLUS+/PROGRAM
button twice on the remote control.
The timer
event menu will appear.
Press the PLAY or
STOP buttons to select a free timer position
(blank dotted line), then press ENTER.
The
timer record screen will appear.
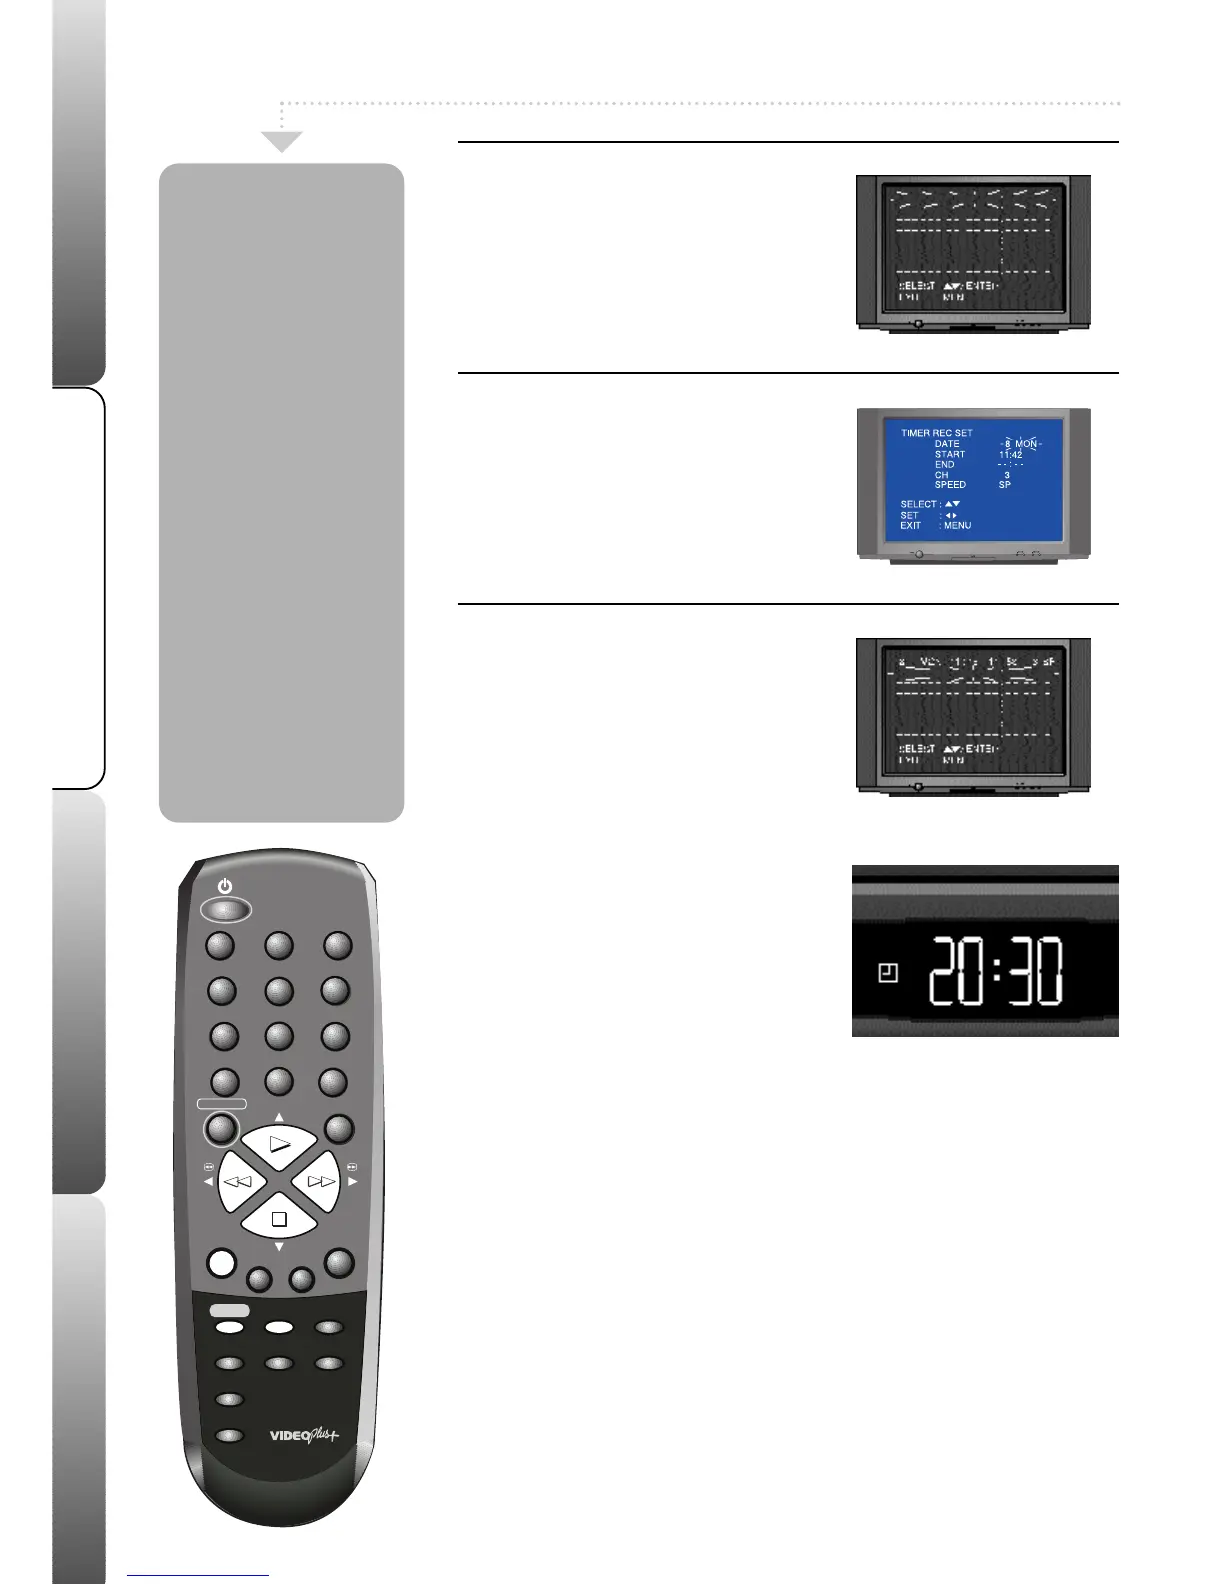
2
Set the timer recording
Press the REW or F.FWD buttons to select
the date, start and end times, channel and
tape speed.
Press the STOP button to confirm all of
these settings.
3
Timer record mode
Press the ENTER button to confirm the timer
recording. To programme further recordings
repeat stages 1 to 2.
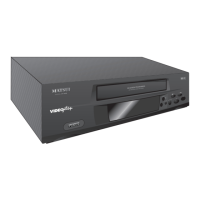
Press the TIMER REC button to set
your timer recording.
Your VCR will go into timer record mode
(this looks like standby, but the timer set
symbol will appear in the VCR display)
.
If you do not put your VCR into
timer record mode your recording
will not take place.
Your TIMER RECORDING is now set.
At the set time your VCR will switch on and
record your programme then go back into
timer record mode.When your VCR has
recorded all your programmes, it will
remain in standby mode.
Timer recordings
allow you to
program your VCR
to switch on and
record a programme
at a preset time.
Make sure your VCR
is properly installed
and all the channels
are tuned in and the
correct time and
date are set before
making a timer
recording.
If you make a mistake
during programming a
timer recording, press
the PLAY or STOP
buttons to select the
information you want to
change and then press
the REW or F.FWD
buttons to make your
changes.
6