Connecting is a two step process. First, on the receiver, press and hold the channel assignment switch until the green status LED
begins rapidly flashing, then release; this will clear any existing assignment for that particular channel. Hold down the
connection switch on the transmitter. If it is not currently connected to a receiver, it will begin flashing rapidly until successfully
connecting. Detailed instructions are given below.
EKdIf there are no existing connections, the receiver’s status LED will blink rapidly
while it is finding a clean operating frequency (this can last a few seconds)
After initialization, the system status LED will flash on/off once every 2 seconds
Set ĞĂĐŚchannel to the desired OPEN/CLOSE direction function using the MODE dip switch
/ĨĂ/WƐǁŝƚĐŚŝƐŝŶƚŚĞKWEƉŽƐŝƚŝŽŶƚŚĞŶƚŚĂƚĐŚĂŶŶĞůǁŝůůƚƌŝŐŐĞƌƚŚĞKWEZĞůĂLJŽŶ
ƌĞĐĞŝǀĞƌKƚŚĞƌǁŝƐĞŝƚǁŝůůƚƌŝŐŐĞƌƚŚĞ>K^ZĞůĂLJ
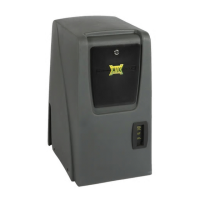
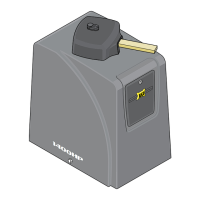
Install 2 AA Lithium batteries in the WEL-200T (transmitter)
The green LED on the transmitter will quickly flash 2x every two seconds
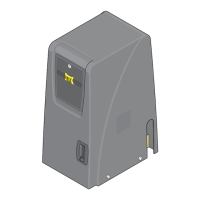
Install a properly terminated edge to the transmitter (8.2k or 10k termination)
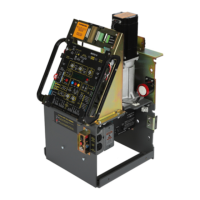
On the receiver, hold down the desired channel assignment switch until all four channel
LEDs activate and the system status LED begins flashing rapidly, then release
the switch.
On the transmitter, hold down the connection switch (next to the terminal block)
The LED on the transmitter will begin flashing rapidly after ~4 seconds
Upon successful connection, the LED will flash once every two seconds If
the transmitter fails to connect, it will return to its initial state, with the
LED flashing twice every two seconds. If this occurs, repeat stepƐ ĂďŽǀĞ
1
2
3
4
5
WEL-200™ Operating Instructions 11
Document no. 10320104 Revision 2.0 3-1-18
Testing
Without activating the edge, observe the channel status LED, it should be OFF.
When the edge is activated, the receiver channel status LED will turn on and the
corresponding OPEN/CLOSE direction output will activate. The
transmitter status LED will blink once every second when the edge is activated.
If the channel does not exhibit this behavior, double check the edge
wiring/termination and transmitter batteries.
1. If channel 1 and 4 switches are pressed simultaneously during power up, the receiver will
perform a factory reset and clear all programmed channels.
2. Channel assignment mode will exit under the following conditions:
a. Successful connection to a transmitter
b. 60 second timeout
c. User selected exit
i. Pressing channel 1 and 4 switches simultaneously for more than 2 seconds
3. To remove a connection from the transmitter, hold down the connection button. The
LED will turn on solid for several seconds, and then blink twice every 2 seconds when
disconnected.
CONNECTING RECEIVER (WEL-200R) TO TRANSMITTER (WEL-200T)
STEPS
TESTING
27
UL 325 2018 Standard - MAX 1500 PRO/2200 PRO/F18 PRO Matrix III Install Version 7d
Testing
FACTORY RESET
Power down receiver. Hold channels 1 and 4 down simultaneously while
powering receiver back up.