IMPORTANT: Photocell MUST be powered by
12VDC OUT or it will NOT be MONITORED.
12VDC OUT
Polarity does NOT matter
GND
PHOTO CLS NC
NC
10K
ENERGIZED
PULSE
OUT
COM NO VRX
VTX
CE
O
N
1 2 3 4
4W 2W
SENSITIVITY
NC COM
VRX
DIP-Switches
1 - OFF
2 - OFF
3 - OFF
4 - ON
Photocell (Reflector)
CLOSING Direction
Sensitivity Adjustment:
If the photocell does not respond to an
obstruction, lower the sensitivity by
turning adjustment counter-clockwise.
O
N
1 2 3 4
NOTE: Power must be cycled
when switches are changed.
NOTE: To meet the UL 325 2018 standard, Type B1 Non-Contact sensor
entrapment protection device MUST be MONITORED by the gate operator.
Installation Steps:
1. Set DIP-switches
2. Remove jumper JP-5
3. Insert jumper on 4W JP-6
4. Wire 12V power to photocell (VRX)
5. Wire DSP board PHOTO CLS NC
to photocell NC (Energized)
Wire DSP board GND to
photocell COM (Energized)
6. Align photocell to reflector
7. Adjust sensitivity
Power NOTE:
If photocell
does NOT
function
using VRX
power input,
connect
power to VTX
input instead.
OPEN ONLY NC
OPEN ONLY 10K
HOTO CLS NC
OPEN/CLS NC
GND
12VDC OUT
GND
CLS ONLY 10K
OPEN/CLS 10K
12VDC OUT
UL SENSOR N.C.UL SENSOR 10K
PPPPP
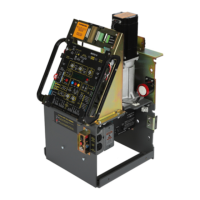
emx irb-RET wiring
JP-5
JP-6
10K
4W
2W
Remove
Insert
Jumpe
r
Jumper
28
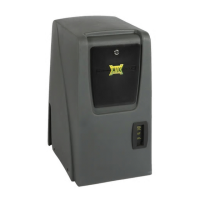
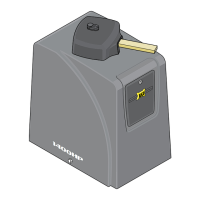
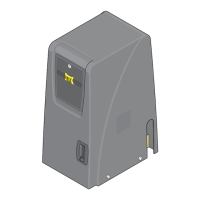
UL 325 2018 Standard - MAX 1500 PRO/2200 PRO/F18 PRO Matrix III Install Version 7d