46
model no. 055-6767-0 | contact us 1-888-670-6682
OPERATION
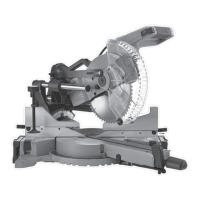
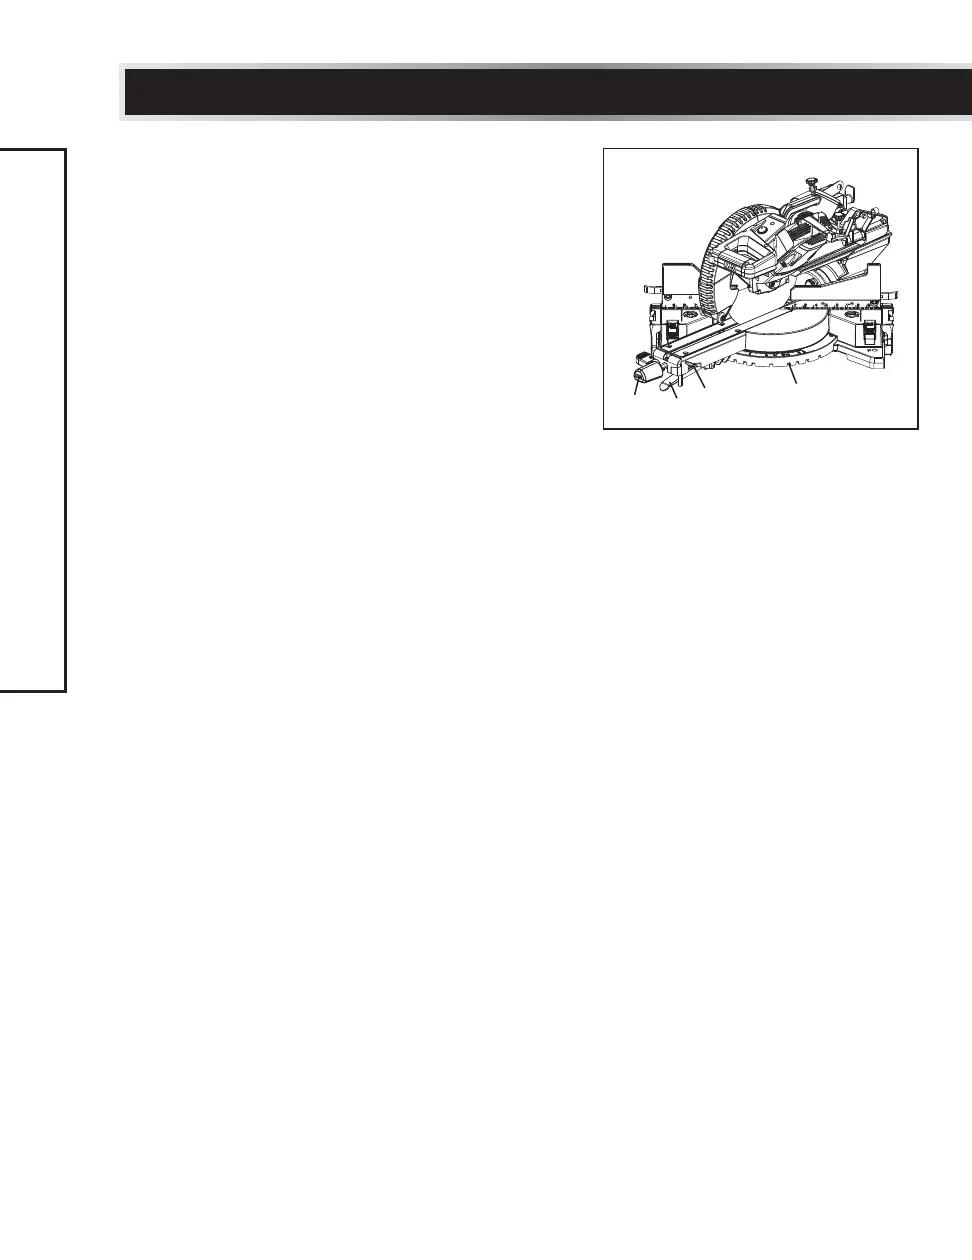
MITRE CUT (Fig. 39)
The sliding compound mitre saw is equipped
with nine positive mitre stops (1) on the saw
base. The locations are at 0, 15, 22.5, 31.6 and
45 degrees left and right. These locations
represent the most common angles for cutting
operations. To make a mitre cut:
• Unlock the mitre table by lifting the quick-
cam mitre locking lever (2).
• While raising the positive stop locking
lever (3), grasp the mitre handle (4) and
rotate the mitre table left or right to the
desired angle.
• Release the positive stop locking lever and
set the mitre at the desired angle making
sure the lever snaps into place.
NOTE: The lever will only lock into place at
one of the nine positive stops.
• Once the desired mitre angle is achieved,
press down on the quick-cam mitre table
lock (2) to secure the table into position.
• If the desired mitre angle is NOT one
of the nine positive stops noted above,
simply lock the table at the desired angle
by pressing down on the quick-cam mitre
locking lever (2).
• Turn the laser guide on and position the
workpiece on the table for pre-alignment of
your cut.
IMPORTANT: Always lock the mitre lock
lever before performing a cut.
Fig. 39
1
2
3
4