866.4.Maxtec www.maxtecinc.com4
gas to the unit at a rate of 1-10 liters per minute(2 liters per min. is
recommended).
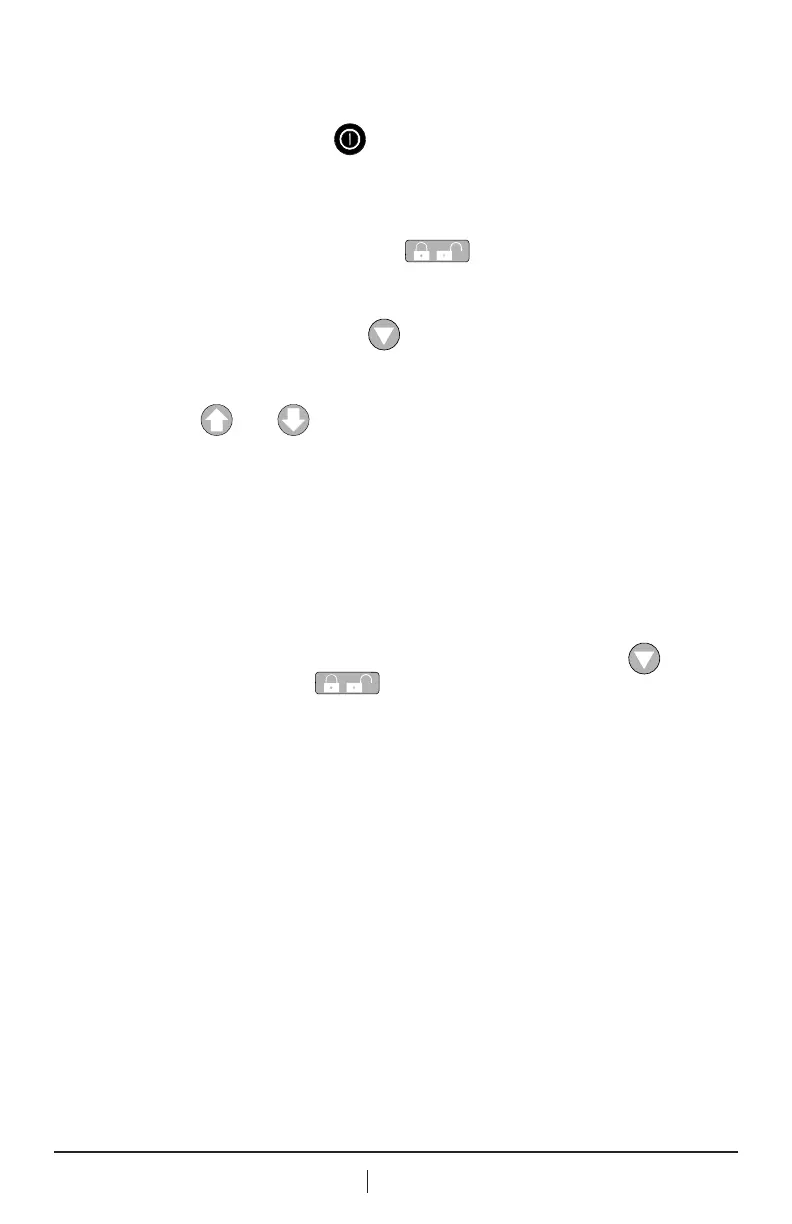
3. Using the ON/OFF key , make sure the unit is in the power on
mode.
4. Allow the oxygen reading to stabilize. This will normally take about
30 seconds or more.
5. Press the LOCK/UNLOCK key to unlock the keypad. “UL”
will appear on the display for about 1 second and then the "%" sign
will disappear from the display.
6. Press the CALIBRATE key on the keypad. The word "CAL" will
appear on the display for about 1 second and then the "%" sign will
start to ash.
7. Use the and arrow keys to adjust the displayed oxygen
concentration to the level of the known concentration. Pressing the
arrow keys changes the value in .1% increments. If the keys are held
down for more than 1 second the display will scroll at a rate of .4%
per second.
Note: If 10 seconds elapse between key actuations, the system
will store the latest calibration value and will revert to normal
operation. If this occurs inadvertently, simply repeat the
calibration procedure.
8. When the calibration value is set, press the CALIBRATE or
LOCK/UNLOCK key again to accept the calibration setting
and return to normal operation.
Note: If the message "CAL," followed by the message "Er"
ashes on the display after entering the desired calibration
value, the system has determined that the entered value will not
allow operation within the specied output range of the sensor.
This situation may occur if:
a) the operator has inadvertently entered the wrong
concentration for the calibration gas.
b) the concentration of the calibration gas is not correct.
c) the sensor is in need of replacement.
d) the operator attempted to adjust the monitor before allowing
sufcient time for the calibration gas to purge out the previous
sample.
e) the ow and pressure of the calibration gas was not properly
regulated.
Check these items and repeat calibration. If calibration error