d Click Check In.
e Select the checkbox to accept the agreement, then click OK.
6 Congure network information
For McAfee DLP appliances, congure the DNS server and NTP server. For McAfee DLP Prevent, you must also
congure a Smart Host.
For details about product features, usage, and best practices, click ? or Help.
a In McAfee ePO, select Menu | Policy | Policy Catalog.
b From the Product drop-down list, select Common Appliance Management.
c Select the My Default policy.
d Add the DNS server and the NTP server, then click Save.
e From the Product drop-down list, select DLP Appliance Management.
f Select the My Default policy for McAfee DLP Prevent Email Settings.
g Enter the IP address of the Smart Host, then click Save.
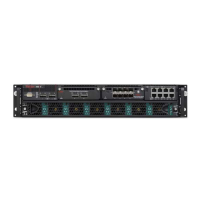
7 Set up the appliance
Prepare the appliance for network integration.
The appliance power supply units and the hard disk can be replaced. Instructions are available in the
hardware guide.
By default, each appliance is congured with these IP addresses after installation:
• McAfee DLP Prevent LAN1 — 10.1.1.108/24
Use the LAN1 network for SMTP or ICAP trac. You can also use it for management trac.
• McAfee DLP Monitor LAN1 — 10.1.1.108/24
Use the LAN1 network for management trac.
• OOB — 10.1.3.108/24
(Optional) Use the out-of-band (OOB) network for management trac including McAfee ePO
communication.
McAfee DLP Monitor Capture port 1 is used for analysis trac. It is not congured with any IP address.
If your network uses DHCP, the rst IP address that the DHCP server assigns to the McAfee DLP
appliance is used instead. You can manually congure the IP address with the Setup Wizard. The
appliance does not support using a continuous DHCP conguration.
The default gateway for the appliance must be on the LAN1 subnet. Congure any routing required on the
OOB interface using static routes.
a
Install the appliance in a rack.
b
Connect a monitor, keyboard, and mouse to the appliance.
4