P11
Portable Digital Color Doppler Ultrasound System
To insert predefined annotations:
1.
turn the
GAIN
knob to scroll between items, turn the
D GAIN
knob to turn to the
next/previous page of annotation items.
2. highlight the annotation item and press the
UPDATE
key to select the item.
3.
move the cursor to the desired position and press the
SET
key to insert the selected
annotation item.
To insert manual text:
move the cursor to the desired position and write the text using the alphanumeric keyboard.
Press the
DEL
key to delete the last inserted item.
Press the
ANNOTATION
key again to exit the annotation mode.
Press the
CLR
key to remove all annotation items on the screen.
Annotations can be saved together with the ultrasound image; and will be cleared upon
exiting current application mode.
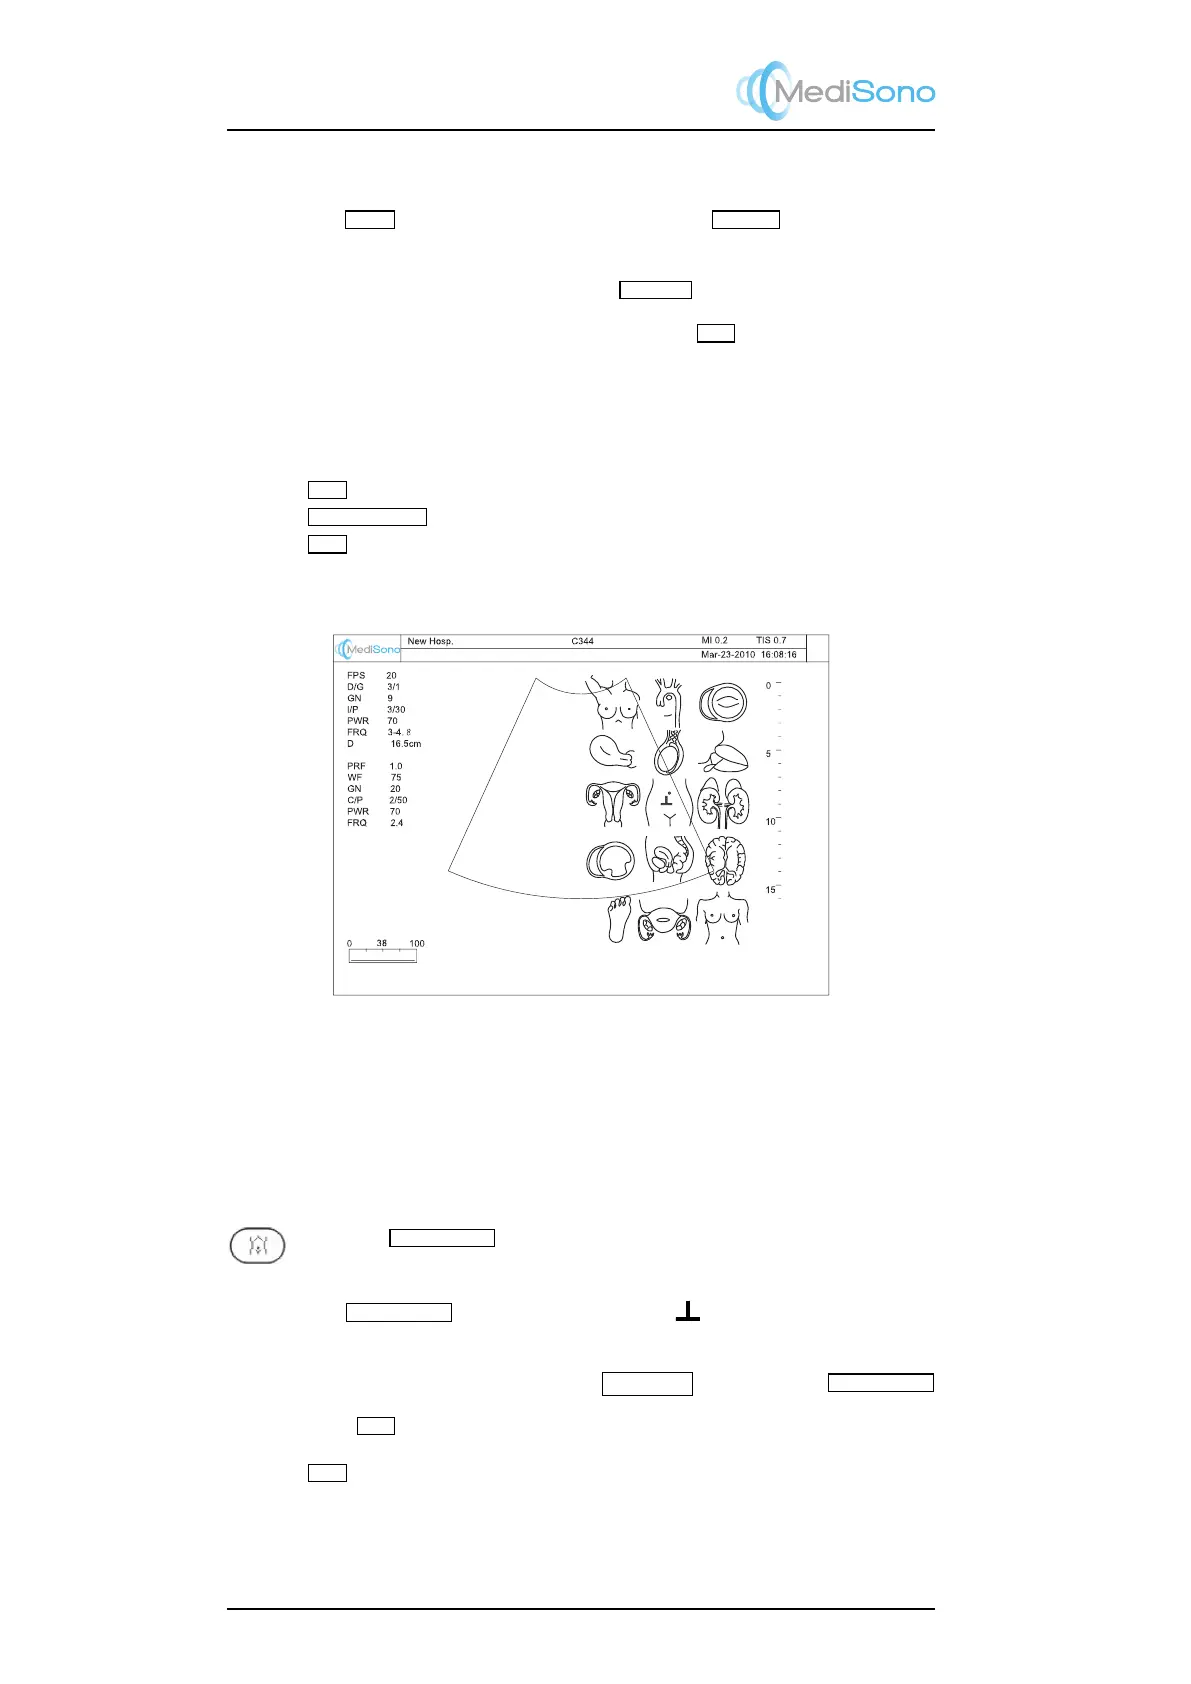
Figure 3.5: Bodymark
3.4.2.2 Bodymark
For the documentation of the ultrasound diagnosis, a collection of graphic body marks is
available.
Inserting bodymark is only possible in freeze mode.
Press the
BODYMARK
key, a collection the graphic body part symbols will be
shown on the right half screen.
1.
Use the
TRACKBALL
to move the probe maker ( ) at the desired position on a
bodymark symbol.
2. Rotate the probe marker by pressing the
Left/Right
keys next to the
TRACKBALL
.
3. Press the
SET
key to insert the bodymark.
Press the
CLR
key to remove annotations as well as bodymark.
3-8
 Loading...