5.3. Fitting the cuff
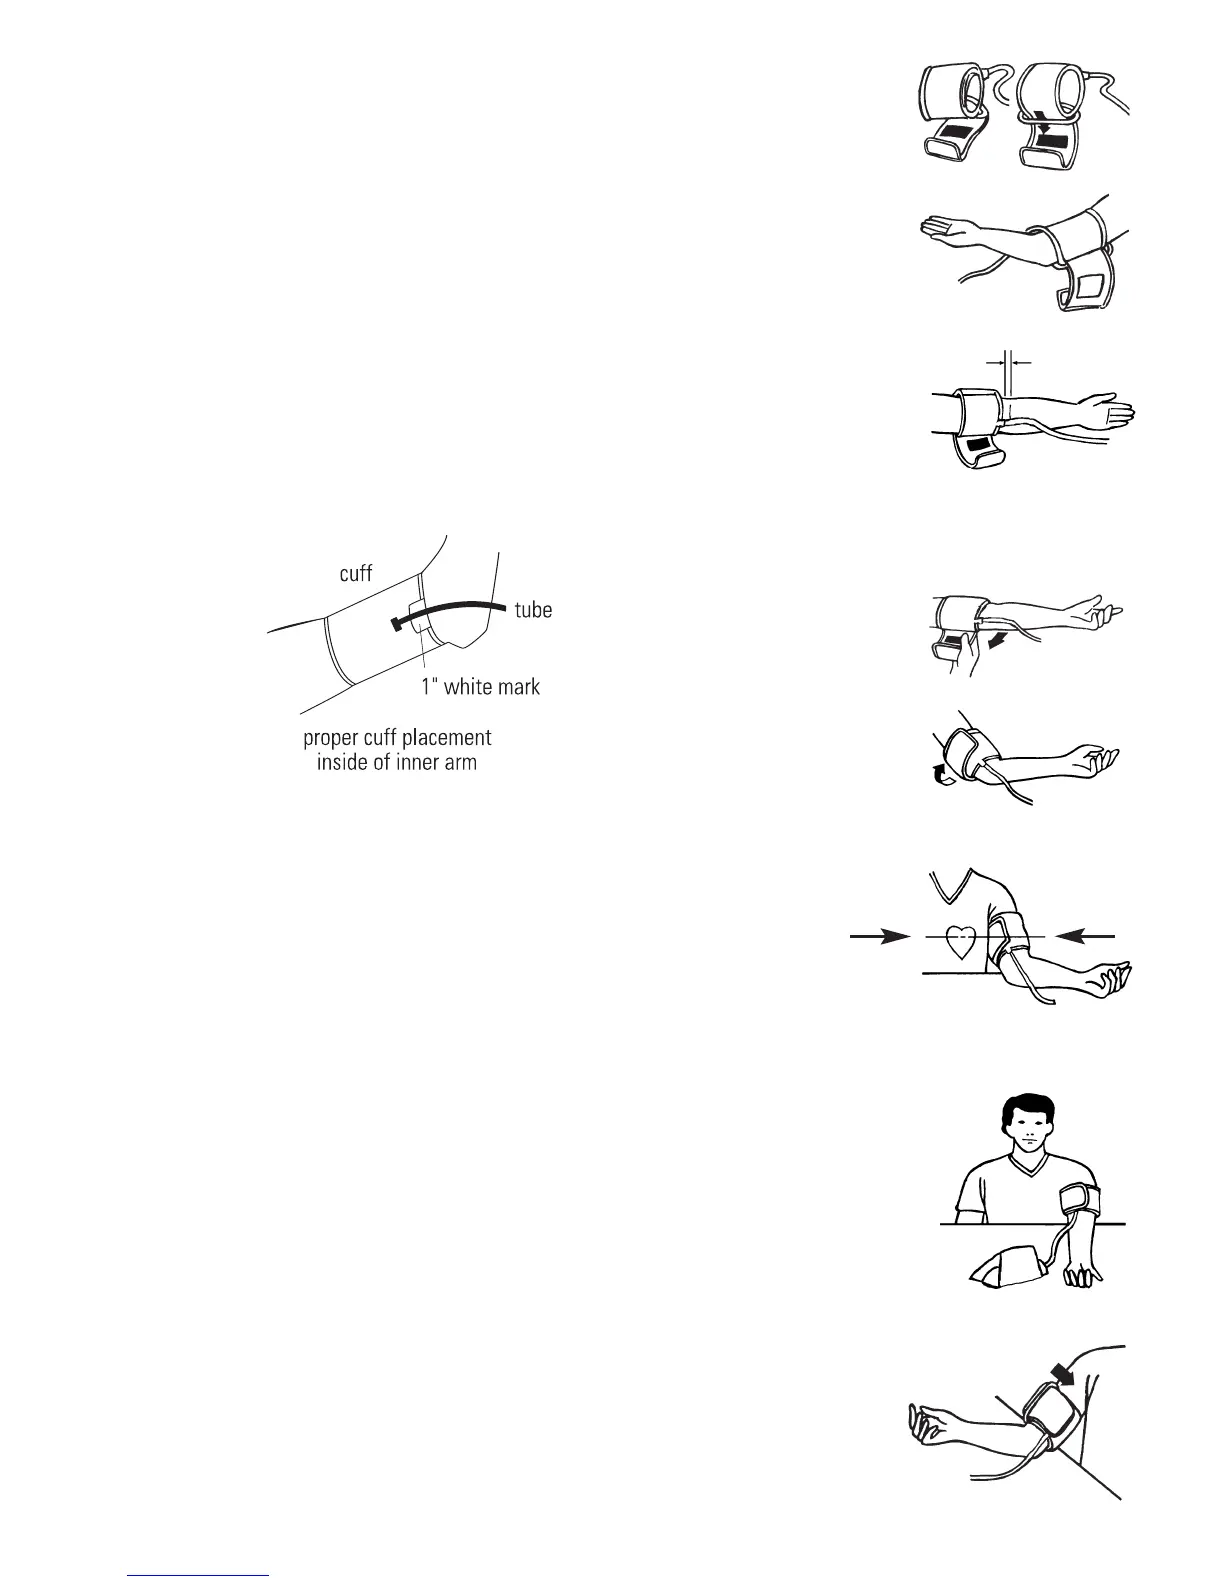
a) Pass the end of the cuff through the flat metal ring so
that a loop is formed. The Velcro closer must be facing
outwards. (Ignore this step if the cuff has already been
prepared)
b) Place the cuff over the left upper arm so that the tube
is closer to your lower arm.
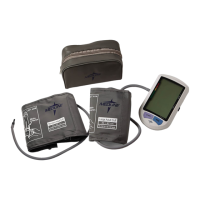
c) Lay the cuff on the arm as illustrated. Make certain
that the lower edge of the cuff lies approximately 3/4”
to 1”(2 to 3cm) above the elbow and that the tube is
closer to the inner side of the arm.
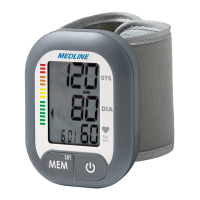
Important! The 1” white mark on the cuff must lie
exactly over the artery which runs down the inner side
of the arm.
d) Tighten the cuff by pulling the end and close the cuff
by affixing the velcro.
e) There should be little free space between the arm and
the cuff. You should able to fit 2 fingers between your
arm and the cuff. Clothing must not restrict the arm.
Any piece of clothing which does must be removed.
f) Lay your arm on a table (palm upwards) so that the
cuff is at the same height as the heart. Make sure that
the tube is not kinked.
g) Remain seated quietly for two minutes before you be-
gin the measurement.
Comment:
If it is not possible to fit the cuff to your left arm, it can
also be placed on your right arm. However, all measure-
ments should be made using the same arm
8
2–3 cm
tube
cuff at heart level
Sit quiet; Don’t move
during measurement.
Cuff on
right arm