MAINTENANCE
43
!
WARNING
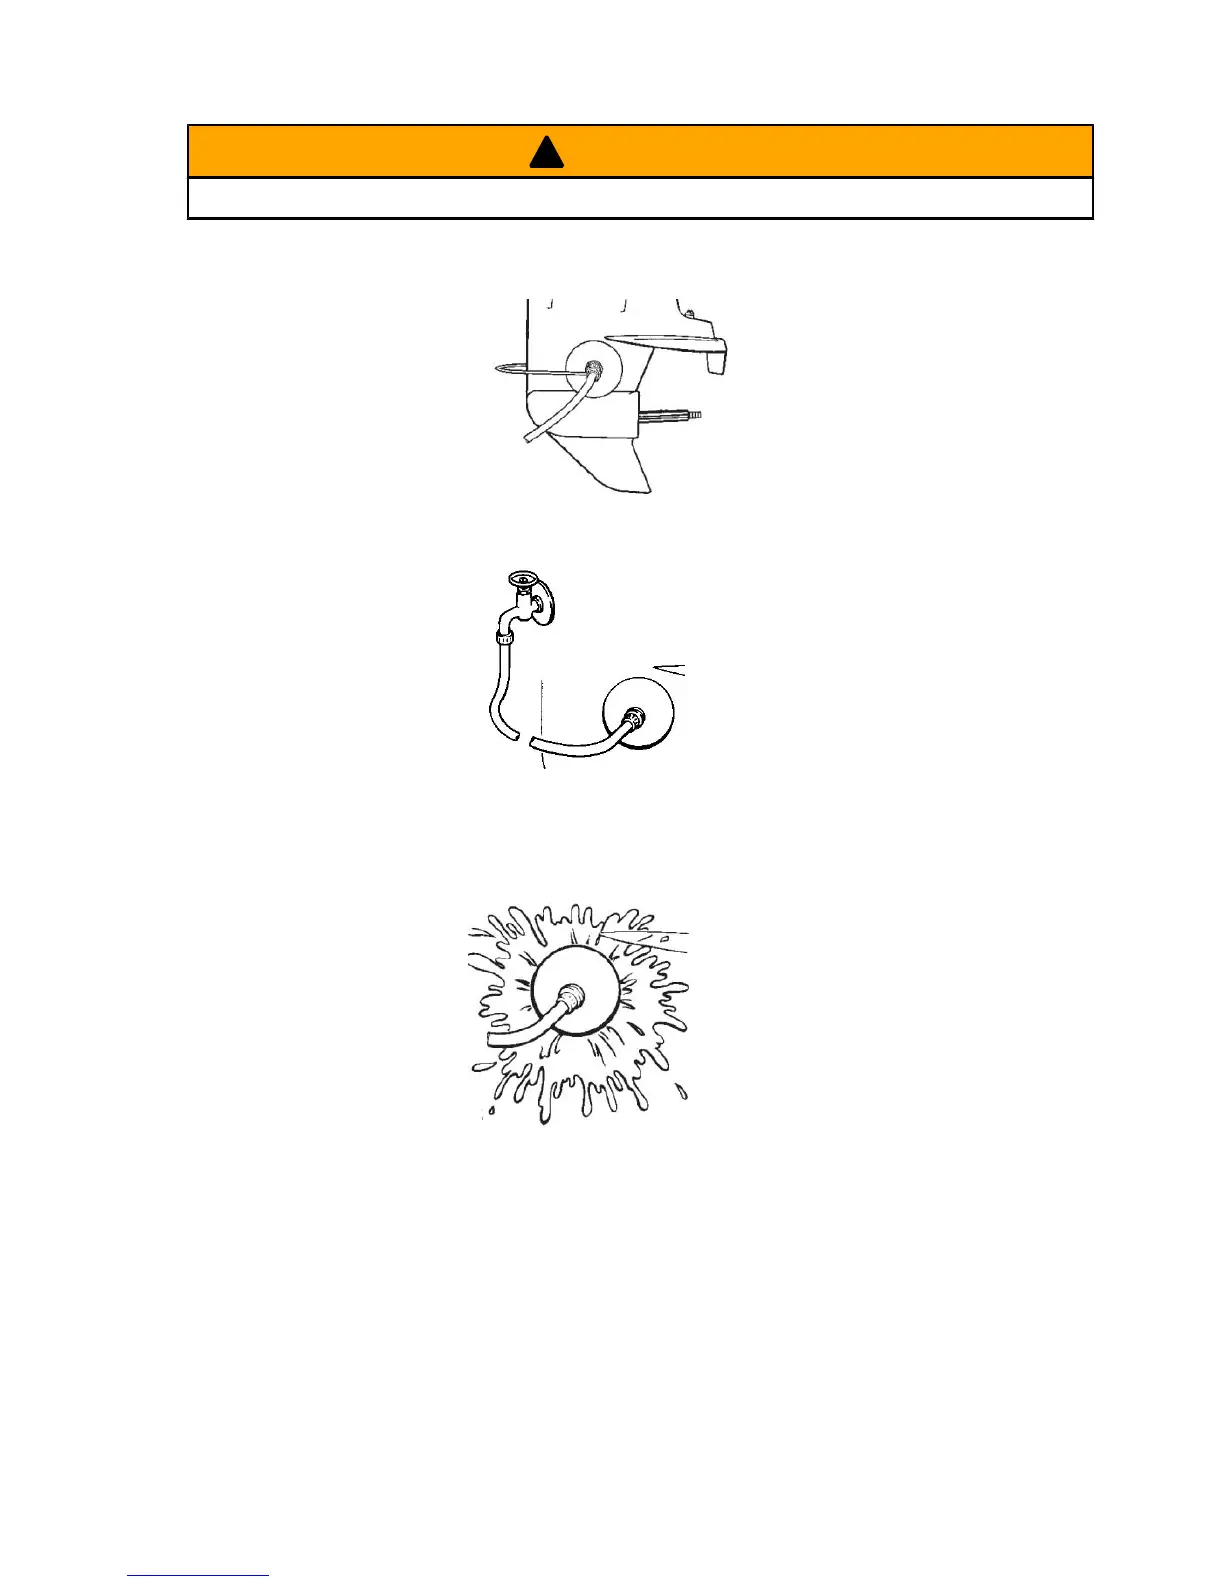
To avoid possible injury when flushing, remove the propeller. Refer to Propeller Replacement.
1. Remove propeller. Refer to Propeller Replacement. Install the flushing attachment so the rubber cups fit
tightly over the cooling water intake.
ob00569
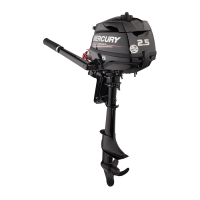
2. Attach a water hose to the flushing attachment. Turn on the water and adjust the flow so water is leaking
around the rubber cups to ensure the engine receives an adequate supply of cooling water.
ob00570
3. Start the engine and run it at idle speed in neutral shift position.
IMPORTANT: Do not run engine above idle when flushing.
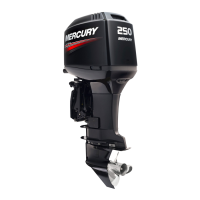
4. Adjust water flow (if necessary) so excess water continues leaking out from around the rubber cups to
ensure the engine is receiving an adequate supply of cooling water.
ob00571
5. Check for a steady stream of water flowing out of the water pump indicator hole. Continue flushing the
outboard for 3 to 5 minutes, carefully monitoring water supply at all times.
6. Stop the engine, turn off the water, and remove the flushing attachment. Reinstall the propeller.
Top Cowl Removal And Installation
REMOVAL
1. Unlock the rear latch by pushing lever down.