Merlin Power Systems version: 2.0.2
SmartGauge Installation and User Guide
Page 7
Number Battery type
1 Deep cycle, wet cell, antimony lead acid
2 Gel Cell lead acid (a type of VRLA – Valve Regulated Lead Acid)
3 AGM – Absorbed Glass Matt (another type of VRLA)
4 Hybrid – calcium/antimony (usually marked as dual purpose or “leisure”) lead acid
5 Carbon Fibre lead acid
6 Maintenance free (wet cells but no way to top up the electrolyte) lead acid
Important Note on Type 3 -Use only for genuine AGM batteries.
Genuine AGM’s have the electrolyte held in a glass mat but with additional chemicals in the battery.
They require lower charge voltages and the off load terminal voltages will be similar to gel cells. Only
this type requires SmartGauge to be set to battery type 3.
There are other Glass Mat type batteries without the additional chemicals. This type usually has
charge voltages very similar to flooded wet cell batteries. The off load terminal voltages will also be
very similar to flooded wet cell batteries. If your AGM batteries are of this type then SmartGauge
should be set to battery type 1.
When the required battery type is in the display, press SET or EXIT. The display will now show
battery voltage, pressing Batt 2 will display the voltage on the second battery and the PGM/Batt 2
LED will be lit.
Pressing the Status button will display the charge status as a percentage from 0 to 100. This will
initially be showing 75% which may or may not be correct. If you know what the charge status of the
battery is you can manually set this to correspond with the batteries. Please refer to section 5.2 of
this user guide if this option is chosen.
Alternatively, if you are currently using the batteries (i.e. regularly discharging and charging them)
you may simply leave SmartGauge to synchronise itself. This will typically take 2 or 3 discharge and
recharge cycles. Synchronisation is not an instant effect. The SmartGauge will continue to track
battery condition with increasing accuracy over time.
This completes the quick start section of this user guide and initial setup of SmartGauge. For
operation and details of further functions and features, continue to refer to the remainder of this
manual.
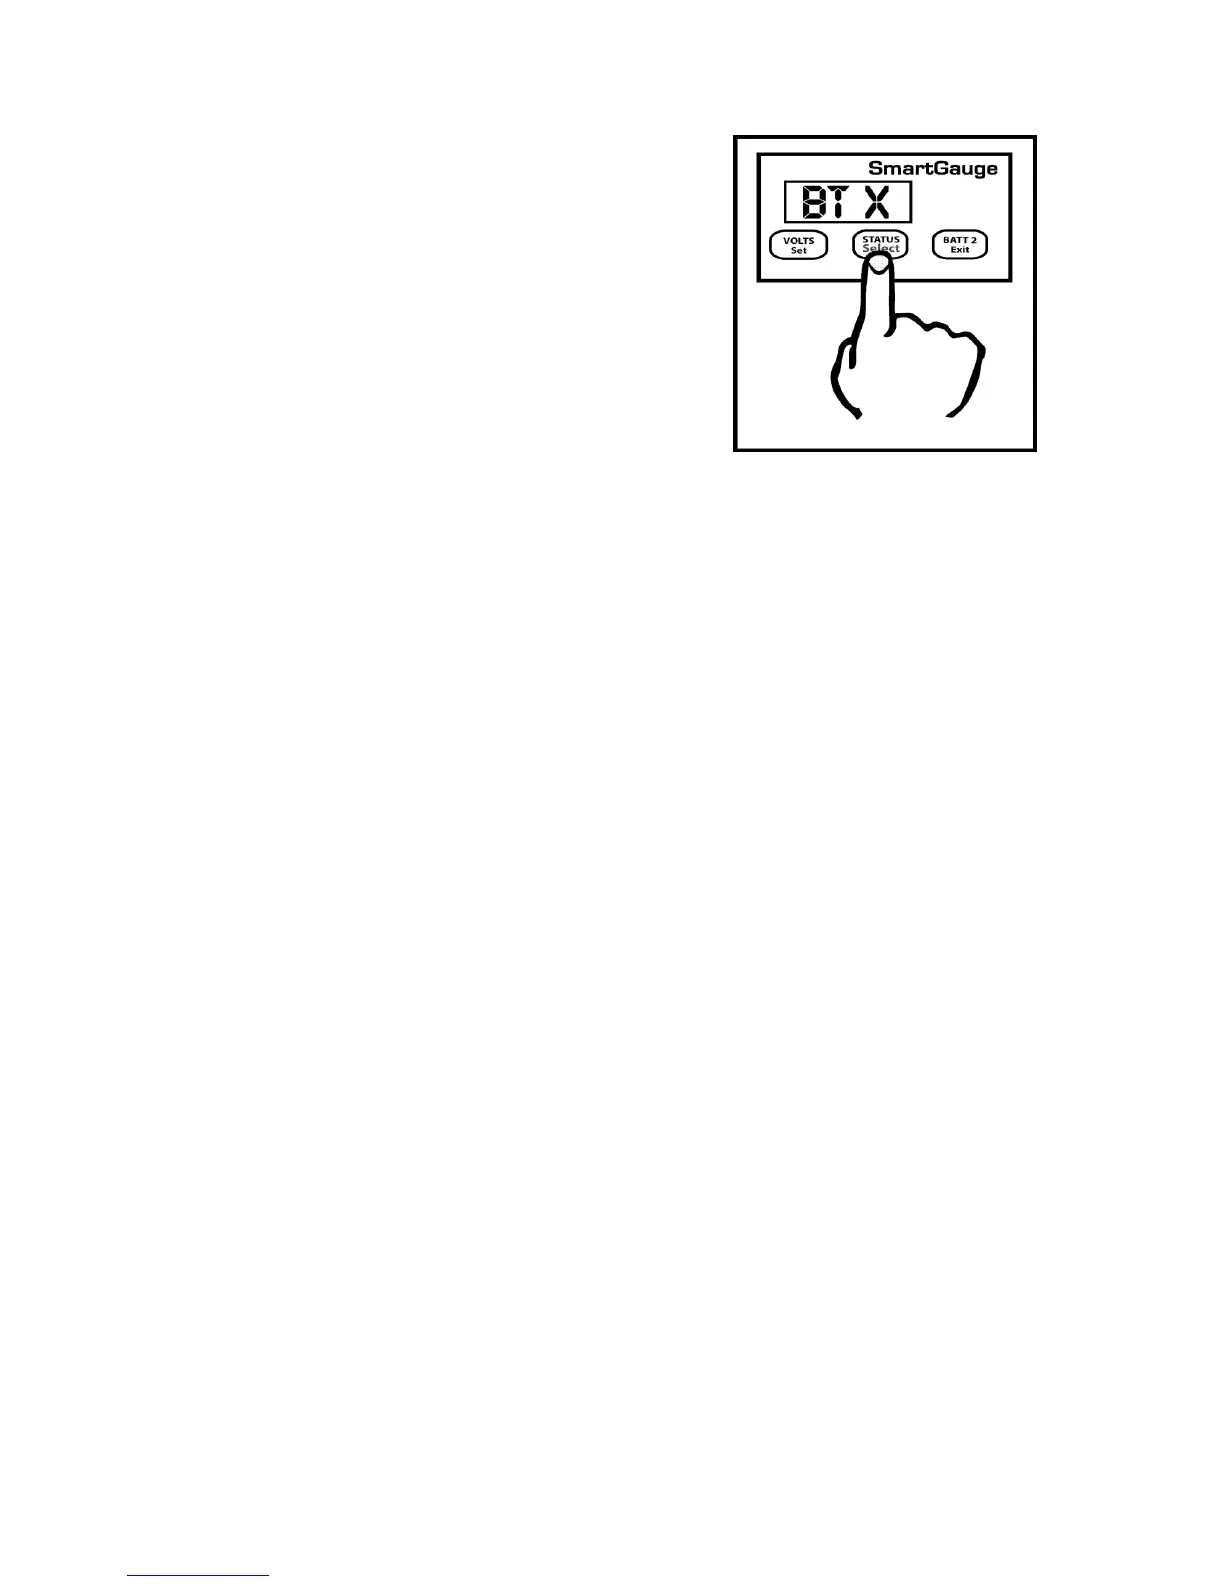
After connecting as per Figure 2, the display will
briefly show the software and battery model
revisions. These are primarily for diagnostics and
can be ignored by the user.
SmartGauge will then show “bt 1” in the display and
the PGM/Batt 2 LED will be flashing. Use the
Status/Select button to scroll this value up to the
battery type that corresponds with the battery type
of the auxiliary battery bank according to the
following:-