Do you have a question about the Metra Electronics 99-3100 and is the answer not in the manual?
Details features related to shaft and DIN unit compatibility for the installation kit.
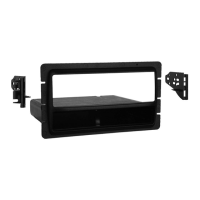
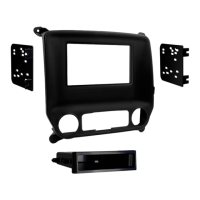
Component part for housing the car radio during installation.
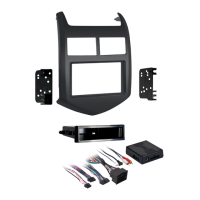
Supports used for mounting shaft-style car radios.
Fasteners included for securing components during installation.
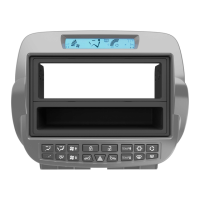
Specifies the vehicle make, model range, and years compatible with the installation kit.
Tool needed for driving Phillips head screws during installation.
Tool for adjusting nuts or bolts of varying sizes.
Tool used for tightening or loosening bolts or nuts with a socket.
Initial steps to disconnect the negative battery terminal and remove the vehicle's radio trim bezel.
Steps to detach the factory head unit by removing securing screws and disconnecting wiring.
Guidance on connecting the factory wiring harness using a mating adapter and taping wires.
Instructions for installing 2-shaft aftermarket head units using shaft supports and nuts.
Procedure for installing DIN aftermarket head units using the provided cage and locking tabs.
Securing the installed head unit and kit assembly to the vehicle's sub-dash.
Reconnecting the battery and verifying the proper function of the installed unit.
| Brand | Metra Electronics |
|---|---|
| Model | 99-3100 |
| Category | Automobile Accessories |
| Language | English |