14
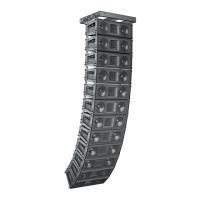
Figure 19. Removing the QRP from the MTG-3D Top Grid’s
front CamLink
2. Adjust the motors to tilt the MTG-3D Top Grid and
allow the CamLink to move until the QRP can be
inserted into the required hole.
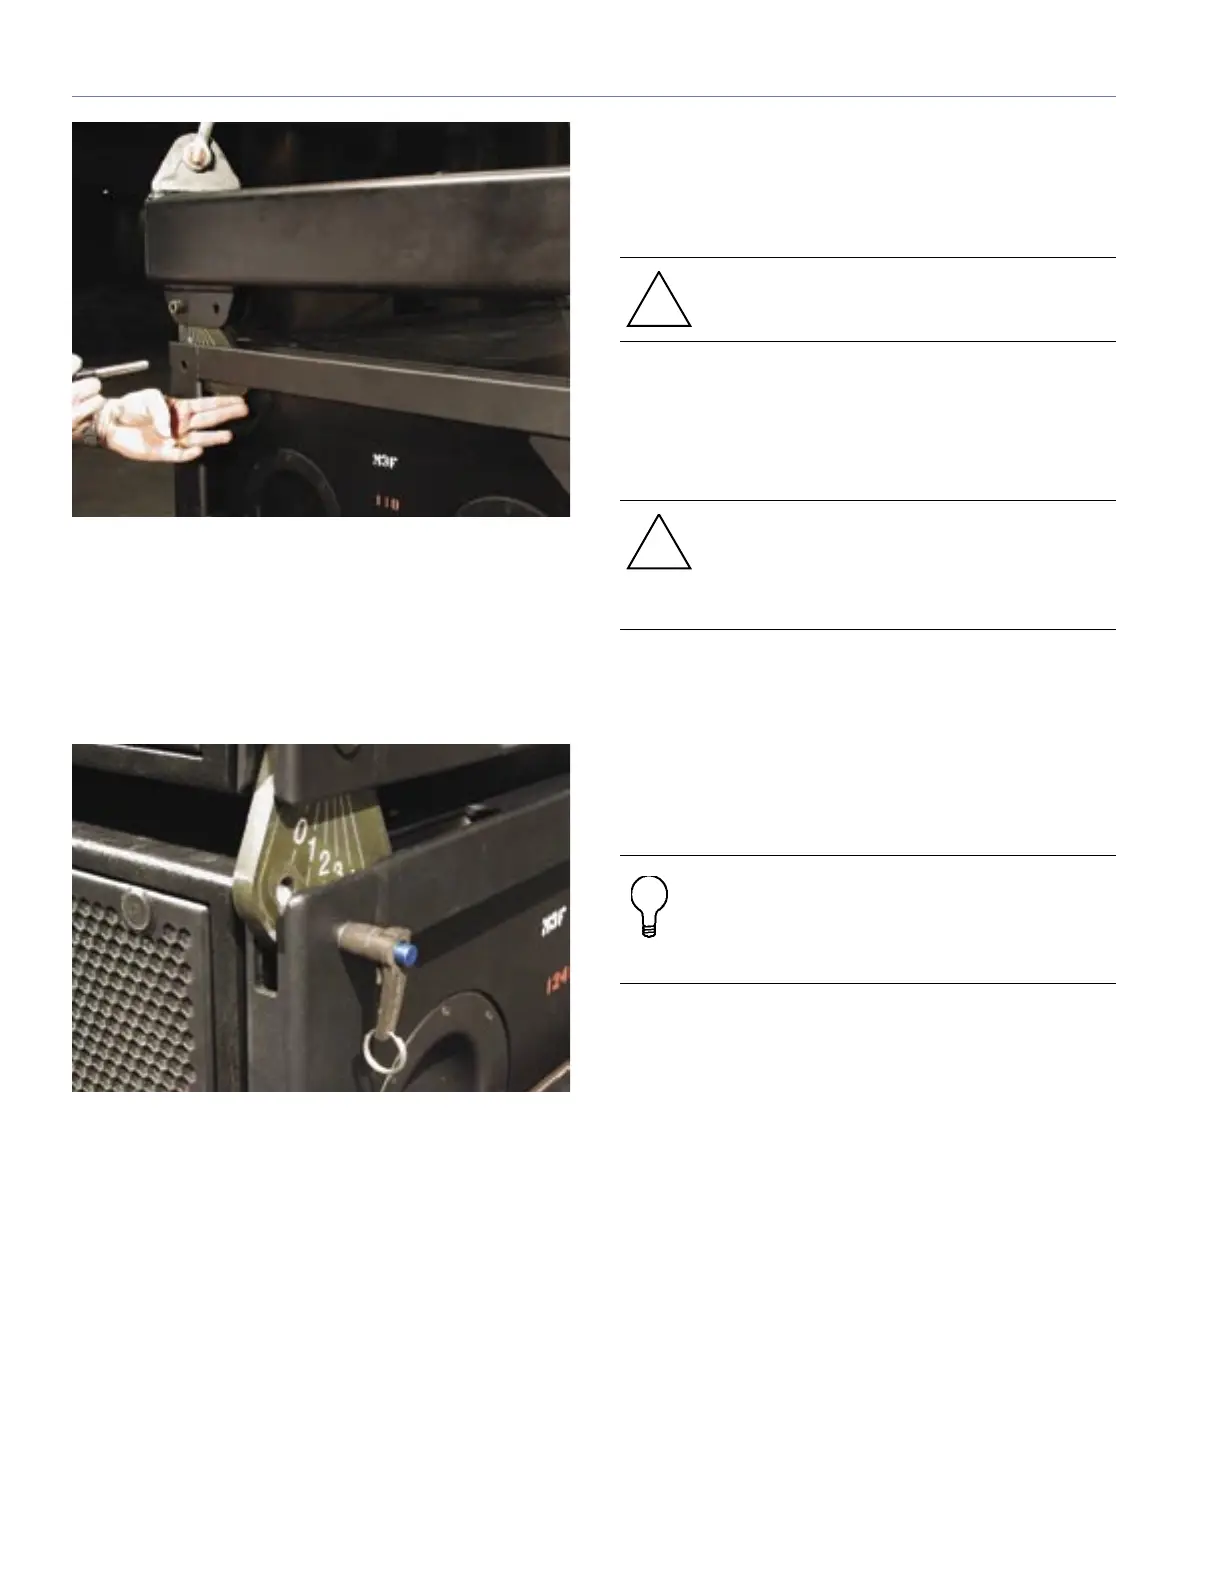
3. Insert the QRP into the desired CamLink hole as
shown in Figure 20.
Figure 20. QRP inserted at 3˚
ADJUSTING SPLAY ANGLE IN AN ARRAY
1. Once all four QRPs are installed in the top cabinet of
the block, bump the motors out to take tension off the
cabinets.
2. If splay adjustment is required between M3Ds, remove
the QRPs from the CamLinks on either side of the
uppermost set of cabinets.
3. Bump the motors as needed to relieve sheer stress on
the QRPs in order to free them from the holes.
4. Bump the motors to pull the cabinet further upward
until the desired CamLink hole is correctly aligned.
CAUTION: Do not hold the CamLink by
placing your ngers between the cabinets.
5. Check the hole alignment by moving the CamLink
from the side of the cabinet as it swings through the
rigging frames.
CAUTION: Always check that all four QRPs
are fully inserted into the MTG-3D Top Grid
and loudspeaker’s end frames before lifting
an array.
6. A stepped alignment block as shown in Figure 21
is shipped with each MTG-3D Top Grid. Additional
alignment blocks are available from Meyer Sound.
The alignment block helps set splay angles between
cabinets. The stepped block maintains the gap
between the cabinet’s front edges, producing a splay
angle.
CAUTION: Always check that all four QRPs
are fully inserted into the MTG-3D Top Grid
and loudspeaker’s end frames before lifting
an array.
7. Place the alignment block between the M3D’s front
edge while the CamLink’s QRPs are removed as
shown in Figure 21.
8. While resting the adjustment block’s desired gap
distance on the center of the lower cabinet, bump the
motors in (down) so that the cabinets are just resting
on the block.
9. Swing the CamLink into place, and set the QRP into
the frame.