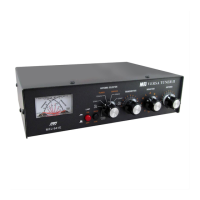
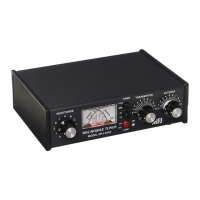
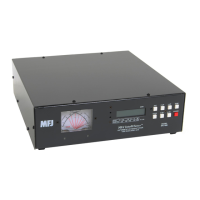
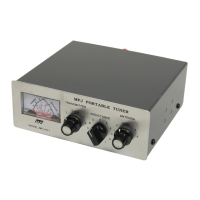
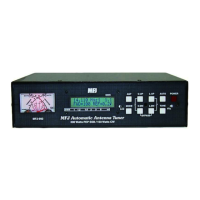
MFJ-941EK Tuner Kit Instruction Manual
- 23 -
TESTING
The calibration procedure is conducted on 20 Meters at 14.200 MHz. For radios
equipped with analog RF-output controls, start each test run at minimum power
and turn it up to the prescribed level while watching your reference power meter.
When the transmitter is activated, high RF potentials will be present on exposed
tuner components. Inadvertent contact with energized surfaces can -- and will --
cause serious RF burns. Keep hands clear at all times and use an insulated
tuning wand when adjusting trimmers.
Important Warning: Do not place hands on or near energized tuner
components during testing. Always use an insulated tuning wand when
making adjustments.
Finally, never actuate the Inductor or Antenna Selector switch when RF power is
being applied. "Hot switching" the tuner circuitry will cause arcing and
permanently damage tuner components.
Important Warning: Do not actuate the Antenna Selector or Inductor switch
with RF applied. Damage to your tuner and radio may result!
Forward Power Setup and Bridge Null: To begin calibration, tune your radio to
14.200 MHz and select a mode that will deliver the radio's full rated CW output.
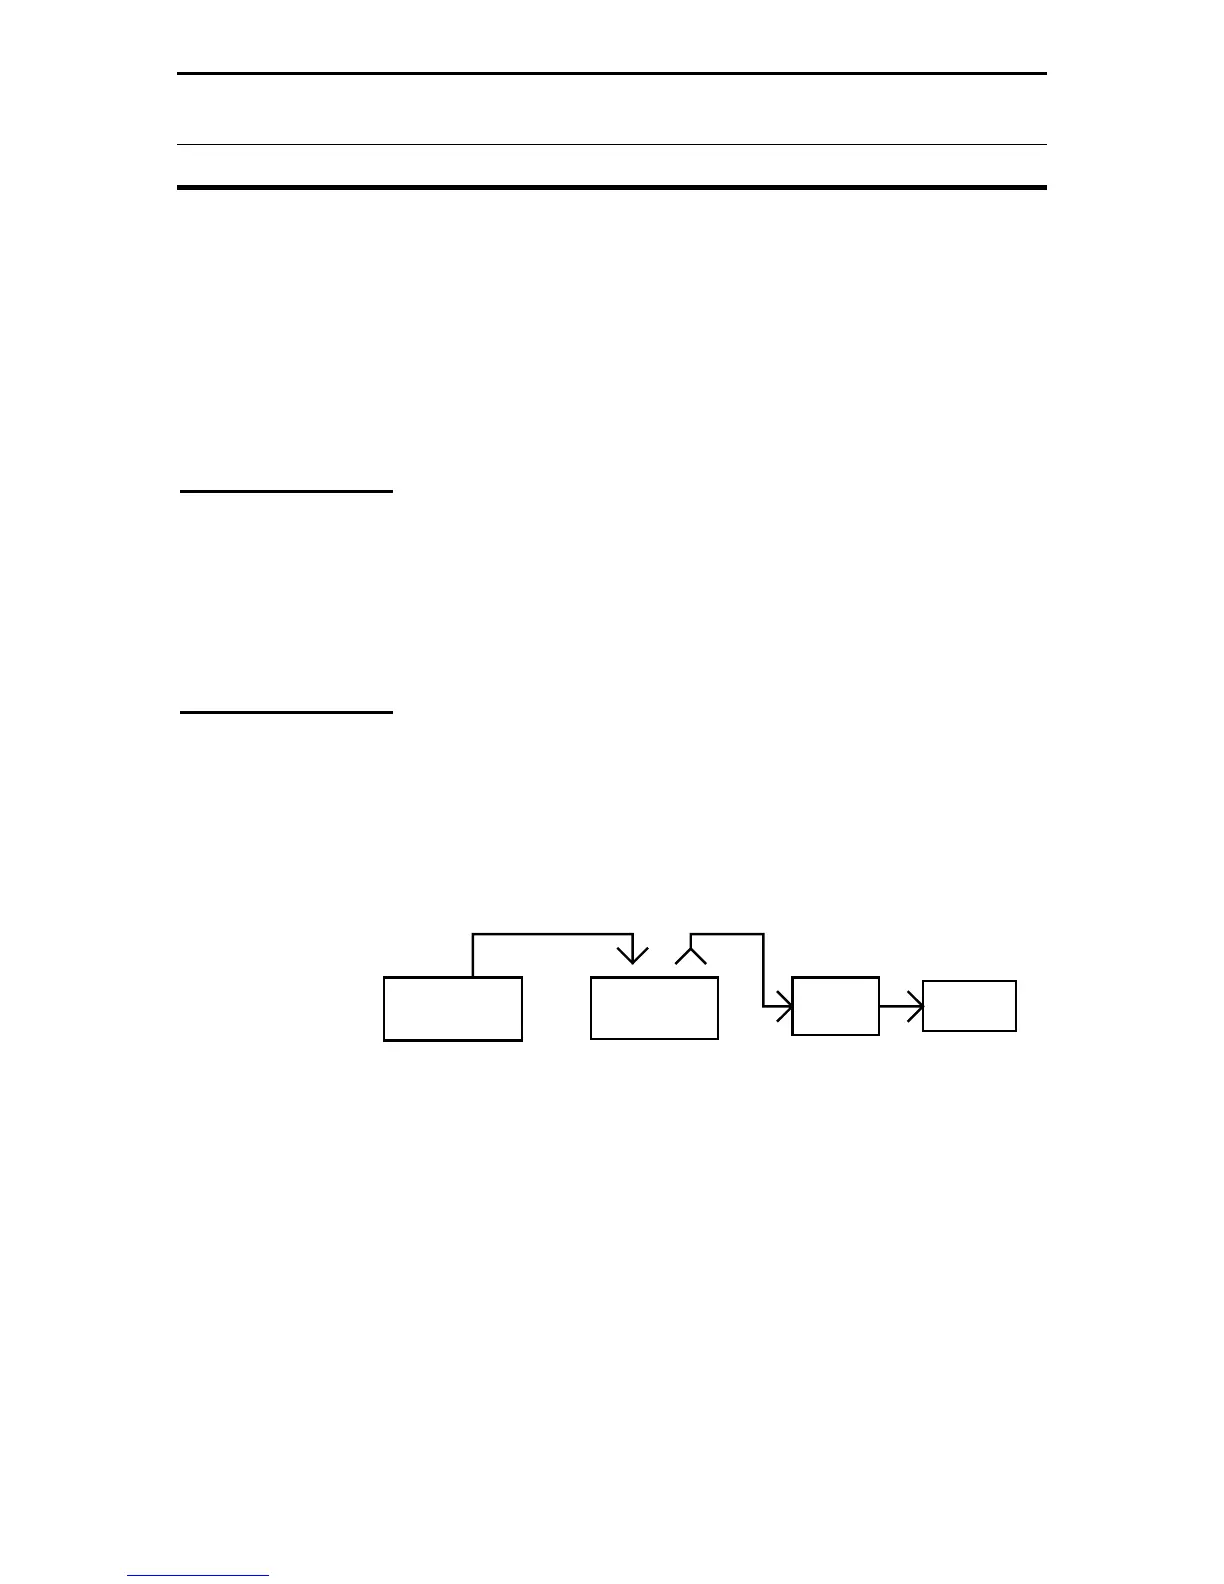
Use short 50-Ohm coaxial patch cables (3 feet or less) for interconnections -- the
shorter the better. The basic test configuration is shown below in Diagram 15:
Tuner
SWR
PWR
LOAD
Connect As Directed
Transmitter
Diagram 15: Test Setup
[ ] Connect the transceiver to the Transmitter connector.
[ ] Connect Coax-1 to the reference wattmeter's input jack.
[ ] Connect the wattmeter's output jack to a 50-Ohm Load.
[ ] Set the tuner Antenna Selector to Bypass, Coax-1.
Again, please keep hands clear of tuner components when testing!
[ ] Set the tuner wattmeter power-range switch to 300W (button in).
[ ] View the Forward scale and apply 100W. Set R8 for a 100-W reading.
[ ] View the Reflected scale and adjust trimcap C4 for a null (0-W) reading.
[ ] View the Forward scale and recheck for 100W reading. Reset R8 as needed.
 Loading...