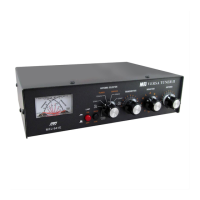
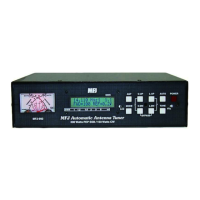
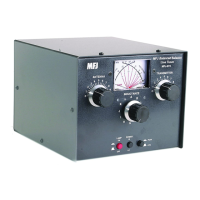
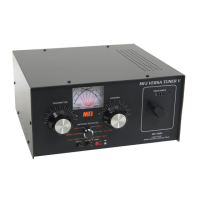
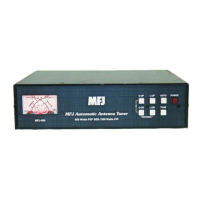
MFJ-941EK Tuner Kit Instruction Manual
- 24 -
TESTING
[ ] Reduce transmit power to 20W.
[ ] Change the range switch to 30W (button out).
[ ] View Forward scale and apply power. Set R7 for 20W (200 on 0-300 scale).
Reflected Power Setup:
This procedure uses the same setup, except the Transmitter and Coax-1
connections are reversed to measure reflected power. Note that applied power
levels will be lower (20W and 5W).
[ ] Connect radio to Coax-1.
[ ] Connect wattmeter and load to Transmitter.
[ ] Antenna Selector remains set on Bypass, Coax-1.
[ ] Reset the power-range switch for 300W (button in).
[ ] View the tuner's Reflected scale. Apply 20W and set R6 for a 20-W reading.
[ ] Reduce power output to 5 Watts. Change range switch to 30W (button out).
[ ] View Reflected Meter, set R5 for 5-W* ("50" on the 0-60W scale).
*If your radio will turn down to a lower power level, use a 2W or 3W reference
instead of 5W.
T-Network Check:
This procedure checks the RF path through the T-network to confirm the three
main tuner components are connected properly and functional.
[ ] Connect your transceiver back to Transmitter.
[ ] Connect your dummy load and reference meter back to Coax-1.
[ ] Return the range switch to 300W (button in)
[ ] Change the tuner Antenna Selector to Tuned, Coax-1.
[ ] Set the Inductor switch to "J"
[ ] Set the Transmitter and Antenna controls to "0" (capacitors fully meshed).
[ ] Starting low, gradually increase power to 100W.
Forward power should read close to 100W, SWR near "0". To further verify
control functions, momentarily change the Transmitter and Antenna settings --
you should see significant changes in SWR. Moving the Inductor setting by one
step in either direction should also increase SWR (do not switch it with RF power
applied!!).
 Loading...