4
©2020 Micro-Air, Inc. May 1, 2020 Revision 1.04
Installation
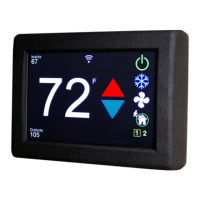
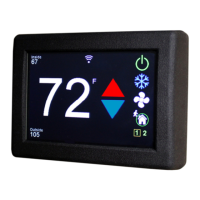
Single Zone DC (ASY-352)
Includes all Coleman™, Airxcel™, and RV products™ units except ZC and dual stage
1. Push up gently on the bottom of the original thermostat. The thermostat will snap up and then can be
removed from the wall.
2A. Models that have connectors on a short wire harness: Unplug the thermostat and remove it from
the wall.
2B. Models with directly connected wires: Take a picture of the wiring so it can be matched to your new
thermostat. Some installations may be able to move one wire at a time to the new thermostat.
3. Use the mounting template to locate and drill two 3/16” (4.76mm) holes. Insert the wall anchors into
the holes. Place the plastic mounting bracket against the wall with the smaller side closest to the wall.
Screw the wall mounting bracket into the wall anchors using the provided screws. Remove the center
plastic spacer after the screws are tight.
4A. Models with connectors on a short harness can plug EasyTouch RV into the harness.
4B. Models with directly connected wires should connect the wires using the wiring order from the
original thermostat. Match the wire label to the same label on the EasyTouch RV thermostat.
5. Insert the thermostat mounting pins into the back of the thermostat in the provided holes while
pressing it against the wall. Press down gently with the thermostat flush against the wall to lock down
the thermostat.