Installation
3
Using the MPM
Installation
For installation, use the MPM v6.1 GUI Installation File:
http://soc.microsemi.com/download/rsc/?f=SmartFusion2_DMPM_GUI_DF.
Run the installer and follow the installation wizard instructions. By default, the MPM installs into the
C:\Microsemi\SF2_MPM_RefDesign_v6.1 folder and this is the recommended location for it. In particular, avoid
installing it in a folder that is very deeply nested or has a very long path name. Otherwise, some tools may encounter
problems accessing files with names longer than 259 characters*.
Once installed, the MPM adds the following options to the Windows start menu:
Start
All Programs
• Microsemi SmartFusion2 MPM Reference Design v6.1
– Browse Design Files
Opens in Windows Explorer the folder containing the MPM Libero
®
SoC hardware and SoftConsole
firmware projects
–MPM GUI
Runs the MPM GUI
– Uninstall
Uninstalls the MPM
Hardware Setup
This section explains how to prepare the hardware for programming the MPM reference design and running the default
demonstration.
You will need the following:
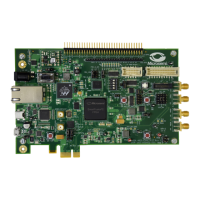
• SmartFusion2 Development Kit Board:
http://www.microsemi.com/products/fpga-soc/design-resources/dev-kits/smartfusion2/smartfusion2-
development-kit
• SF2 Digital MPM Daughter Board (SF2-DMPM-DB):
http://www.microsemi.com/products/fpga-soc/design-resources/dev-kits/smartfusion2/smartfusion2-dmpm-
kit
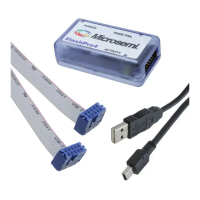
• Devantech/Robot Electronics USB-ISS communications module:
http://robot-electronics.co.uk/acatalog/USB_I2C.html
*See the Microsoft MSDN article for more on path length issues:http://msdn.microsoft.com/en-us/library/aa365247.aspx.