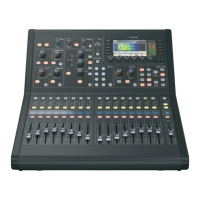
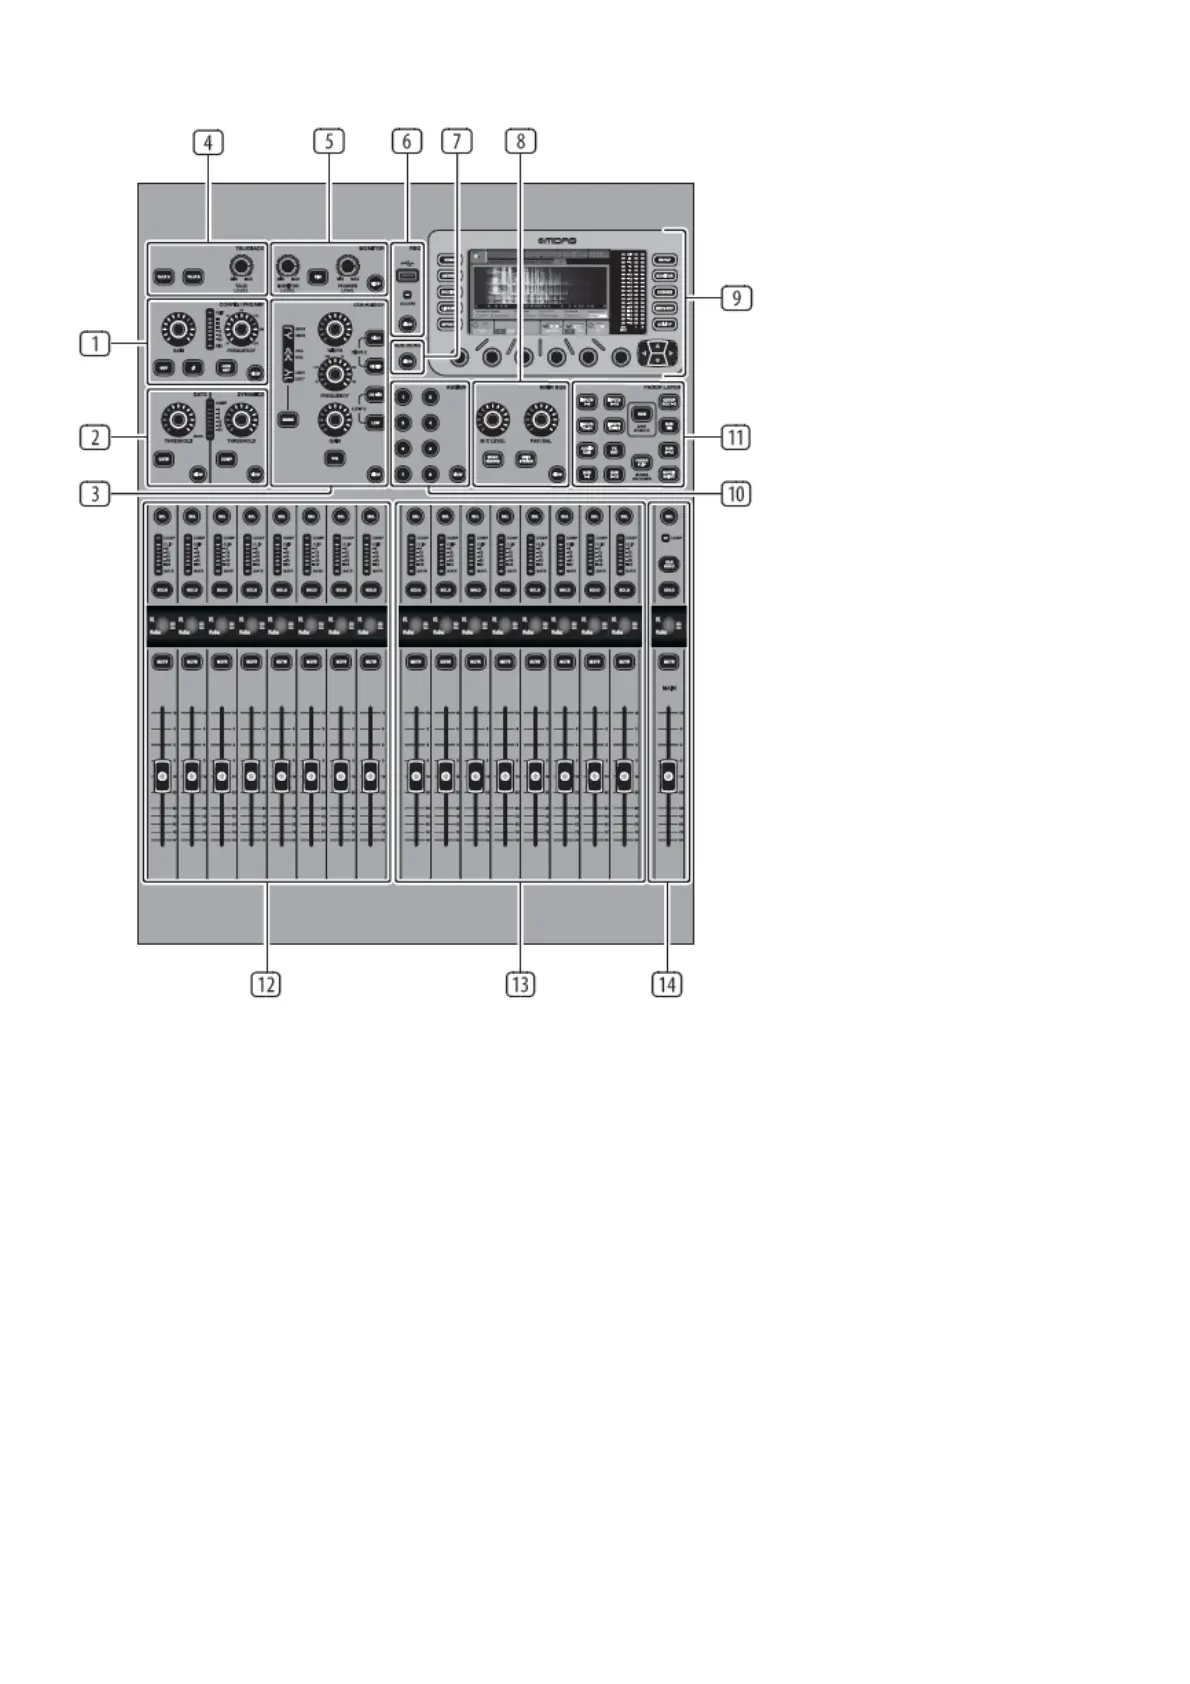
Control Surface
1. CONFIG/PREAMP – Adjust the preamp gain for the selected channel with the GAIN rotary control. Press the 48
V button to apply phantom power for use with condenser microphones and press the Ø button to reverse the
channel’s phase. The LED meter displays the selected channel’s level. Press the LOW CUT button and select
the desired high-pass frequency to remove unwanted lows. Press the VIEW button to access more detailed
parameters on the Main Display.
2. GATE/DYNAMICS – Press the GATE button to engage the noise gate and adjust the threshold accordingly.
Press the COMP button to engage the compressor and adjust the threshold accordingly. When the signal level
in the LCD meter drops below the selected gate threshold , the noise gate will silence the channel. When the
signal level reaches the selected dynamics threshold, the peaks will be compressed. Press the VIEW button to
access more detailed parameters on the Main Display.
3. EQUALISER – Press the EQ button to engage this section. Select one of the four frequency bands with the
LOW, LO MID, HI MID and HIGH buttons. Press the MODE button to cycle through the types of EQ available.
Boost or cut the selected frequency with the GAIN rotary control. Select the specific frequency to be adjusted
with the FREQUENCY rotary control and adjust the bandwidth of the selected frequency with the WIDTH rotary
control. Press the VIEW button to access more detailed parameters on the Main Display.
4. TALKBACK – Connect a talkback microphone via a standard XLR cable via the EXT MIC socket. Adjust the
level of the talkback mic with the TALK LEVEL rotary control. Select the destination of the talkback signal with
the TALK A/TALK B buttons. Press the VIEW button to edit the talkback routing for A and B.
5. MONITOR – Adjust the level of the monitor outputs with the MONITOR LEVEL rotary control. Adjust the level of
the headphones output with the PHONES LEVEL rotary control. Press the MONO button to monitor the audio in
mono. Press the DIM button to reduce the monitor volume. Press the VIEW button to adjust the amount of
attenuation along with all other monitor-related functions.