Do you have a question about the Midea CV10DPWBL0RC0 and is the answer not in the manual?
Explains critical safety symbols (Warning, Caution) and their meanings for technicians.
Diagnosing common causes when the washing machine fails to power on.
Diagnosing issues related to slow water filling or complete absence of water supply.
Identifying causes for continuous water filling or overflowing issues.
Diagnosing problems with the agitation function or unusual operational noises.
Diagnosing issues when the washer fails to drain or produces abnormal noises.
Addressing problems related to spin cycle failures, excessive vibration, or noise.
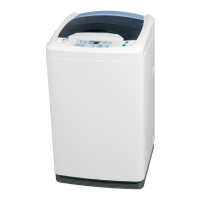
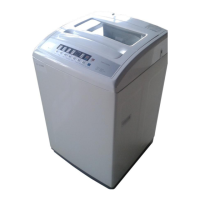
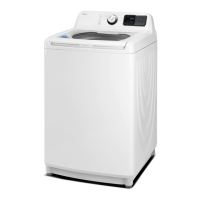
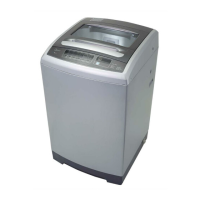
This document serves as a service manual for Midea M Series Top-load Automatic Washing Machines, providing comprehensive information for troubleshooting, part replacement, and general maintenance. It emphasizes safety precautions, detailed unpacking procedures for main components, and a guide to understanding malfunction codes and their explanations. The manual also includes flowcharts for various troubleshooting scenarios and a list of common causes and explanations for typical washer problems.
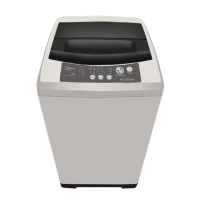
The Midea M Series Top-load Automatic Washing Machine is designed to automate the laundry process, offering various cycles for washing, soaking, draining, and spinning clothes. Its primary function is to efficiently clean garments while minimizing manual intervention. The machine incorporates a control system that manages water intake, agitation, and drainage, ensuring a thorough wash.
The washing machine operates through a user-friendly interface, allowing selection of different modes such as wash, spin, and soak. The control panel, which includes a water level key and power off key, enables access to diagnostic modes for checking the machine's status. For instance, pressing the water level key and power off key simultaneously enters a "whole show model" (C1), where all lights on the PCB illuminate. Subsequent presses of the water level key cycle through "wash model" (C2), which activates the impeller, and "spin model" (C3), which engages the retractor and initiates draining and tub rotation. This diagnostic feature helps users and technicians quickly assess the machine's operational state.
The service manual provides detailed instructions for disassembling and reassembling various parts of the washing machine, which is crucial for maintenance and repair. Key components covered include the back cover, earth screws, capacitor screws, air pipe, top cover, PCB, back control panel, cover switch, water inlet valve, water level sensor, internal wire subassembly, door lid, outer tub cover, impeller, spin tub, outer tub, motor, bracket, clutch body subassembly, retractor, and base plate. Each step is accompanied by a description of the tools required, such as a cross screwdriver, vice, pliers, and sleeve spanner.
For instance, to remove the back cover, screws indicated by a red circle are unscrewed. Disconnecting the earth wire subassembly and cabinet involves unscrewing earth screws. The capacitor is removed by unscrewing its screws and taking down the catch. The air pipe is pulled out, and adhesive is recommended during reinstallation to prevent leakage. The top cover is typically secured by screws on two sides and the back, varying by design. The PCB removal involves unscrewing its board screws and carefully pulling out the terminals, with a note to insert terminals fully during reassembly to prevent loosening.
The manual also addresses common malfunctions through a series of troubleshooting flowcharts and tables. For issues like "Water is not supplied" (E1), "Alarm for Lid open" (E2), "Alarm for imbalance" (E3), "Alarm for not draining" (E4), and "overflow alarm" (E5), specific checks are recommended. These include verifying the water tap, power supply, lid closure, safety switch, laundry distribution, machine leveling, drain hose condition, drain valve, water level sensor, and inter valve.
For problems like the washer not starting, the manual suggests checking the electrical outlet, power cord continuity, line fuse, and the main control board (PCB). If the washer fills slowly or not at all, checks include water pressure from the house supply, water inlet hose screens, water inlet valve, air pipe, water level sensor, and PCB. Overflowing issues point to a failed water inlet valve, defective water level sensor, or issues with the air pipe or PCB connections.
Problems with agitation or abnormal noise require checking the agitator or impeller kit, door or lid latch assembly, motor coupling, drive belt, motor capacitor, drive motor, and main control board. If the washer won't drain, the manual advises inspecting for clogged drain valves or hoses, the lid switch assembly, the retractor, water level sensor, air pipe, and PCB. For spinning issues, vibration, or noise, the focus is on laundry distribution, machine leveling, the lid switch assembly, tub seal and bearing kit, balance ring, and suspension rod assembly. Electrical leakage concerns prompt checks of the power cord, ground connection, motor, and other parts for water ingress.
Furthermore, the manual includes a "CHECK POINT OF CIRCUIT" section, detailing parameters for key electrical components like the motor, capacitor, drain motor, and inflow valve, along with a circuit diagram. This allows technicians to use a multimeter to diagnose circuit failures accurately. A list of service tools, including sleeve spanners, spanners, pliers, and pinchers, is also provided to facilitate maintenance tasks.