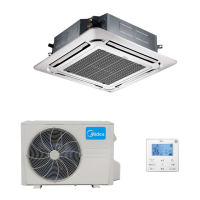
Refrigerant pipe installation
166 Installation
5.2.9 Bind and wrap the wire together with the insulated pipe if necessary.
5.2.10 Set the wall conduit
5.2.11 Set the supporter for the pipe.
5.2.12 Locate the pipe and fix it by supporter
For horizontal refrigerant pipe, the distance between supporters should not be exceed 1m.
For vertical refrigerant pipe, the distance between supporters should not be exceed 1.5m.
5.2.13 Connect the pipe to indoor unit and outdoor unit by using two spanners.
Be sure to use two spanners and proper torque to fasten the nut, too large torque will damage the
bellmouthing, and too small torque may cause leakage. Refer the following table for different pipe
connection.
Pipe Diameter
Torque Sketch map
(kgf.cm) (N.cm)
1/4" (6.35) 144~176 1420~1720
3/8" (9.52) 333~407 3270~3990
1/2" (12.7) 504~616 4950~6030
5/8" (15.9) 630~770 6180~7540
3/4" (19) 990~1210 9270~11860
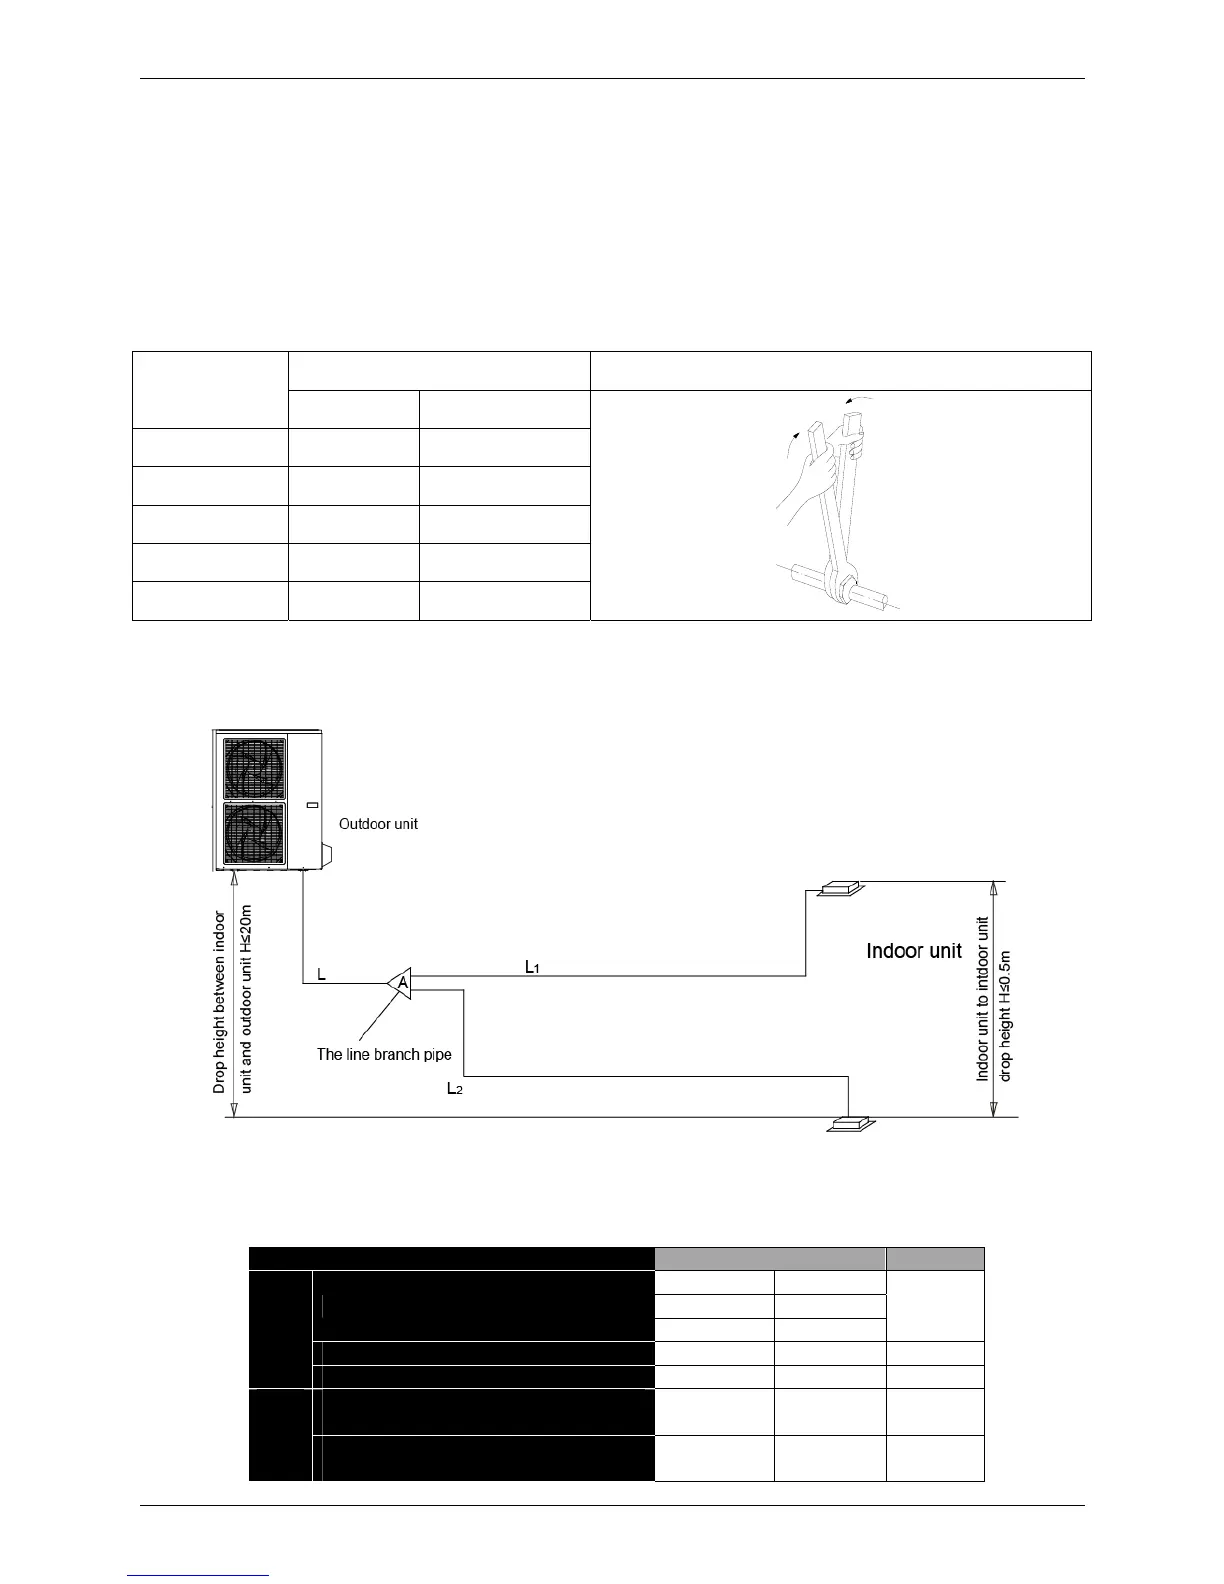
5.3 For Units with Twins Function
5.3.1 Length and drop height permitted of the refrigerant piping
Note: Reduced length of the branching tube is the 0.5m of the equivalent length of the pipe.
Note: All used branch pipe must be produced by Midea, otherwise it causes malfunction.
The indoor units should be installed equivalently at the both side of the U type branch
pipe.
Permitted Value Piping
Pipe
Length
Total pipe length (Actual)
18K+18K 30m
L+L1+L2 24K+24K 50m
30K+30K 50m
Max. branch pipe length 15m L1, L2
Max. branch pipe length difference 10m L1-L2
Drop
Height
Max. height difference between
indoor unit and outdoor unit
20m H1
Max. height difference between
indoor units
0.5m H2