Fig.3-10
The duct design must comply with the national heating air
conditioner pipeline design specifications.
The duct accessories and materials must be produced by
professional manufacturers.
In order to prevent air flow shorting, do not keep the air inlet pipe
near the air outlet pipe.
Install a filter at an easy-to-maintain place such as intake pipe.
(Otherwise, the duct will gather on the air heat exchanger and
lead to fault and water leak of the air conditioner.)
In order to suppress noise effectively, install noise suppression
and sound insulation devices, especially in the noise-sensitive
spaces such as meeting rooms.
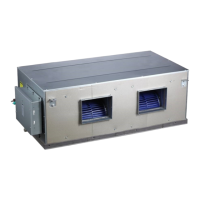
3.4 Design And Connection Of Duct
Inspection
orifice
Canvas adapter
Canvas adapter
Noise suppression chamber
Noise
suppression chamber
Air outlet
Air inlet
Air filter
Key points of duct connection
For connection of the flange plane, use non-flammable canvas
adapter to prevent transmission of vibration. For its size, see the
indoor unit outline diagram. Use M6X20 screws (configured on
site) for connection.
All pipelines must be connected closely and soundly without
leak of air. The pipelines must be adiabatic and free from
condensation.
4
MHC-96HWD1N1(A)
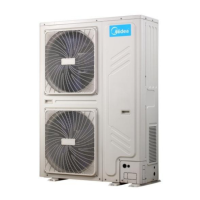
4.1 Transportation
Handling of the unit
The angle of inclination should not be more than 15º when
carrying the unit, to avoid overturn of the unit.
a. Rolling handling: several rolling rods of the same size are
placed under the base of the unit, and the length of each
rod must be more than the outer frame of the base and
suitable for balancing of the unit.
b. Lifting: the strength lifting rope (belt) can bear should be
4 times the weight of the unit. Check the lifting hook and
ensure that it is firmly attached to the unit, and the lifting
angle should be more than 60º. Any person is not allowed to
stand below the unit when lifting it.
4. INSTALLATION OUTDOOR UNIT
122
390
1138
194
194
272
272
254
Fig.3-12
Fig.3-13
Air outlet duct connection screw hole location diagram
Return air duct rivet screw hole location diagram
CAUTION
1. Install the indoor unit drainpipe
Install a drain stream trap in the drainpipe to prevent water from
overflowing. (The drainpipeabsorbs the odor. When the outside
static pressure is high (especially the air inlet),it is difficult todrain the
water.)
Drainage should be natural. When constructing, the outside pipe of
outdoor unit should be inclined (1/50~1/100).
The bending part of drainpipe should be fewer than 2. Furthermore,
to reduce the depositing dust, avoid bending the pipe as possible as
you can.
Make sure there is no dust or rubbish falling into indoor unit drain
elbow and drainpipe.
After installation, remove the checking panel, pour some water in the
drain elbow to see whether it drains smoothly.
50mm or more
Checking panel
Drain pipe
General drain pipe
(Checking orifice)
Sheath
100mm or more
Fig.3-11
3.5 Install the drainpipe
Rubbish is easy to accumulate at drain stream trap. Make
sure to install a plug or other things which is easy to clean.
2. Test draining
Open the clapboard of indoor unit, pour the water in to see whether it
drain smoothly and whether there is water leakage.
3. Heat insulation
After confirming that drainage is smoothly and there is no leakage,
wrap the drainpipe with insulation material, or there will be
condensed water.
3.6 Dimension(Unit:mm)
 Loading...