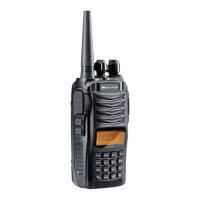
16 | CT310 Instruction Manual
CTCSS/DCS Setup
In standby mode press FUNC, the top left corner of LCD displays icon,
press TONE, the LCD displays “CT” icon, it means a CTCSS signal can be
added to the current channel. Repeat the above operation, LCD displays
“DCS” icon, it means a DCS code can be added to the current channel.
Repeat the above operation, “DCS” icon disappears, current channel without
CTCSS/DCS signal.
CTCSS/DCS Scan
Press FUNC, the top left corner of the LCD displays icon, press TONE to
enter into the CTCSS/DCS scan. Rotate the channel switch to change the
scan direction. When the scan detects a CTCSS/DCS signaling, it will stay 5
seconds and then re-starts the scanning. Press any other keys except FUNC,
S.W, #/ENT key to exit.
NOTE: This function cannot be done when the transceiver works in professional
mode or the arrow directed channel does not indicate a CTCSS/DCS signaling.
In current channel, if signaling set as CTCSS, it will scan CTCSS, if sets as DCS,
will scan DCS.
Oset Frequency Direction Setup
Under standby mode, press FUNC, the top left corner of LCD displays
icon, press */- to choose the oset frequency direction. There are 3 options,
Positive oset, Minus oset, shut o oset.
1. (+) Positive oset: Indicates that the TX frequency is higher than the RX
frequency. When the reverse function is enabled, the RX frequency is
higher than the TX frequency.
2. (-) Minus oset: Indicates that the TX frequency is lower than the RX
frequency. When the reverse function is enabled, the RX frequency is
lower than the TX frequency.
3. None: Indicates shut oset o.
In frequency mode (VFO) or channel mode, press FUNC, then press */- to
choose a positive oset direction(+), minus oset direction (-) , shut oset o
one by one (Please refer to the oset frequency setup).
NOTE: This function is invalid in professional transceiver mode.