2. Charging and installing the Li-Po battery
Plug the USB connector of the charging cable to a USB port on your computer or to USB charger
(not included), and the other end directly to the battery USB-C charging port. The charge indicator
LED will bright in red on the battery. It takes about 90 to 120 minutes for the lithium battery to be fully
charged. The red LED indicator light turns off when the battery is fully charged.
Install the fully charged battery into the compartment provided for this purpose inside the drone.
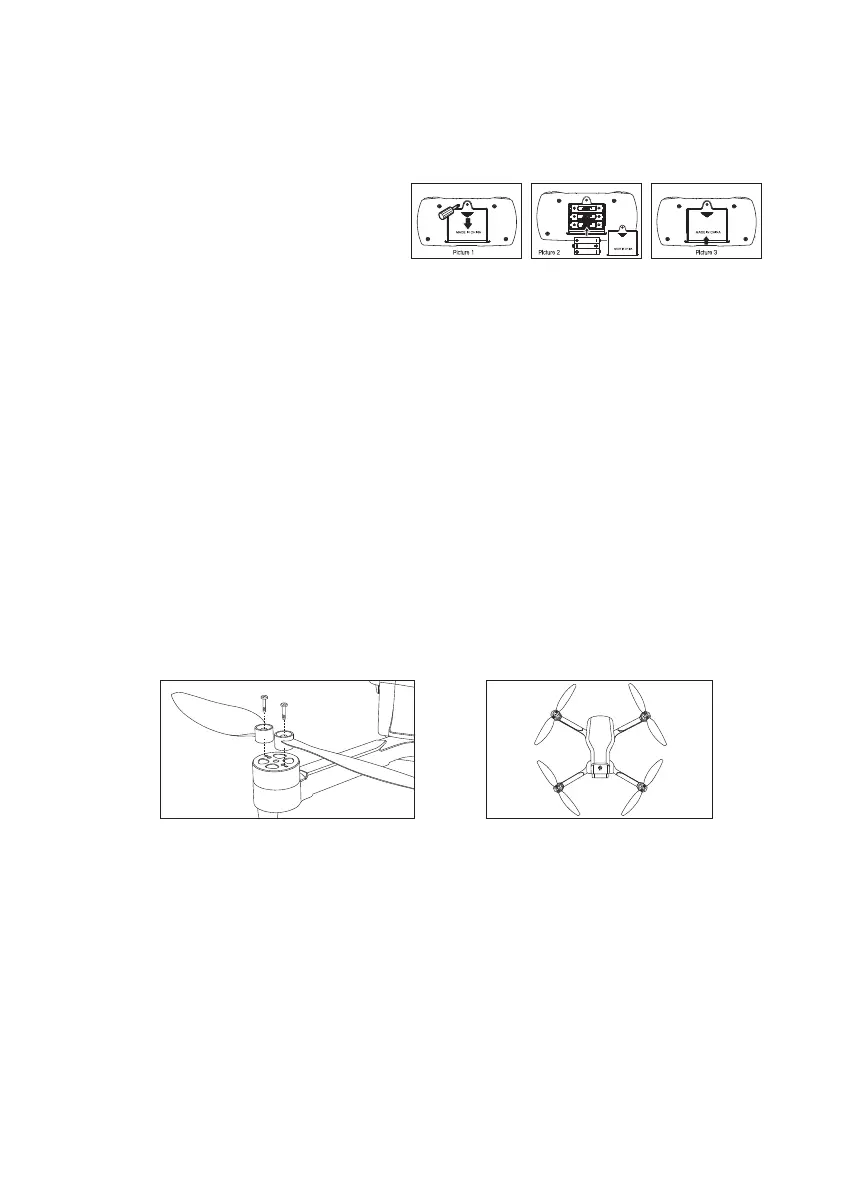
REPLACING THE PROPELLERS
If a propeller replacement is necessary pay special attention to the direction of rotation.
The propellers that rotate clockwise are marked with a letter A or with arrows. Those that rotate in
the anti-clockwise direction are marked with a letter B or with arrows. See below the location of each
propeller A and B on the drone.
The propellers screw directly onto the motor, there are two small propellers per motor which must
install in the direction shown in Figure 1 below. The drone will not be able to take off if the propellers
are not correctly installed.
BEFORE FLYING
Settle in a space without obstacles with a clearance of about ten meters around you and five
meters in height at least. Ensure that the battery of the drone and batteries from remote control
are fully charged.
PREPARATION FOR TAKE OFF
Insert the battery in the battery compartment of the drone and press the ON/OFF button
located on top of the drone. The drone LED lights flash slowly. Then place the drone to the
ground or on a flat surface and turn on the remote control. The drone camera should be pointing
forward (the back of the drone towards the pilot).
BATTERY INSTALLATION
1. Install batteries in the remote control
The operation of the remote requires 3 AAA batteries (not included). Observe the battery polarity
when inserting in the compartment at the back of the remote. Remove the batteries from remote
control for a long period of non-use to avoid discharge and leakage.
NOTE : When the drone's battery becomes low, the lights below the drone will flash and the
remote control will make "beep" sounds. You must then land the drone as quickly as possible to
prevent it from suddenly stopping and falling, which could cause significant damage.
Figure 1 Figure 2
A B
B A