Technical Information
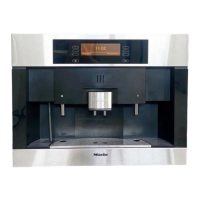
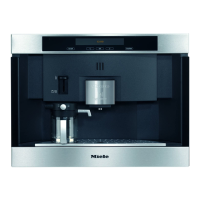
21
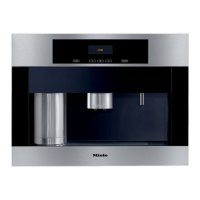
CVA 4062/CVA 4066/CVA 4068 Coffee Systems
3. The on-site water line must have a water valve to turn water off when needed. If not
present, have a water valve installed by a licensed plumber.
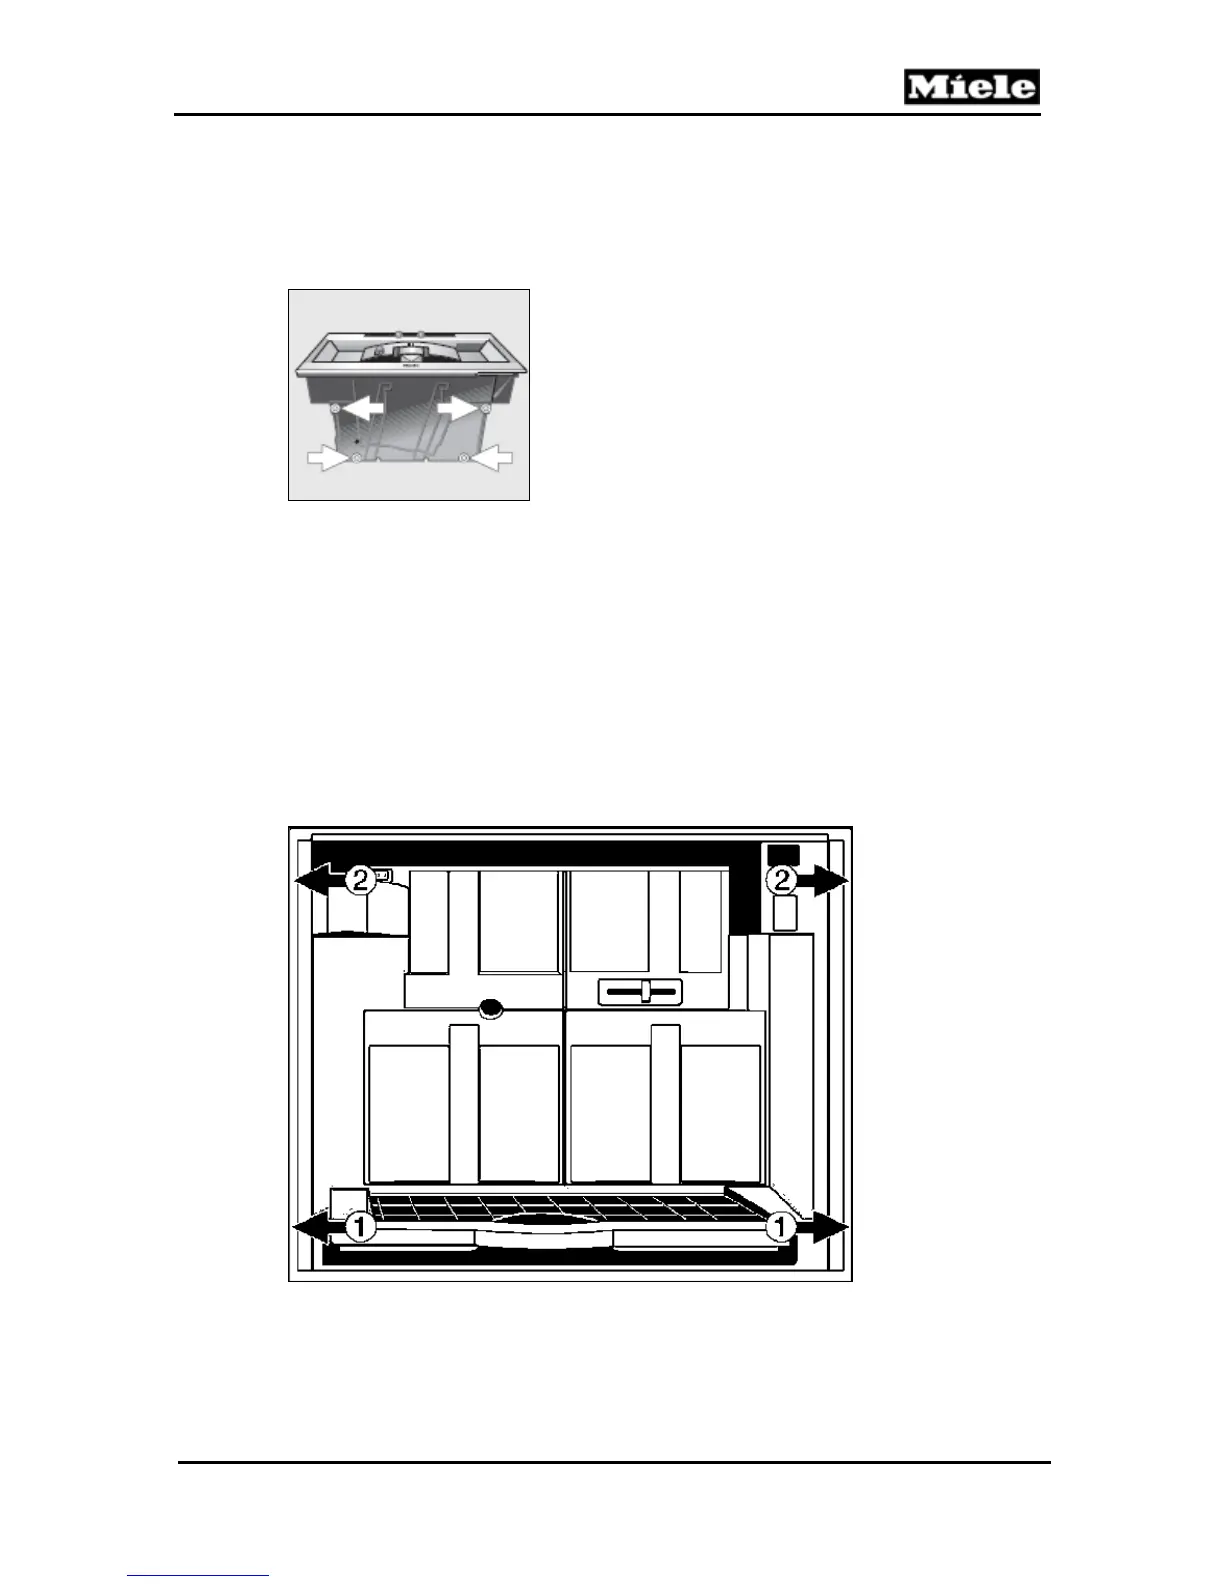
4. If necessary, unscrew the height-adjustable feet (Figure 010-3) on the underside of the
machine by about
1
⁄
16
" (2 millimeters). These feet can be turned by up to ” (10
millimeters), if necessary.
Figure 010-3: CVA Feet Adjustment
4. Plug the power cord into the electrical outlet.
5. Connect the appliance to the water supply, test for leaks.
6. Push the appliance all the way back into the cabinet and center it. If the cabinet
has ¾" (19mm) side walls, mark the four holes for mounting. (See Figure 010-4,
Items 1 and 2, for location.)
7. Take the appliance out of the cabinet and carefully drill four holes at the screw
marks (
1
⁄
16
" [2mm], diameter
3
⁄
16
" [4.5mm]).
8. Push the appliance back into the cabinet until fully seated.
9. Open the front of the appliance and turn the 4 screws, tightening them against the
inside of the cabinet. The screws should be tightened equally to ensure that the
appliance is centered to the cabinet. See Figure 010-4.
Figure 010-4: CVA Mounting Locations
10. Fill the bean and water containers.
11. Program user settings appropriate for the CVA model.
12. Perform an operational check. Check for leaks.
13. Provide the customer with an operational overview.
 Loading...