After changing the jets
^
Assemble the removed burner parts
in reverse order and check for leaks
by operating the burner without the
upper section of the hob in place
(use a match to ignite the flame).
^
Remove the burner parts again.
^
Then replace the upper section of the
hob.
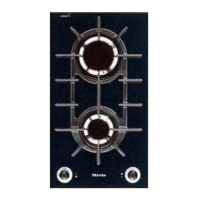
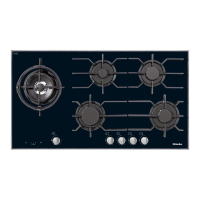
KM 360 G / KM 362 G
When replacing the stainless steel
upper section:
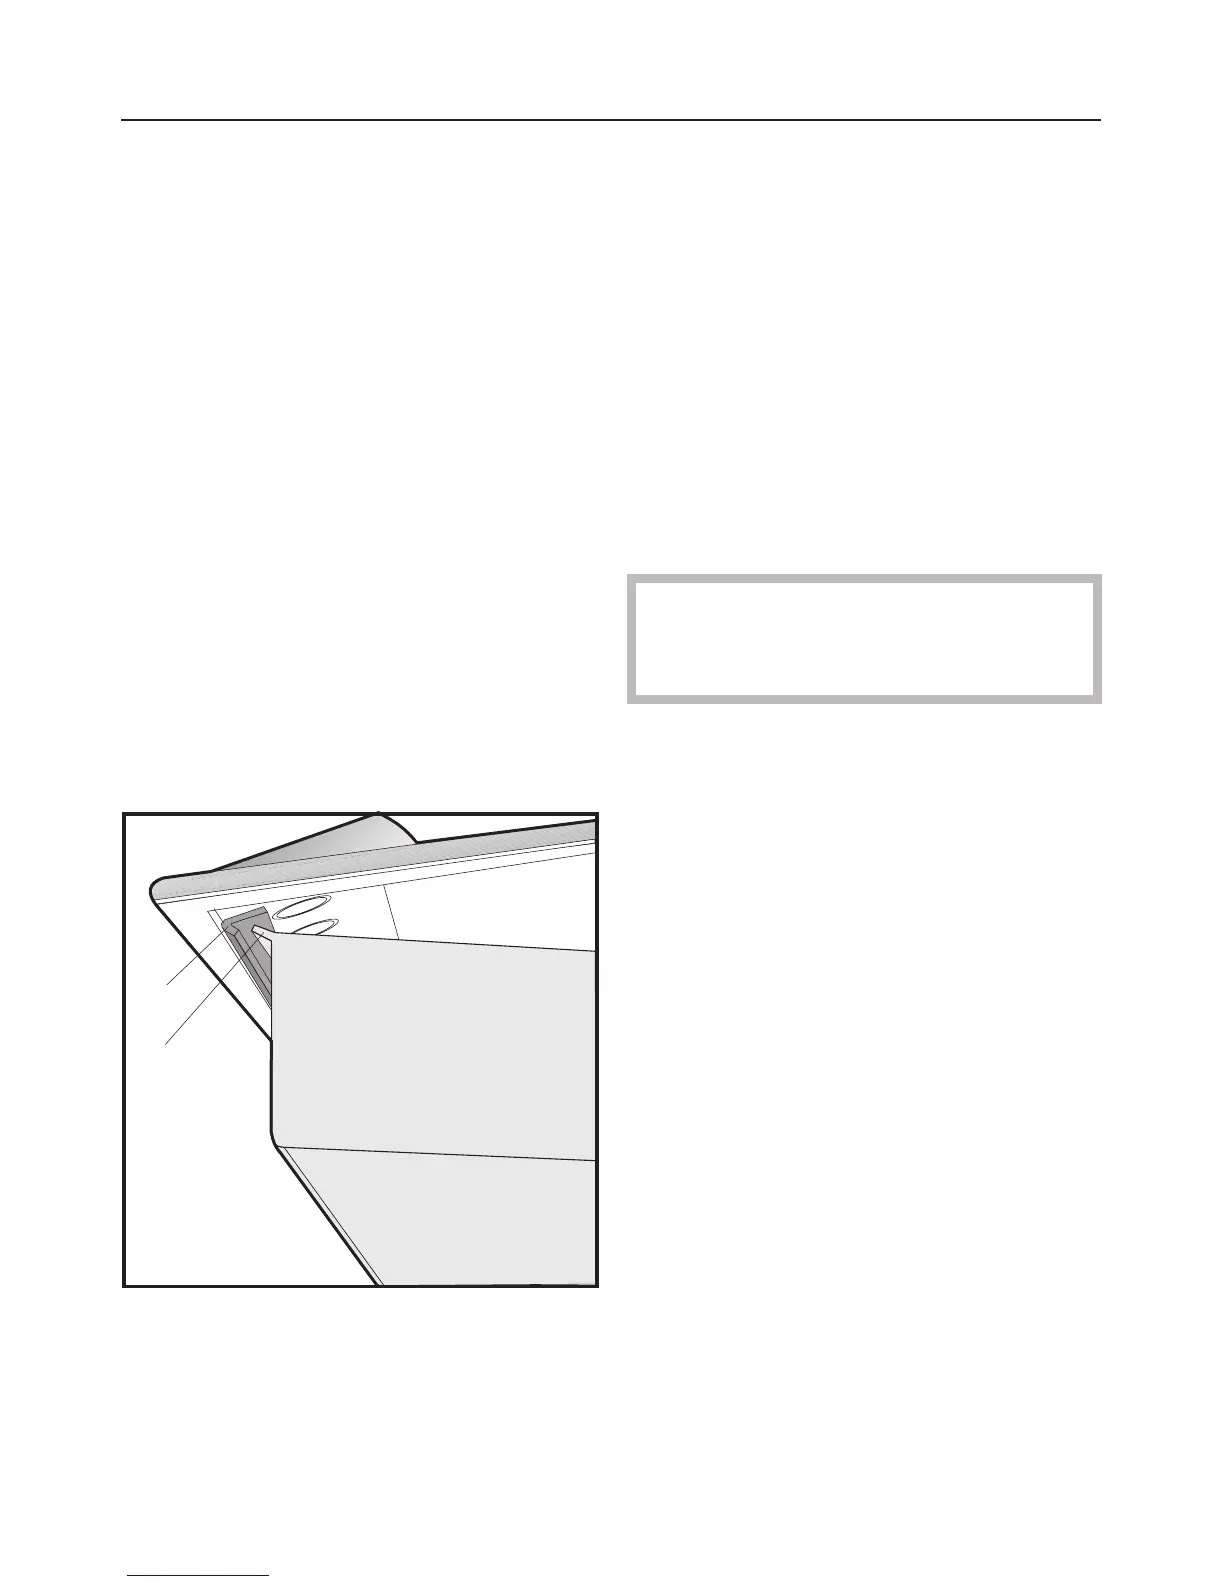
Position the upper section as shown in
the illustration, pushing it forwards first
of all and then backwards until the
angle bracket a clicks into place
underneath the lip b of the lower
section. Then lower the upper section.
^
Screw in the burner bases and
re-assemble the burner parts, making
sure they are in the correct order.
^
Replace the controls.
^
Finally ignite all the burners to check
that they are operating correctly.
The flame must not go out in the lowest
setting, or when the control is turned
quickly from a high to a low setting.
In the highest setting the flame must
have a distinctive and visible core.
Stick the label supplied with the jets
above the label stating the type of
gas being used.
Conversion to another type of gas
22
a
b
 Loading...