3. Connect the power cord to the adapter, and then plug the power cord into a power outlet.
Mounting
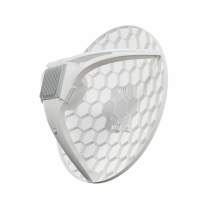
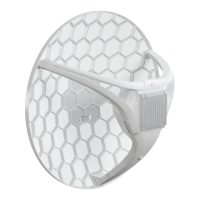
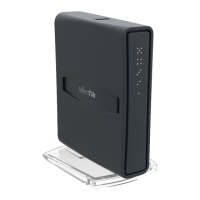
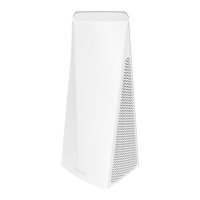
The device is designed to be used indoors and placed on a flat surface with all needed cables connecting to the back of the unit. The IPX rating scale of
IPX0. We recommend using Cat6 shielded cable for Audience devices.
Warning! This equipment should be installed and operated with a minimum distance of 50 cm between the device and your body. The operation of this
equipment in the residential environment could cause radio interference.
Configuration
Once logged in, we recommend clicking the "Check for updates" button in the QuickSet menu, as updating your RouterOS software to the latest version
ensures the best performance and stability. For wireless models, please make sure you have selected the country where the device will be used, to
conform with local regulations.
RouterOS includes many configuration options in addition to what is described in this document. We suggest starting here to get yourself accustomed to
the possibilities: . In case an IP connection is not available, the Winbox tool ( ) can be used to connect to the MAC https://mt.lv/help https://mt.lv/winbox
address of the device from the LAN side (all access is blocked from the Internet port by default).
For recovery purposes, it is possible to boot the device for reinstallation, see section .Buttons and Jumpers
Expansion slots and ports
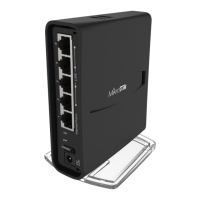
Two Gigabit Ethernet ports.
Integrated Wireless 2.4 GHz 802.11b/g/n, antenna gain 3.5 dBi.
Integrated Wireless 5.0 GHz 802.11a/n/ac, antenna gain 4.5 dBi. 5180 – 5320 MHz.
Integrated Wireless 5.0 GHz 802.11a/n/ac, antenna gain 4.5 dBi. 5500 – 5825 MHz.
Audience LTE6 kit - MiniPCIe slot with factory-installed R11e-LTE6 card and SIM slot.
Buttons and Jumpers
The reset button functions as described below:
Hold this button before applying power, release after three seconds since powering, to load backup Boot loader. This might be necessary if the
device is not operating because of a failed RouterBOOT upgrade. When you have started the device with the backup loader, you can either set
RouterOS to force backup loader in the RouterBOARD settings or have a chance to reinstall the failed RouterBOOT from an fwf file (total 3
seconds).
If you keep holding this button for 2 more seconds until the green LED light starts flashing, release the button to reset RouterOS configuration to
default (total 5 seconds).
To connect this device to a wireless network managed by CAPsMAN, keep holding the button for 5 more seconds, LED turns solid green, release
now to turn on CAPs mode (total 10 seconds).
Or Keep holding the button for 5 more seconds until the green LED turns off, then release it to make the RouterBOARD look for Netinstall servers.
You can also simply keep the button pressed until the device shows up in the Netinstall program on Windows (total 15 seconds).
Regardless of the above option used, the system will load the backup RouterBOOT loader if the button is pressed before power is applied to the device.
Useful for RouterBOOT debugging and recovery.
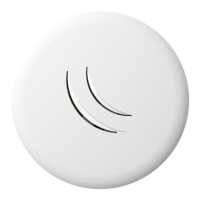
WPS Sync button
Use the WPS Sync button to expand your wireless repeater network coverage by adding multiple Audience devices to it.
On the chosen Audience AP, push the "WPS-Sync" button once, to turn on WPS mode for two minutes and make it wait for Audience repeater.
The status LED will blink green.
The Audience repeater needs to be booted with pressed "WPS-Sync" button for the device to configure itself according to the "WPS-Sync" mode
and to connect to the Audience AP. Release the "WPS-Sync" button when the status LED is blinking amber.
If the Audience repeater fails to connect to the Audience AP, then connecting can be repeated through RouterOS or by pressing "WPS-Sync"
button and releasing after 5 seconds, the device will turn on "WPS-Sync" mode for two minutes and search for Audience AP. Status LED will blink
amber.
To add a third Audience repeater to your network, push the "WPS-Sync" button on the second Audience in your network, then boot the third unit
with the "WPS-Sync" button pressed. Repeat with as many units as needed, adding more devices to your network.