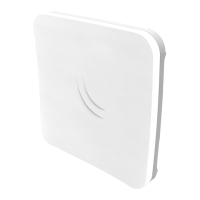
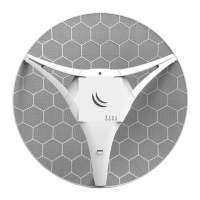
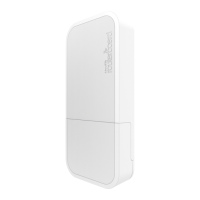
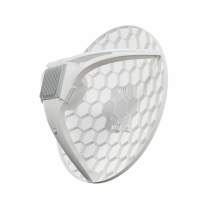
1. Slide the included metallic mounting rings into the two slots on the back of the antenna dish.
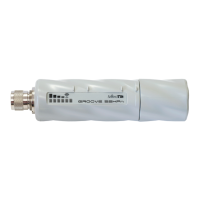
2. Attach the unit to a pole, with the Ethernet port pointing downward.
3. Use a PH2 screwdriver to tighten the rings.
4. Fix the Ethernet cable to the pole using zip ties, less than one meter from the unit, to avoid the cable
being pulled out of the port.
5. Check mounting angle and positioning.
6. Optional: If required, before mounting the unit, you can insert the included 5-degree adjustment
adapter into the top or bottom slot where the mounting ring is inserted. This will create an additional
upward or downward angle when the unit is tightened to a vertical pole.
7. Insert a 5-degree angle adapter to one of the slots and remount the unit.
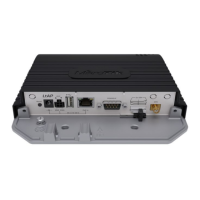
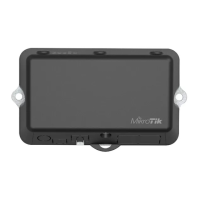
When mounting outdoors, please ensure that any cable openings are directed downwards. Use POE
injector and proper grounding, this device has a specially designed grounding connector under the port
cover. Recommended using shielded Cat5/6 cable. The IP rating scale for this device is IP54.
Warning! This equipment should be installed and operated with a minimum distance of 120 cm
between the device and your body. Operation of this equipment in the residential environment could
cause radio interference.
Configuration
Once logged in, we recommend clicking the "Check for updates" button in the QuickSet menu, as
updating your RouterOS software to the latest version ensures the best performance and stability. For
wireless models, please make sure you have selected the country where the device will be used, to
conform with local regulations.
 Loading...