EasyManua.ls Logo

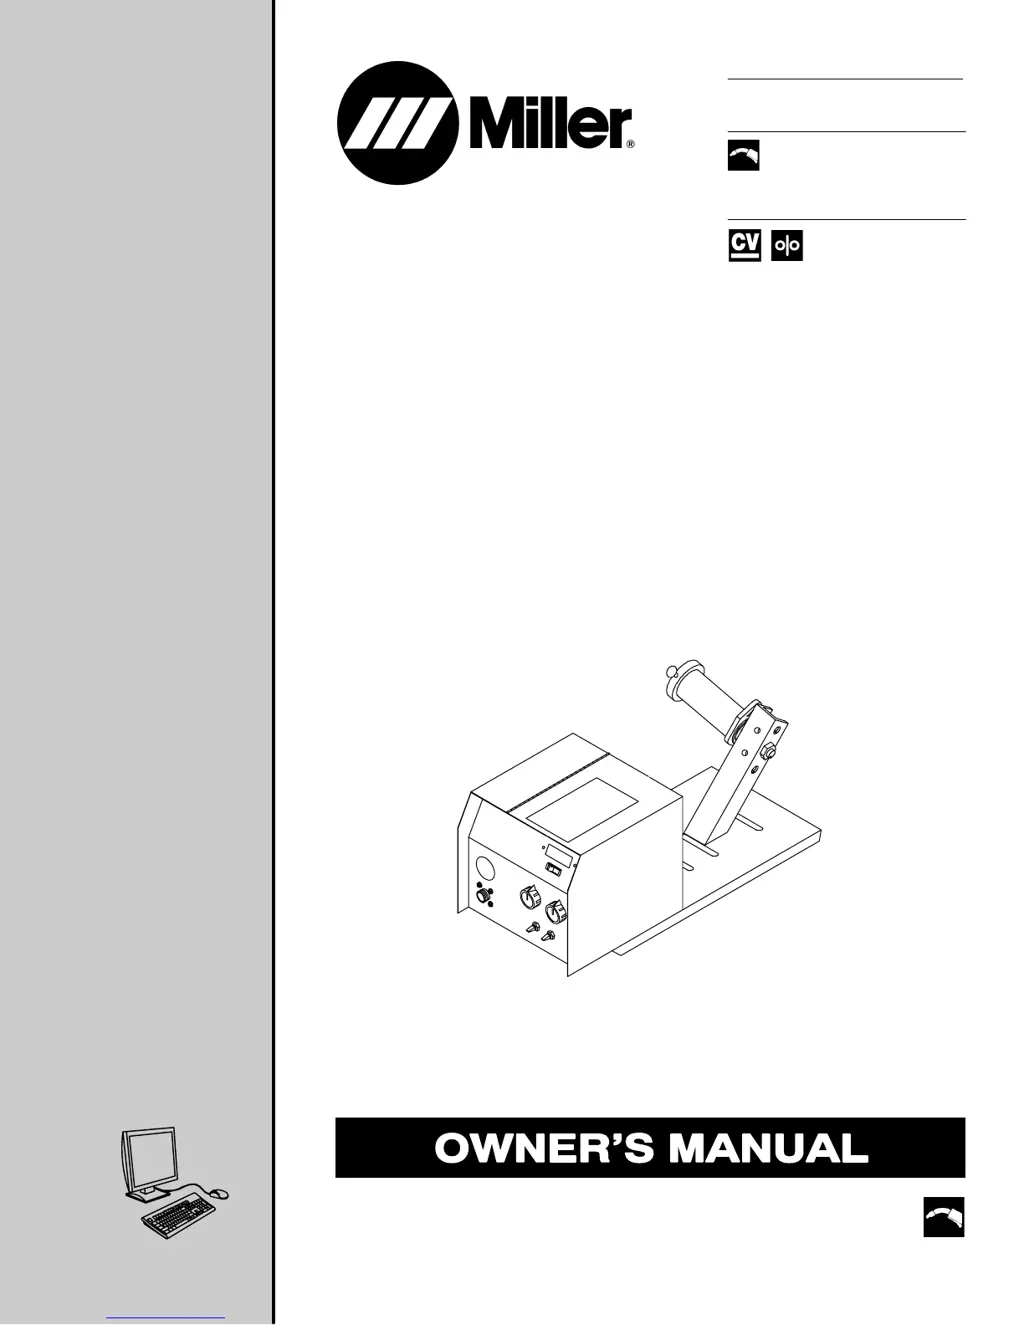
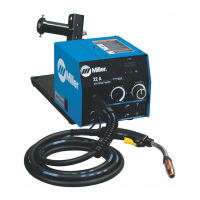
Miller Electric 22A - User Manual

Miller Electric 22A
32 pages
Print Icon
To Next Page IconTo Next Page
Loading...
Processes
Description
MIG (GMAW) Welding
Flux Cored (FCAW) Welding
Wire Feeder
OM-193 472N
200605
22A, 24A
Visit our website at
www.MillerWelds.com
File: MIG (GMAW)

Questions and Answers

  • W
    William FieldsJul 28, 2025
    How to troubleshoot a Miller Electric Welding System when the wire doesn't feed and the unit is inoperative?
    • L
      Lisa BakerJul 28, 2025
      If the Miller Electric Welding System is completely inoperative and the wire does not feed, first turn the power switch on. If that doesn't work, check the 14-pin plug PLG2 connections and verify the input power.
  • J
    Jack KellerAug 2, 2025
    Why is the wire not feeding on my Miller Electric Welding System?
    • H
      holmeswilliamAug 2, 2025
      If the wire is not feeding on your Miller Electric Welding System, check the gun trigger connection at the wire feeder, the gun trigger leads, and the trigger switch. Also, make sure the Run-In speed isn't set to minimum; a normal setting is 50 percent.
  • M
    Mr. James BeckerAug 6, 2025
    What causes the gas valve to rattle loudly and the wire to feed slowly on a Miller Electric Welding System?
    • D
      dhernandezAug 6, 2025
      If the gas valve rattles loudly and the wire feeds slowly or erratically on your Miller Electric Welding System, check for a short between the gun trigger leads and the weld cable. Repair or replace the gun trigger leads if necessary.
  • A
    Amanda RobinsonAug 10, 2025
    What should I check if the wire feeds with the Jog switch but not the gun trigger on my Miller Electric Welding System?
    • C
      claire45Aug 11, 2025
      If the wire feeds when the Jog switch is pressed but not when the gun trigger is pressed on your Miller Electric Welding System, check the gun trigger connection at the wire feeder, the gun trigger leads, and the trigger switch.
  • M
    Michael SheltonAug 14, 2025
    Why does the wire continue to feed after releasing the trigger on my Miller Electric Welding System?
    • J
      Jason McleanAug 15, 2025
      If the wire on your Miller Electric Welding System continues to feed after the trigger is released, check for a short between the gun trigger leads and the weld cable. Repair or replace the gun trigger leads.
  • H
    Heidi FloresAug 25, 2025
    What to check if gas doesn't flow but wire feeds on Miller Electric Welding System?
    • W
      walkernicholasAug 25, 2025
      If the gas does not flow but the wire feeds on your Miller Electric Welding System, check the gas valve and flowmeter.
  • D
    Donald HarmonSep 10, 2025
    Why does the wire feed as soon as I turn on my Miller Electric Welding System?
    • K
      Kathryn TranSep 12, 2025
      If the wire feeds as soon as power is applied to your Miller Electric Welding System, check the gun trigger.

Summary

SECTION 1 - SAFETY PRECAUTIONS - READ BEFORE USING

1-1. Symbol Usage

Explains warning symbols and their meanings in the manual.

1-2. Arc Welding Hazards

Introduces various hazards associated with arc welding processes and equipment.

1-3. Additional Symbols For Installation, Operation, And Maintenance

Details additional symbols for installation, operation, and maintenance procedures.

1-4. California Proposition 65 Warnings

Lists warnings related to California Proposition 65 for chemicals in exhaust and batteries.

1-5. Principal Safety Standards

Lists key safety standards and organizations relevant to welding operations.

1-6. EMF Information

Discusses electromagnetic fields (EMF) and their potential effects and mitigation.

SECTION 3 - INSTALLATION

3-1. Specifications

Provides technical specifications for the welding equipment.

3-2. Site Selection

Offers guidance on choosing a suitable location for operating the equipment.

3-3. Gun Recommendation Table

Lists recommended welding guns for different processes and wire types.

3-4. Equipment Connection Diagrams

Illustrates connection diagrams for various equipment configurations.

3-5. 14-Pin Plug, Shielding Gas And Optional Volt Sense Lead

Details the 14-pin plug, gas connections, and volt sense lead.

3-6. 14-Pin Plug Information

Provides detailed information and pin assignments for the 14-pin connector.

3-7. Connecting Welding Gun And Weld Cable

Guides the user on how to connect the welding gun and cable.

3-8. Optional Meter Circuit Board Settings

Explains how to set up the optional meter circuit board for voltage and speed display.

3-9. Motor Start;Burnback Control

Details the adjustment of motor start and burnback controls for wire feed.

3-10. Installing Wire Guide And Drive Roll

Provides instructions for installing wire guides and drive rolls.

3-11. Installing And Threading Welding Wire

Guides on installing and threading the welding wire into the feeder.

SECTION 4 - OPERATION

4-1. Front Panel Controls

Explains the functions of controls located on the front panel of the equipment.

4-2. Optional Side Panel Controls

Describes the functions of optional controls available on the side panel.

SECTION 5 - MAINTENANCE & TROUBLESHOOTING

5-1. Routine Maintenance

Outlines regular maintenance tasks and schedules for the equipment.

5-2. Overload Protection

Explains the overload protection mechanism and how to reset it.

5-3. Troubleshooting

Provides common problems and their solutions for troubleshooting.

WARRANTY

5 Years Parts - 3 Years Labor

Details the warranty period for original main power rectifiers.

3 Years Parts and Labor

Covers various power sources like transformers, plasma cutters, and wire feeders.

1 Year Parts and Labor

Applies to motor driven guns, positioners, controllers, and other accessories.

6 Months Batteries

Specifies the warranty period for batteries.

90 Days Parts

Covers MIG guns, TIG torches, and subarc guns.

Miller Electric 22A Specifications

General IconGeneral
BrandMiller Electric
Model22A
CategoryWelding System
LanguageEnglish

Related product manuals