K
Kathy OwensAug 1, 2025
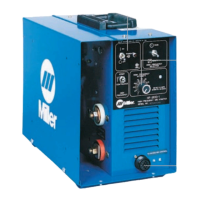
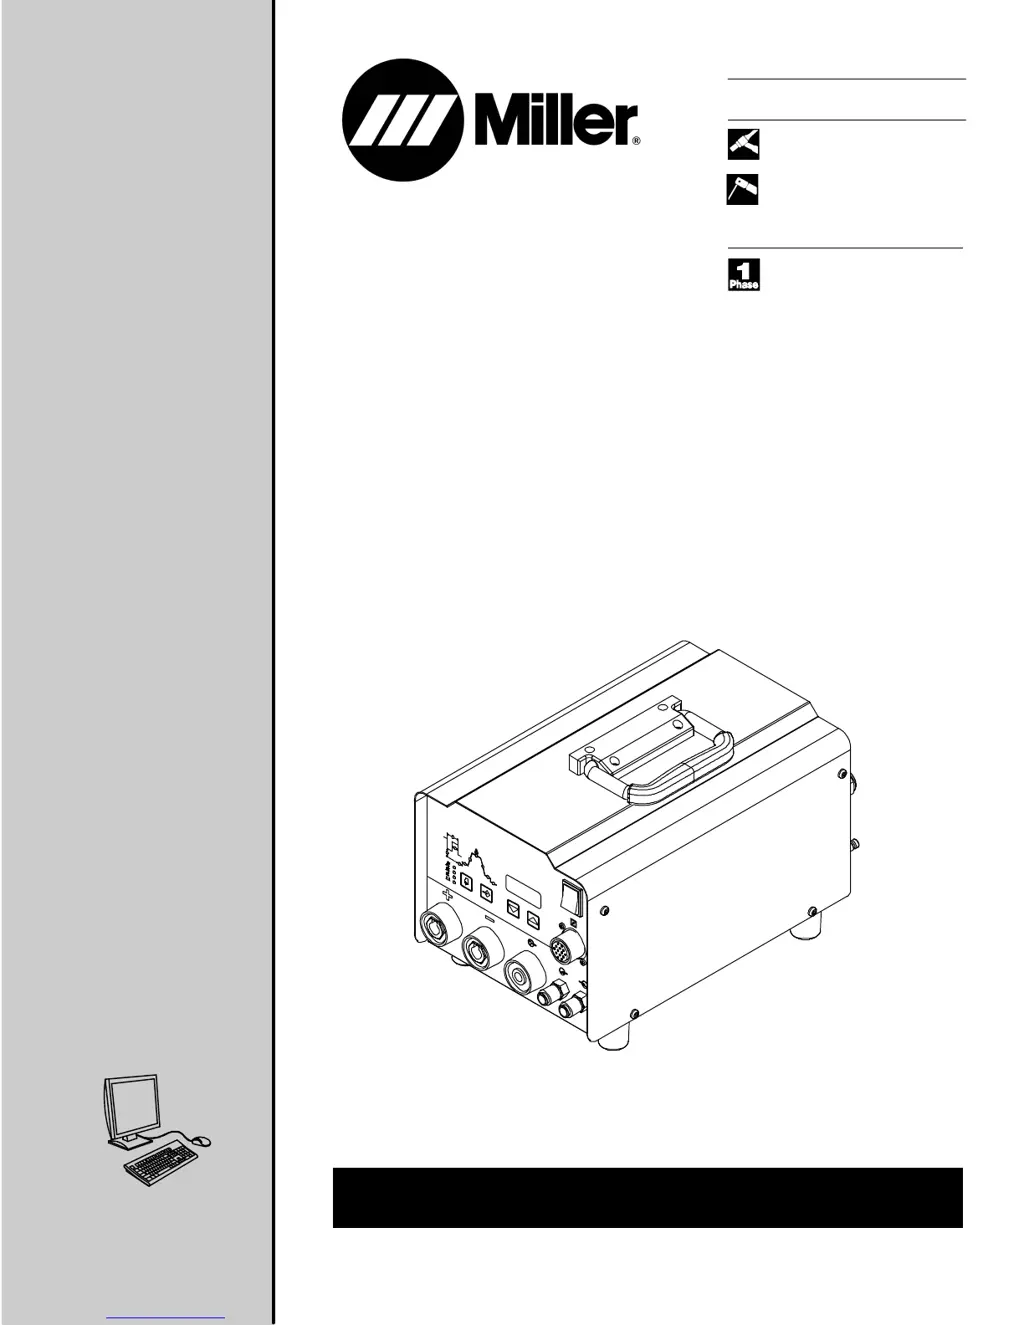
What to do if I have unstable arc starts with my Miller HF 5000 CE?
- BbeckaaronAug 1, 2025
If you're experiencing lack of HF and unstable arc starts with your Miller Welding System, try the following: * Ensure torch cables do not contact the work circuit. * Repair or replace any damaged or broken torch or cables. * Use the correct size and type of tungsten electrode.