• If dust builds up in the hole,
Dust and debris
will fall through
the hole.
Top view
vacuum it out and continue drill-
ing.
• If drilling through a wall, the hole
for dust should be drilled on the
lowest part of the large hole kerf
as the dust will fall there when
drilling and can be evacuated
more easily.
6. Reinstall the core bit and
Side view
of slab
continue drilling. Dust and
debris will fall through the
hole and optimize the cutting
ability of the bit.
NOTE: If unable to drill a hole
in the kerf, pull back on the bit
with the hammer running. This
will remove some of the dust
and debris from the cut. Re-
peat this for every inch of drill-
ing. If necessary, vacuum dust
and debris from the cut and
Pull bit out as far
as possible once
or twice per inch
drilled.
surrounding area.
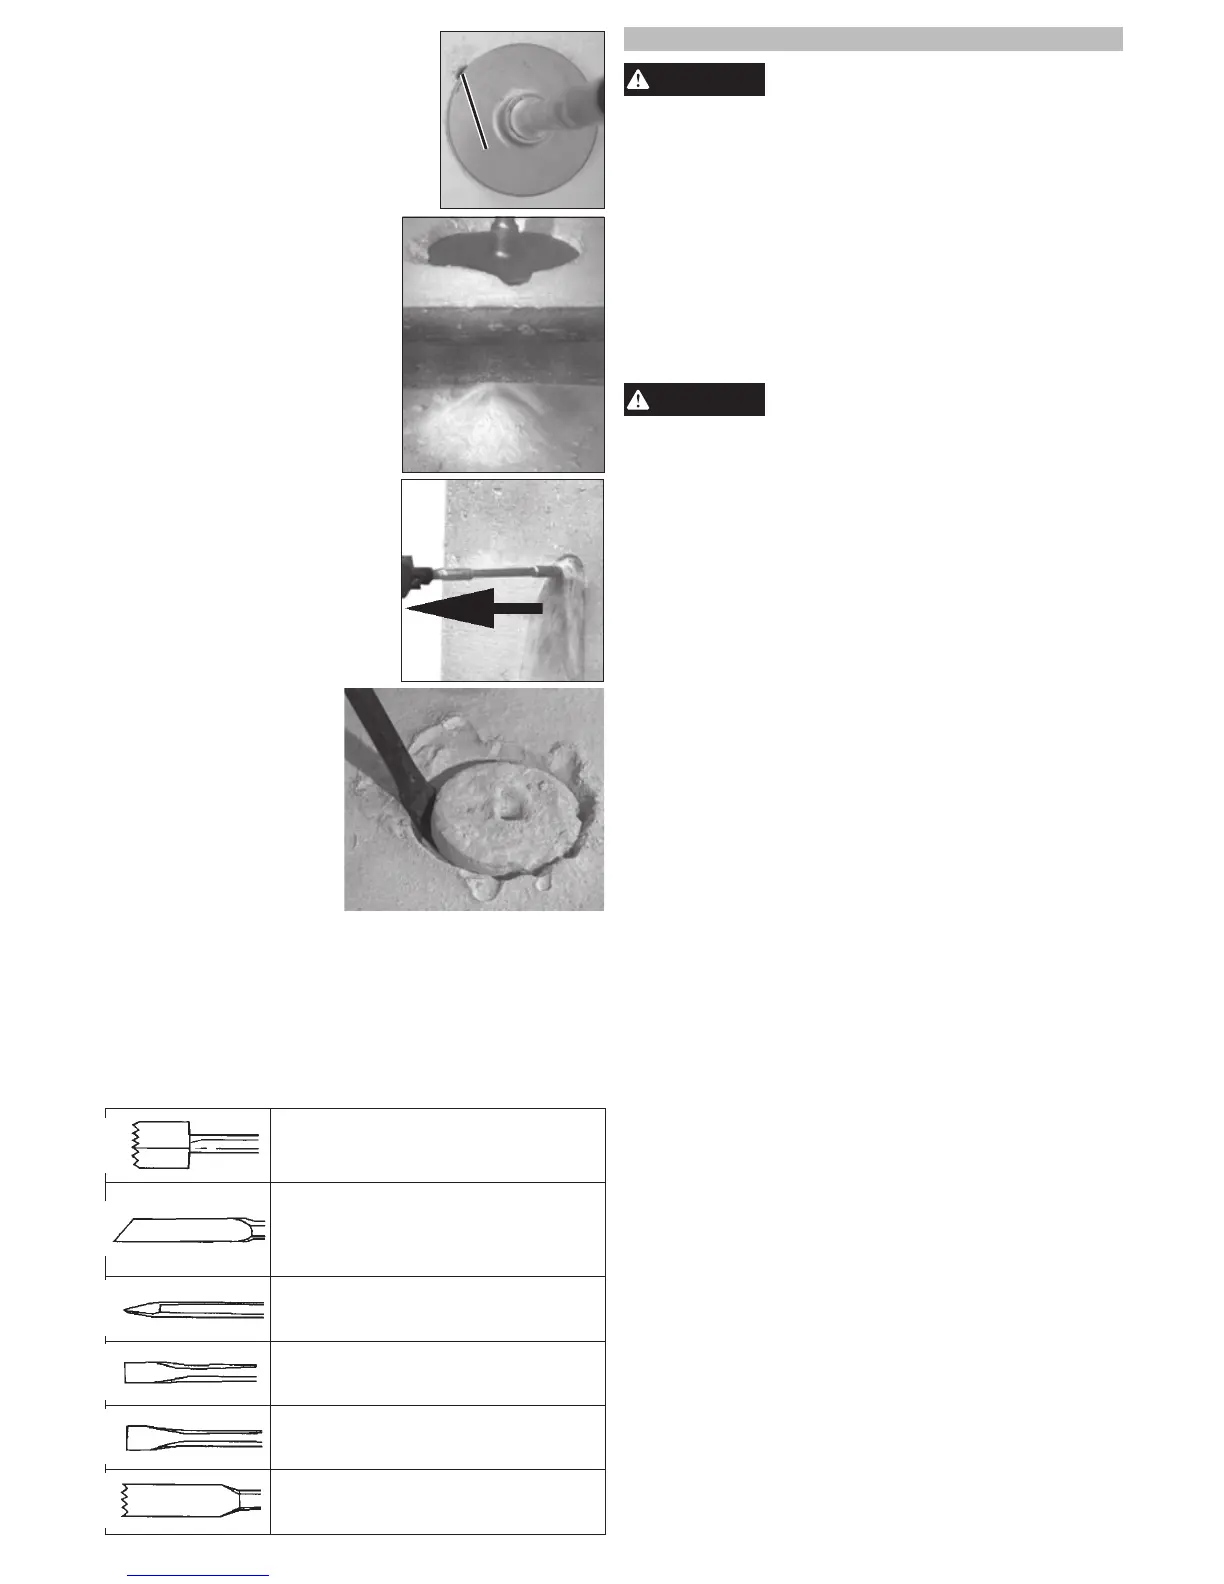
7. For core bits, once the
maximum core bit depth
is drilled, the core must be
broken and removed.
• Install a chisel bit.
• Place the chisel into the hole
kerf.
• Chisel down into the
kerf at several points
until the core is loose
or broken.
• Remove the core and
vacuum/remove any
remaining dust and
debris.
• Install the core bit and
continue the cut.
Chiseling and Chipping
MILWAUKEE Rotary Hammers may be used for
chipping and chiseling.
When chiseling, hold the tool at an angle to the
workpiece. Work from a corner or close to the edge
of the workpiece, breaking o one small area at a
time rather than attempting too large an area.
A variety of accessories are available.
Bushing Tools
Used to surface concrete.
Mortar Cutting Chisels
(Seam Tools)
For removing old mortar for tuck
pointing or caulking.
Bull Points
For demolition work and starting
holes in concrete slabs.
Flat Chisels
For edging, chipping or channeling.
Scaling Chisels
For removing weld spatter or scale
and cutting straight lines.
Slotting Chisel
For slotting and cutting between
drilled holes in concrete and masonry.
MAINTENANCE
To reduce the risk of injury, always
unplug the tool before performing
any maintenance. Never disassemble the tool.
Contact a MILWAUKEE service facility for ALL
repairs.
Maintaining Tools
Keep your tool in good repair by adopting a regular
maintenance program. Inspect your tool for issues
such as undue noise, misalignment or binding of
moving parts, breakage of parts, or any other condi-
tion that may aect the tool operation. Return the tool
to a MILWAUKEE service facility for repair. After six
months to one year, depending on use, return the
tool to a MILWAUKEE service facility for inspection.
To reduce the risk of personal in-
jury, electric shock and damage,
never immerse your tool in liquid or allow a liquid
to ow inside it.
Cleaning
Clean dust and debris from vents. Keep handles
clean, dry and free of oil or grease. Use only mild
soap and a damp cloth to clean, since certain clean-
ing agents and solvents are harmful to plastics and
other insulated parts. Some of these include gasoline,
turpentine, lacquer thinner, paint thinner, chlorinated
cleaning solvents, ammonia and household deter-
gents containing ammonia. Never use ammable or
combustible solvents around tools.