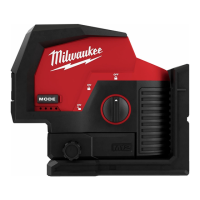
OPERATION:
• Connect the supplied 12
VDC power adapter to the
meter and to the mains line.
• Connect the ORP electrode
to the BNC socket on the
bottom of the meter.
• Always remove the elec-
trode protective cap before
taking any measurement. If
the electrode has been left
dry, soak the tip (bottom 2.5
cm) in rinse solution
(M10000B) for a few minutes to reactivate it.
• Turn the instrument on by pressing the ON/OFF key.
• Allow the reading to stabilize and the meter will start continuous
monitoring.
• The meter is factory calibrated.
• A blinking alarm will indicate when the measured ORP value is lower or
higher than the setpoint, depending on user selection.
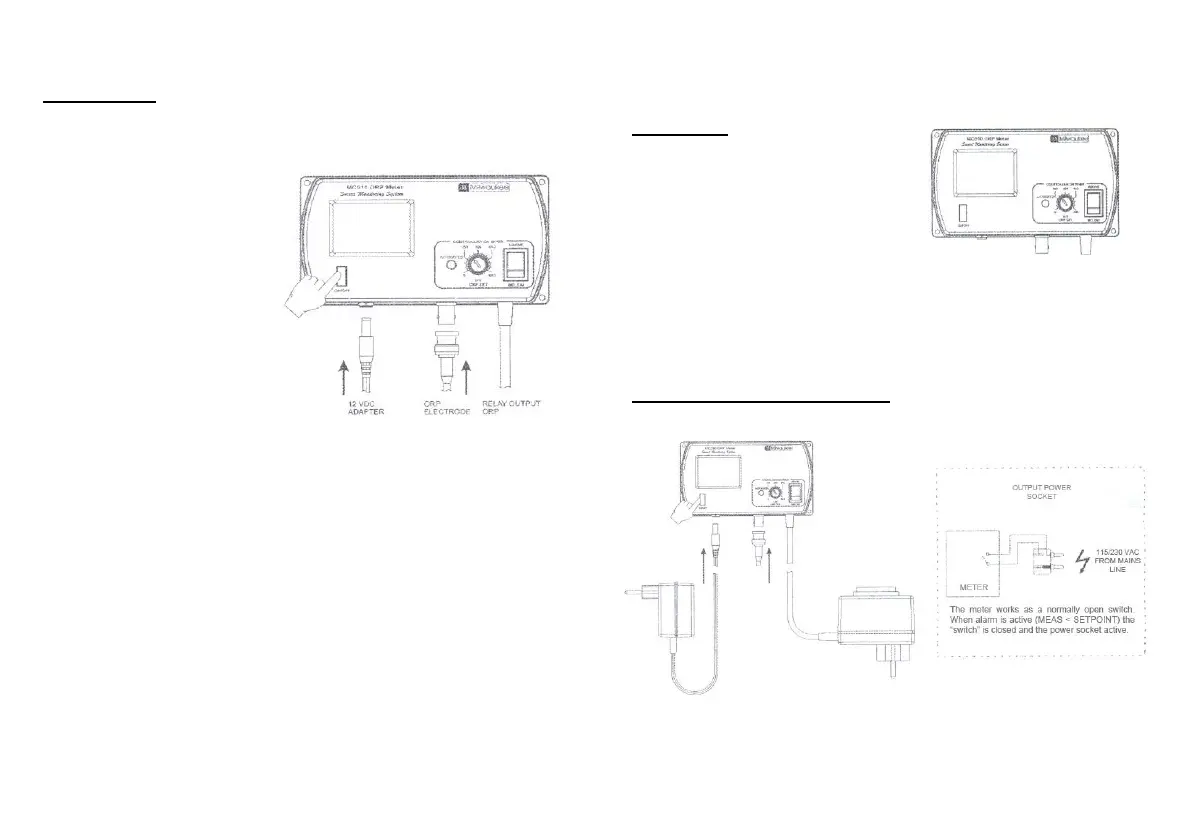
NOTE:
• The power contact is not protected by fuse inside the meter. It is
recommended to protect it outside, against failure.
• WARNING: when the alarm led is blinking, the mains voltage is
present in the output power socket.
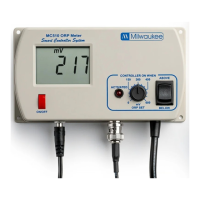
SETPOINT:
• The setpoint can be selected by
adjusting the central front knob to the
desired value.
• The selectable range for MC510 is
from 0 to 600 mV.
• The nature of the setpoint can be selected by setting the switch to the
desired position (ABOVE or BELOW).
INSTALLATION PROCEDURE:
Test Equipment Depot - 800.517.8431
- 99 Washington Street Melrose, MA 02176 - TestEquipmentDepot.com