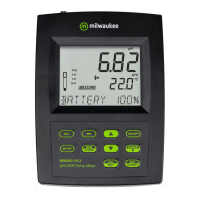
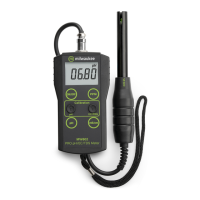
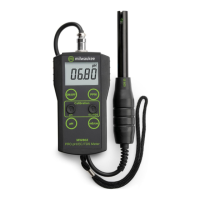
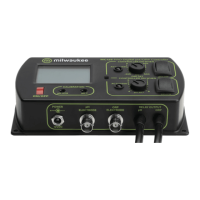
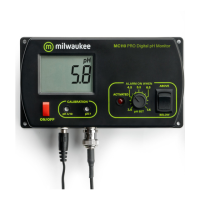
28 MW150 & MW151 Bench Meters
3. After the first calibration point has been confirmed, the calibrated value is displayed
on the first LCD line and the second expected buer value on the third LCD line
(i.e.pH4.01). The value of the first buer is set while the second expected buer value
is displayed blinking on the screen.
pH
NO MTC ATC
USB
OPEN
AUTO
HOLD
SLOPE
CLEAR
CAL
1.68
4.01
6.86
7.01
9.18
10.01
12.45
CUST1
CUST2
DATE
ACCEPT
ºC
ºF
pH
mV
TIME
For one-point calibration, press CAL/EDIT to exit calibration. The meter stores the
calibration and returns to Measurement mode.
To continue calibrating with additional buers, rinse and place the pH probe tip
approximately 4 cm (1 ½”) into the second buer solution and stir gently.
If needed, use the keys to select a dierent buer value.
Note: When attempting to calibrate with a dierent buer (not yet used), the previously
used buers are displayed blinking.
Follow the same steps for 2- or 3-point calibration.
For improved accuracy, a minimum of 2-point calibration is recommended.
Note: When performing a new calibration (or adding to an existing calibration) the
first calibration point is treated as an oset. Press CAL/EDIT after the first or second
calibration point has been confirmed, and the instrument stores the calibration data
and returns to Measurement mode.
5-Point Calibration (MW151)
The 3-point calibration procedure can be continued up to 5-point following the same steps.
For accurate pH measurements, 5-point calibration is recommended and a minimum of
2-point calibration is suggested.
Custom Buers (MW151)
This feature has to be enabled in Setup. Temperature compensation of custom buers is
set to the value of 25°C.
Calibrating with custom buers:
y Press RANGE/. The custom buer value is displayed blinking on the third LCD line.
 Loading...