E28 E29
2. Set the camera to wireless
flash.
• The method used for the setting
varies with the camera. See the cam-
era manual for details.
• When the camera is set to wireless
the flash is also set to wireless auto-
matically.
• The lamp of the wireless/remote
flash, channel 1 [CH1] is lit when set-
tings are done properly. When chan-
nel 2 is selected, lamp channel 2
[CH2] is lit. See the page 33 for
details to change the channel set-
tings.
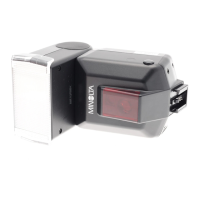
WIRELESS FLASH
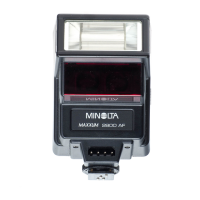
1. Attach the flash to the camera
and switch the flash and cam-
era power supplies on.
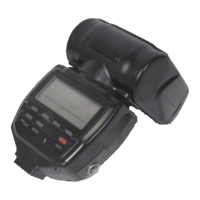
3. Remove the flash from the
camera and raise the built-in
flash.
• The high-speed-sync lamp at the rear
of the flash is lit.
Photographs taken with the flash
attached to the camera are flat as
shown in photo . In such cases,
remove the flash from the camera and
position it to obtain a more three-
dimensional effect as shown in photo
.
Photo was taken using the cam-
era’s built-in flash and the flash locat-
ed separately from the camera, with a
light intensity of 1:2 respectively to
produce a soft gradation between light
and dark, and natural shadows (p.34).
When taking this type of photograph
with a single lens reflex camera, the
camera and the flash unit are most
commonly connected by cable. This
flash eliminates the need for a cable
to transmit signals to the flash unit by
using the light of the flash itself as a
signal. This type of flash control is
referred to as ‘wireless (remote)
flash’. The proper exposure is deter-
mined automatically by the camera.
WIRELESS/REMOTE FLASH MODE [WL]
Normal flash
Wireless flash
Wireless ratio flash