C
Cassandra CaldwellSep 8, 2025
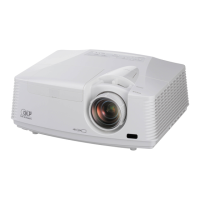
Why afterimages persist on Mitsubishi Electric DLP UD740U?
- DdaniellewagnerSep 8, 2025
If you notice afterimages persisting on the screen of your Mitsubishi Electric Projector, this can be improved by continuously projecting an evenly bright image.