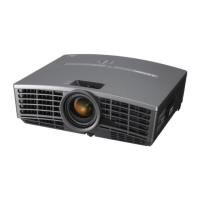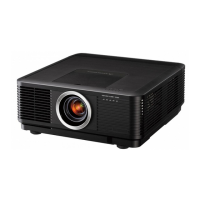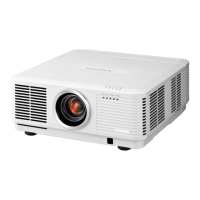
Do you have a question about the Mitsubishi Electric DLP WD8200U and is the answer not in the manual?
| Display Technology | DLP |
|---|---|
| Resolution | 1280 x 800 |
| Lamp Life | 2000 hours (standard), 3000 hours (eco mode) |
| Inputs | HDMI, DVI-D, VGA, S-Video, Composite Video |
| Projection Size | 30 - 300 inches |
| Noise Level | 39 dB (Normal mode) |
Operate projector only from indicated power source type.
Ensure adequate ventilation and do not block openings.
Avoid high temperature/humidity places; maintain specified operating conditions.
Verify all supplied accessories are packed in the projector package.
Diagram and list of projector external parts and their functions.
Explanation of the projector's status indicator lights and their meanings.
Detailed list and function of each button on the remote control.
Specifies the distance and angle for effective remote control operation.
How to set projector and controller IDs for managing multiple projectors.
Tables showing image size, projection distance, and lens shift ranges.
Steps for adjusting focus, zoom, and lens shift for image positioning.
Methods to correct trapezoidal distortion using keystone, cornerstone, and curved modes.
Installation guidelines for ceiling-mounted projectors.
Instructions for connecting various computer output types to the projector.
Steps for turning on the projector and displaying computer images.
Changing image aspect ratio for different screen types or preferences.
Instructions for connecting video players and other equipment.
Connecting DVD players/HDTV decoders using component video terminals.
Steps for turning on the projector and displaying video images.
Settings for image quality adjustments like color, brightness, and sharpness.
Setup options related to lamp, standby, and projection angle.
Setup options including auto power, splash screen, and filter settings.
Settings for aspect ratio, projector ID, password, and cinema mode.
Adjustments for resolution, timing, and signal processing.
Configuration for network connectivity, IP settings, and control systems.
How to adjust image brightness and contrast using the menu.
How to adjust image color saturation and hue using the menu.
Flowchart for troubleshooting and adjusting computer image display issues.
Adjusting edge blending, black level, and brightness for seamless multi-screen displays.
Assigning a name to the projector for identification.
Setting a password for network control and authentication.
Manually setting the projector's IP address for network communication.
Selecting the control system (AMX, Crestron) for external management.
Configuring the interval for automatic lamp rest or switching to ensure continuous projection.
Customizing the startup screen or splash screen with a captured image.
Setting up password protection for projector operation and menu access.
Managing projector operations remotely via a LAN network using various control software.
Controlling the projector using external control panels via the REMOTE 1 IN terminal.
Recommended lamp replacement intervals and indicators for replacement.
Step-by-step guide for safely replacing the projector lamp.
Procedure to reset the lamp operation time after replacement.
Configuring the automatic cleaning filter's interval for dust removal.
Step-by-step instructions for cleaning the projector's automatic cleaning filter.
Troubleshooting steps for when the projector fails to power on.
Solutions for issues where no image is displayed on the screen.
Diagnosing and resolving issues where the projector unexpectedly powers off.
Common issues with image display like shaking, displacement, or distortion.
Explains the meaning of the POWER, STATUS, and FILTER indicator lights.
Describes the status of the projector's lamps and related troubleshooting.
Information on achievable image sizes and corresponding projection distances.
Details on the types of computer and component video signals supported.
Table detailing supported RGB signal modes, resolutions, and frequencies.
Pin assignments and specifications for various projector input/output connectors.
Technical data for the attached tele throw zoom lens (OL-XD2000TZ).
