
A
Amy HenryAug 22, 2025
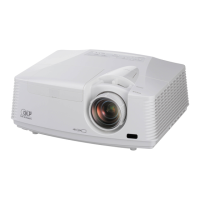
Why does my Mitsubishi Electric XD560U power turns off?
- Sstephen12Aug 22, 2025
If your Mitsubishi Electric Projector powers off unexpectedly, it could be due to blocked intake or exhaust vents. Remove any obstructions, wait for the fans to stop, unplug the power cord for 10 minutes, then plug it back in and press the POWER button. If the STATUS indicator is steady red, replace the lamp. Also, verify that Auto Power Off is set to Off. If the lamp has deteriorated, it may go out after a while it illuminates.